


Installation instructions
en
19
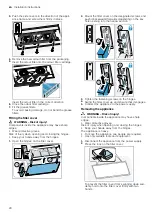
3.
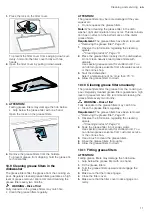
Guide the cable that is provided on-site through the
opening and hook the appliance into the fastening
screws on the ceiling.
4.
Push the appliance as far as it will go into the four
key hole openings using the guide sleeves.
5.
Move the appliance and lower it further so that the
collar nuts are positioned on the edge of the guide
sleeves.
6.
Carefully tighten the diagonally opposite collar nuts
until the appliance is flush-mounted on the ceiling.
13
Tighten the collar nuts one at a time so that the ap-
pliance does not tilt when doing so.
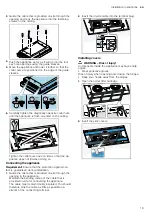
Connecting the appliance
Requirement:
Ensure that the protection against con-
tact is guaranteed during installation.
1.
Guide the cable that is provided on-site through the
opening in the appliance.
Maintain the bending radius of the cable that is
provided on-site for connecting the appliance.
The cable must remain doubly insulated. You should
therefore strip the cable as little as possible up-
stream of the connecting terminal.
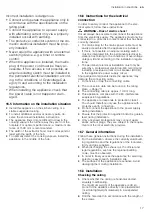
2.
Insert the on-site cable into the terminal plug.
L
N
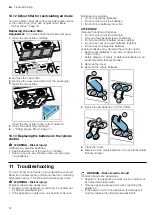
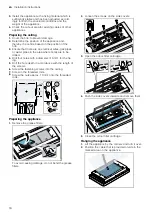
Installing covers
WARNING ‒ Risk of injury!
Components inside the appliance may have sharp
edges.
▶
Wear protective gloves.
Risk of injury when opening and closing the hinges.
▶
Keep your hands away from the hinges.
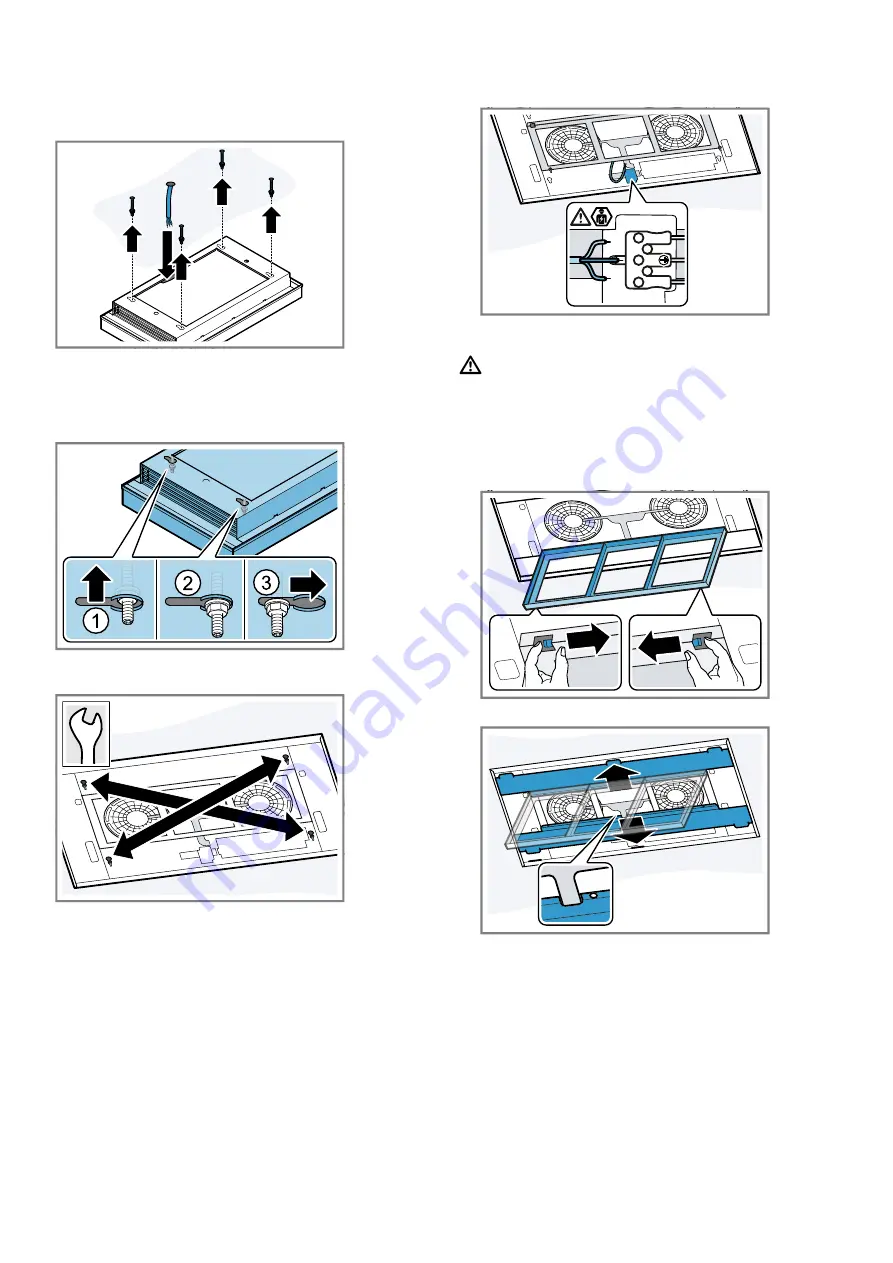
1.
Open the odour filter cartridge.
2.
Insert the side covers.


