RAID Subsystem DVA-08K | Installation Manual
Hardware Installation | en
21
Bosch Security Systems
F.01U.027.797 | V1 | 2006.05
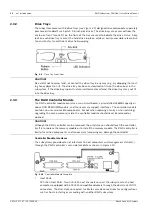
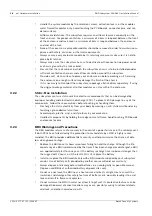
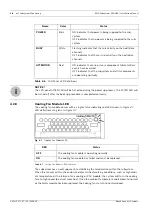
Fig. 3.2
Enclosure Side Mounting Holes (2)
•
Use M5 or M6 pan-head screws to secure the chassis to the front cabinet posts.
3.6
Drive Tray Installation
Once the hard drives have been installed in the drive trays, the drive trays can be installed into
the subsystem.
1.
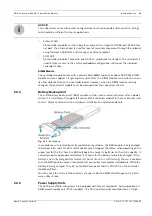
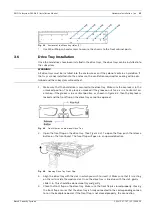
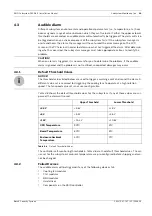
Make sure that the hard drive is secured to the drive tray. Make sure the key-lock is in the
unlocked position. The key-lock is unlocked if the groove on its face is in a horizontal ori-
entation. If the groove is in a vertical position, as shown in
, then the key-lock is
locked and the front flap on the drive tray cannot be opened.
Fig. 3.3
Front View of an Individual Drive Tray
2.
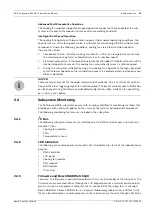
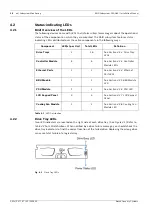
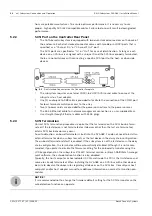
Open the front flap on the drive tray. (See
). To open the flap, push the release
button on the front bezel. The front flap will open in an upward direction.
Fig. 3.4
Opening Drive Tray Front Flap
3.
Align the drive tray with the slot in which you wish to insert it. Make sure that it is resting
on the rails inside the module slot. Once the drive tray is lined up with the slot, gently
slide it in. This should be done smoothly and gently.
4.
Close the front flap on the drive tray. Make sure the front flap is closed properly. Closing
the front flap ensures that the drive tray is firmly connected to the corresponding connec-
tor on the backplane board. If the front flap is not closed properly, the connection
WARNING!
All drive trays must be installed into the enclosure even if they do not contain a hard drive. If
the trays are not installed into the enclosure, the ventilation required for cooling will be dis-
turbed and the subsystem will overheat.
Summary of Contents for DVA-08K
Page 1: ...RAID Subsystem DVA 08K DVA 08K SCSI Premium Series en Installation Manual ...
Page 2: ......
Page 61: ......

