2:24
(OHFWURQLF
Oven
&
ontrol Module
,03257$172YHURIHOHFWURQLFFRQWUROPRGXOHVUHWXUQHGWR
WKHIDFWRU\WHVWJRRG3OHDVHSHUIRUPDOOGLDJQRVWLFWHVWVEHIRUH
UHSODFLQJFRQWURO
The
ven control
"
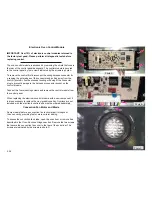
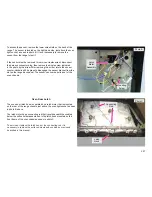
odule is accessed by removing the shield that covers
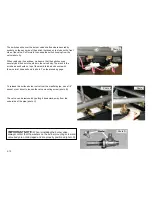
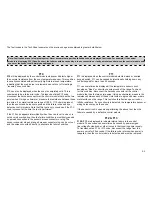
the rear of the control panel backguard. The control module is secured
to the control panel by four screws indicated by the arrows in photo A
#
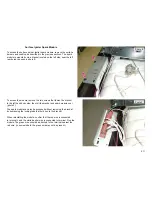
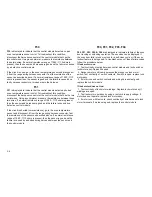
To remove the control
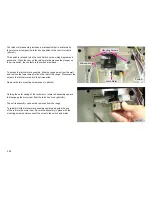
first disconnect the wiring harness connector by
Photo A
Photo B
grasping the outer edges of the connector and pulling away from the
control (
!
hoto B)
#
Avoid excessive twisting or flexing of the connector
plug to prevent damage to the harness or connector socket on the
control module.
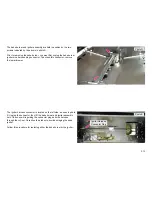
Take out the four mounting screws and remove the control module from
the control panel.
8 ! " "!
5 ! 5 ! 5# 5
" !5#
Convection Fan Motor and Blade
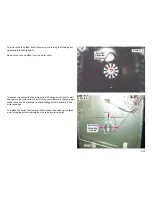
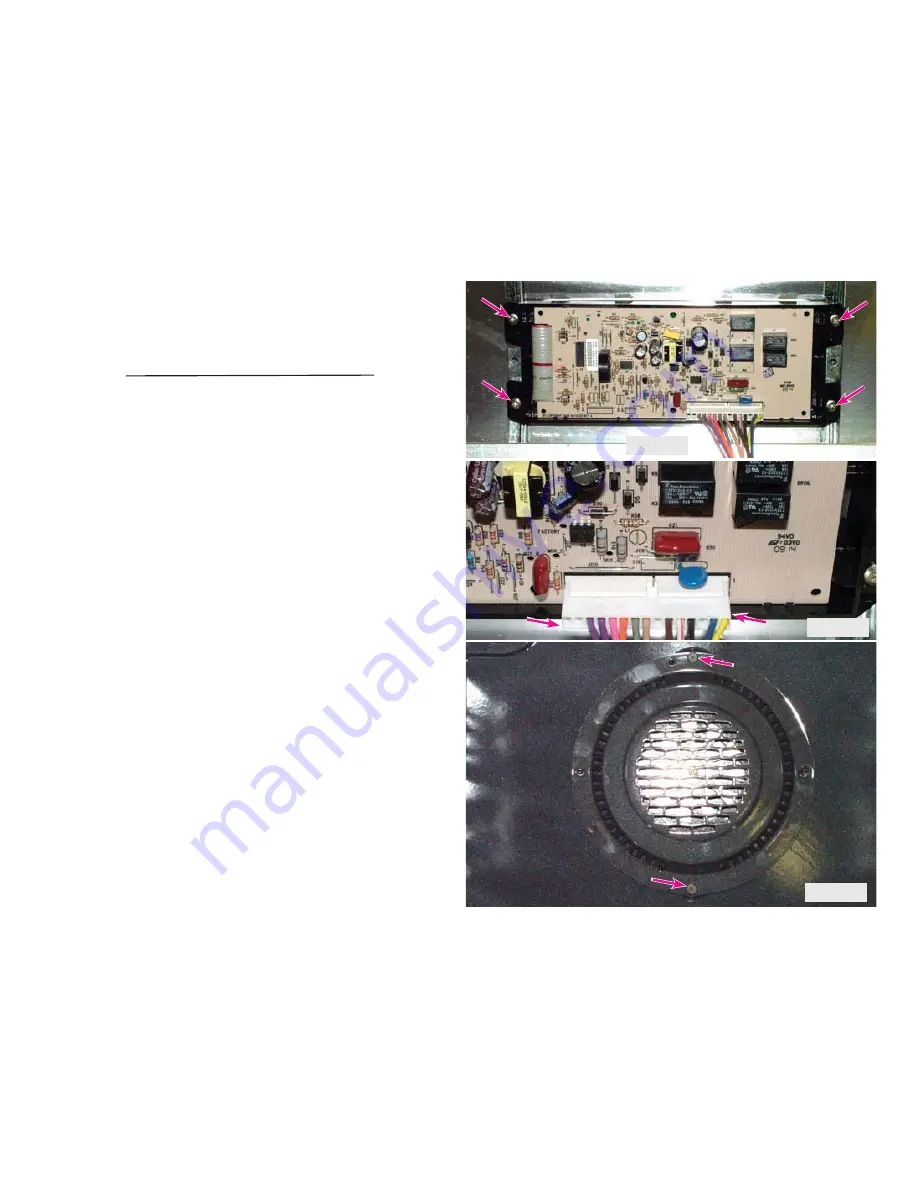
Photo
Some models feature a convection fan to circulate air throughout
the oven cavity
providing faster, more uniform baking.
To access the convection fan blade
open the oven door or remove it as
described in the
Oven Door and Hinges
#
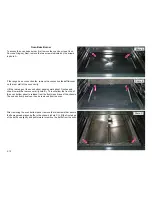
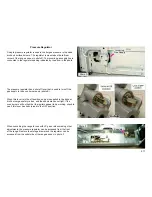
Remove the two screws
that secure the convection
fan cover to the rear of the oven liner. The
screws are indicated by the
arrows in photo C.

