English |
31
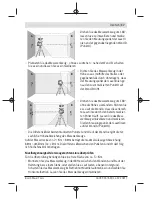
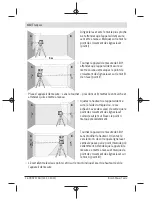
The maximum permitted deviation on the measuring distance of 2 ×
5
m =
10
m is as fol-
lows:
10
m × ±
0.3
mm/m = ±
3
mm. The discrepancy
d
between points
Ⅰ
and
Ⅲ
must therefore
amount to no more than
3
mm.
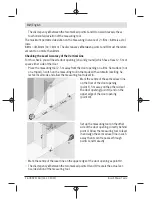
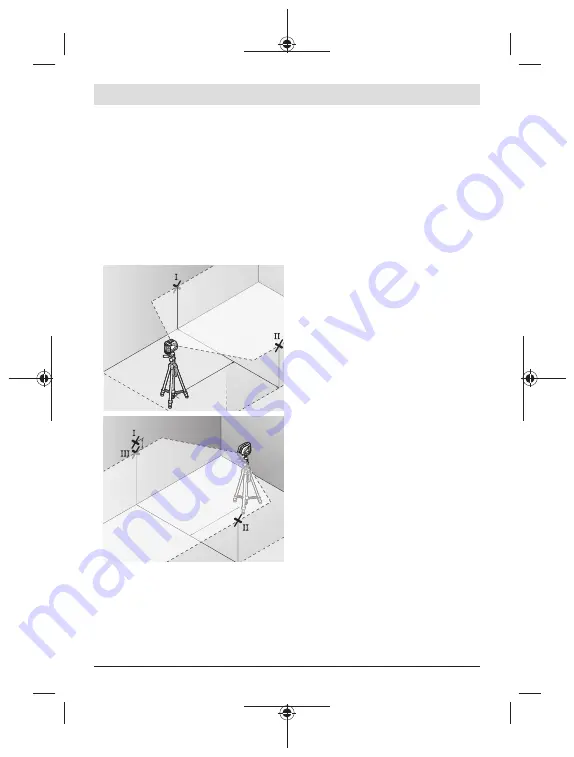
Checking the Level Accuracy of the Horizontal Line
For this check, you will need a free area of 5 ×
5
m.
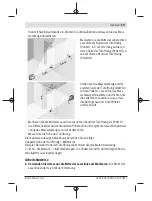
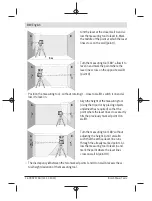
– Mount the measuring tool in the middle between walls A and B on the holder or a tri-
pod, or place it on a firm, flat surface. Switch on the measuring tool with the auto-
matic levelling function enabled and select horizontal mode. Allow the measuring tool
to level in.
2,5 m
5,0 m
5,0 m
5,
0 m
5,0 m
A
B
– At a distance of 2.5 m from the measur-
ing tool, mark the centre of the laser line
on both walls (point
Ⅰ
on wall A and
point
Ⅱ
on wall B).
2,5 m
d
5,0 m
2,
5 m
5,
0 m
A
B
– Set up the measuring tool at a 5 m dis-
tance and rotated by 180° and allow it to
level in.
– Align the height of the measuring tool (using the tripod or by placing objects under-
neath as required) so that the centre of the laser line exactly hits the previously
marked point
Ⅱ
on wall B.
– Mark the centre of the laser line on wall A as point
Ⅲ
(vertically above or below
point
Ⅰ
).
Bosch Power Tools
1 609 92A 7AN | (14.12.2021)
Summary of Contents for GLL 2-10 Professional
Page 3: ... 3 2 1 1 3 4 Bosch Power Tools 1 609 92A 7AN 14 12 2021 ...
Page 4: ...4 12 10 9 11 5 6 7 8 9 1 609 92A 7AN 14 12 2021 Bosch Power Tools ...
Page 5: ... 5 13 14 16 15 RM 1 17 14 18 13 A B Bosch Power Tools 1 609 92A 7AN 14 12 2021 ...
Page 6: ...6 C D E 1 609 92A 7AN 14 12 2021 Bosch Power Tools ...
Page 7: ... 7 F G H Bosch Power Tools 1 609 92A 7AN 14 12 2021 ...

