Commissioning
|
53
6 720 806 992 (2015/03)
Greenstar
Legend to Fig. 63:
[1]
Dial
[2]
Mode selector
[3]
Advance button (activate heating immediately)
[4]
DHW single charge button (activate DHW mode immediately)
[5]
Menu button
[6]
Info button
[7]
Delete/Reset button
[8]
Menu up button
8.5
FW 200 heating control quick start
Instructions for programming
8.5.1
Setting date and time
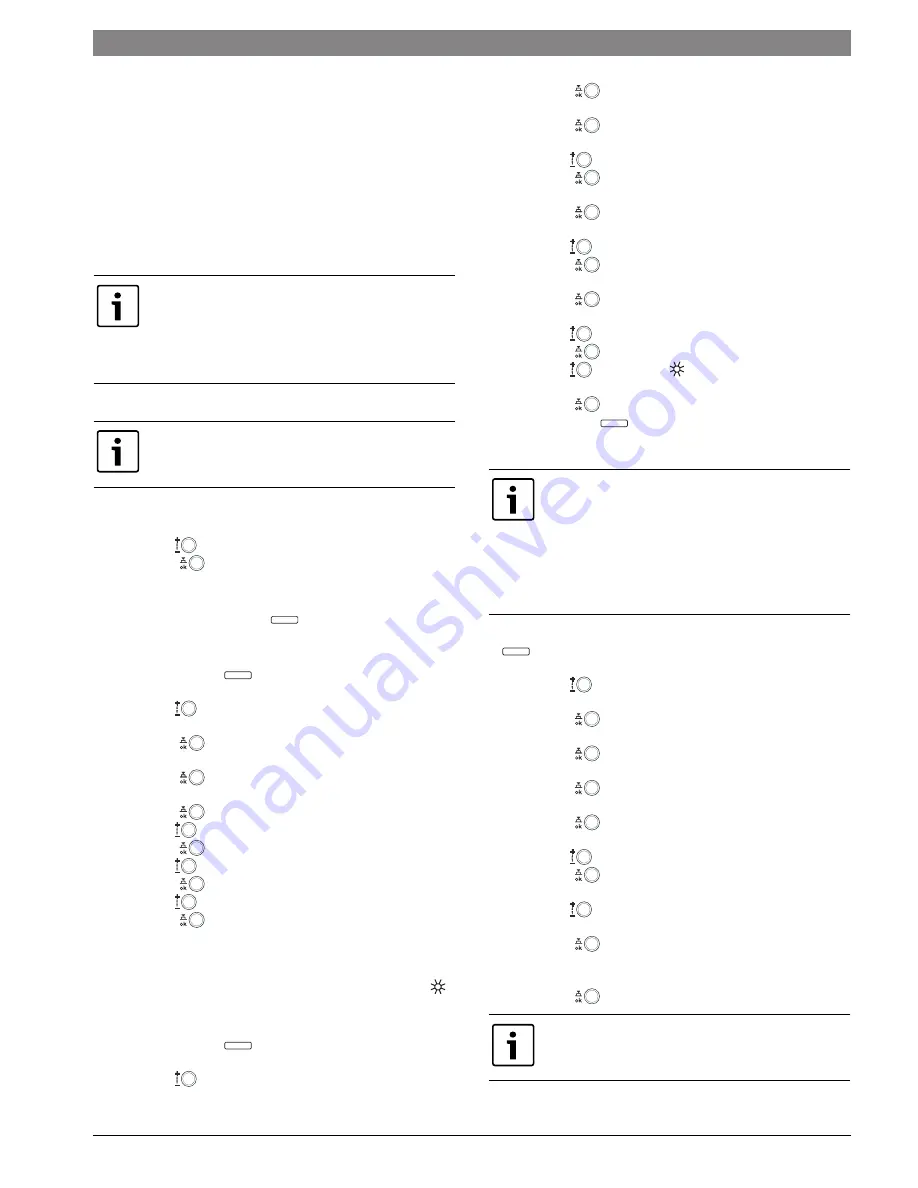
Set date and time upon initial start-up:
▶ Turn the dial
(
Fig. 63, [1]) to adjust time and date.
▶ Press the dial
to confirm the setting.
You will be asked about system confi guration, which is only necessary if
you have added additional controls.
▶ Press and hold the menu button
(
Fig. 63, [5]) until this
prompt disappears.
Set Date and Time after intitial programming:
▶ Press the menu button
(
Fig. 63, [5]).
Vacation
will be highlighted.
▶ Turn the dial
(
Fig. 63, [1]) counter-clockwise until
General
settings
is highlighted.
▶ Press the dial
.
Time and date
will be highlighted.
▶ Press the dial
.
Time
will be highlighted.
▶ Press the dial
.
▶ Turn the dial
to adjust the time.
▶ Press the dial
to confirm the setting.
▶ Turn the dial
until
Date
is highlighted.
▶ Press the dial
.
▶ Turn the dial
to adjust the date.
▶ Press the dial
to confirm the setting.
8.5.2
Setting constant heating (no night set back)
This can be done two ways:
• By turning the selector (
Fig. 63, [2]) to the comfort symbol (
).
• Or by changing the programming.
To change programming:
▶ Press the menu button
(
Fig. 63, [3]).
Vacation
will be highlighted.
▶ Turn the dial
one click counter-clockwise to highlight
Heating
.
▶ Press the dial
.
Program
will be highlighted.
▶ Press the dial
.
Activate
will be highlighted.
▶ Turn the dial
one click to highlight
Edit
.
▶ Press the dial
.
A:Program A
will be highlighted.
▶ Press the dial
.
Replace with preset program
will be highlighted.
▶ Turn the dial
counter-clockwise to highlight
All days
.
▶ Press the dial
.
P1
will be highlighted.
▶ Press the dial
.
The display will fl ash.
▶ Turn the dial
one click clockwise to
12:00PM
.
▶ Press the dial
to confirm the setting.
▶ Turn the dial
until
Comfort
appears.
The area around the display should fill in.
▶ Press the dial
to confirm the setting.
▶ Press menu button
to return to main display.
8.5.3
Setting type of heating system
▶ To open
INSTALLER SETTINGS
: press and hold the menu button
for approx. 5 seconds.
System configuration
will be highlighted.
▶ Turn the dial
one click counter-clockwise to highlight
Heating
parameters
.
▶ Press the dial
.
Heating circuit 1
will be highlighted.
▶ Press the dial
.
Heating circuit type
will be highlighted.
▶ Press the dial
.
Radiators
will be highlighted.
▶ Press the dial
.
Radiators
will fl ash.
▶ Turn the dial
to choose
Baseline/Design temp
.
▶ Press the dial
.
Heating circuit type
will be highlighted.
▶ Turn the dial
counter-clockwise.
Base line
will be displayed.
▶ Press the dial
and
78 °F
(25 °C) will fl ash.
This is the supply temperature at 65 °F (18 °C) outdoor temperature.
▶ Set accordingly (
Fig. 64).
▶ Press the dial
to confirm the setting.
This is a quick reference to highlight the BASIC
programming of this control. For a more in depth
understanding or complete programming of the control,
please refer to the FW 200 Installation and Operating
manuals.
In the following description, at any time, pressing the
menu button (
Fig. 63, [3]) will bring you back to the
standard display.
menu
menu
menu
There are three seperate default presets: Baseboard,
Radiators, Radiant Floor. They have an approximate
basepoint of 75 °F. With this basepoint, the heating
system will take some time to raise the room
temperature in warmer weather. Please see the FW 200
Installation and Operating Instructions, “Heating circuit
parameters” for more details on those presets. For a
custom preset, see below.
For hydroair systems, the minimum supply temperature
must be raised to the turn on temperature for that coil.
menu
menu
Summary of Contents for Greenstar
Page 102: ...102 Index Greenstar 6 720 806 992 2015 03 ...
Page 103: ...Index 103 6 720 806 992 2015 03 Greenstar ...
Page 104: ......


