Position the sanding sheet
(14)
so that it is flush with one
side of the sanding plate
(10)
, then place the sanding sheet
on the sanding plate and press it on firmly.
To remove the sanding sheet
(14)
, take hold of it by a corner
and pull it away from the sanding plate
(10)
.
Sanding sheets without hook-and-loop backing
(see figures A–B)
Push the clamping lever
(9)
down.
Slide the sanding sheet
(14)
under the open front clamping
bracket
(8)
as far as possible and let go of the clamping lever
(9)
.
Open the clamping lever
(11)
.
Position the sanding sheet
(14)
so that it fits tightly around
the sanding plate. Slide the other end of the sanding sheet
(14)
under the open front clamping bracket
(12)
and clamp
the sanding sheet in place by closing the clamping lever
(11)
.
Unperforated sanding sheets, e.g. from rolls or bulk stock
sold by the metre, can be perforated using the punch
(15)
for the purpose of dust extraction. To do this, fit the sanding
sheet on the power tool and push the tool down onto the
punch (see figure
D
).
To remove the sanding sheet
(14)
, open the clamping lever
(11)
and push the clamping lever
(9)
down. Pull the sanding
sheet out.
Choosing the sanding sheet
Different sanding sheets are available, depending on the ma-
terial you are working with and the required surface removal
rate:
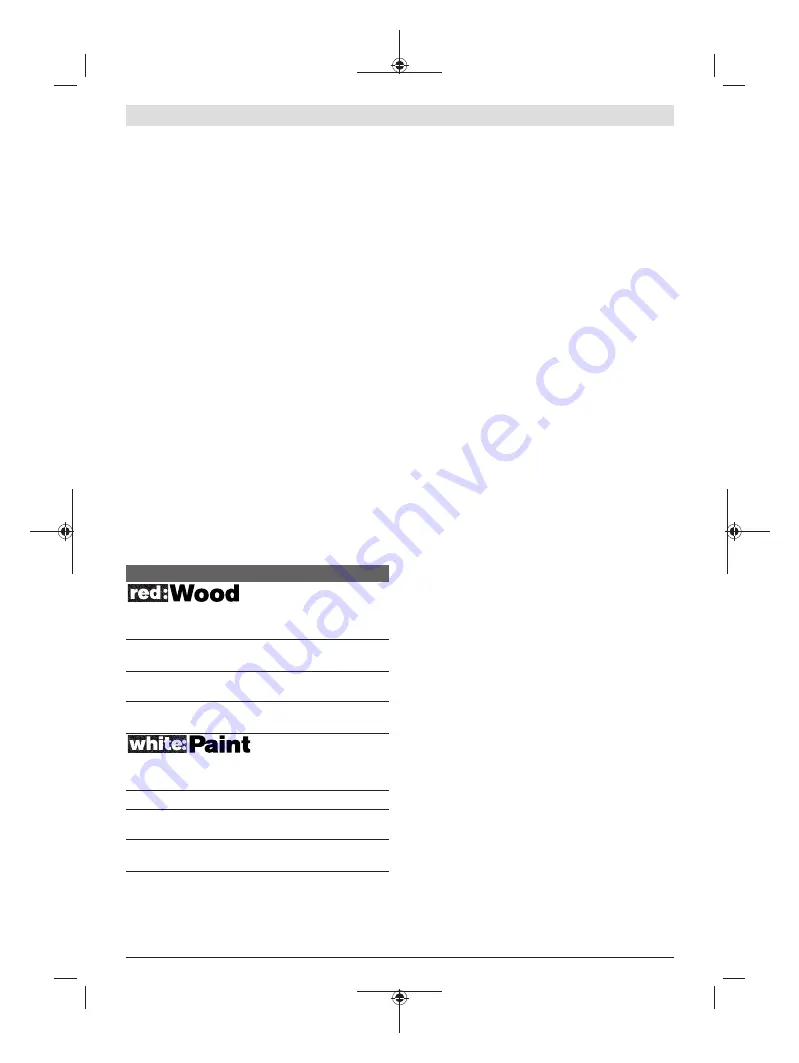
Grit
For processing all wood and wood-based ma-
terials
40–400
For pre-sanding, e.g. of rough and un-
even beams and boards
Coarse 40, 60
For surface sanding and levelling of
slight irregularities
Medium 80, 100,
120
For finish-sanding and fine sanding of
hardwoods
Fine
180, 240,
320, 400
For processing paint and lacquer layers or
primers such as fillers and bodyfillers
40–320
For sanding down paint
Coarse 40, 60
For sanding undercoats
Medium 80, 100,
120
For final sanding of primers prior to
painting
Fine
180, 240,
320
Note:
To avoid the sanding sheet tearing, only use sanding
sheets with a grit of 80 or above.
Changing the sanding plate (see figure F)
If necessary, the sanding plate
(10)
can be replaced.
Unscrew the six screws
(16)
completely and remove the
sanding plate
(10)
. Fit the new sanding plate
(10)
and
retighten the screws.
Special Sanding Plates
You can replace the standard supplied sanding plate
(10)
with one of the special sanding plates that are available as
accessories.
Special sanding plates are fitted in exactly the same way as
the standard supplied sanding plate.
Likewise, each sanding sheet is attached and removed in ex-
actly the same way as the original sanding sheet.
Elongated sanding plate, triangular, thin (see figure G)
Using the triangular, thin, elongated sanding plate
(17)
en-
ables you to sand difficult-to-reach places and tight spaces
such as window and door posts, grooves, or behind radiat-
ors and water pipes.
To fit the triangular, thin, elongated sanding plate
(17)
, use
the screws designed for this purpose
(19)
.
Elongated sanding plate, triangular (see figure H)
Using the triangular, elongated sanding plate
(21)
enables
you to sand edges and corners.
Fine sanding plate (without hook-and-loop backing)
(see figures A–B)
If you primarily use standard sanding sheets without hook-
and-loop backing, we recommend using the fine sanding
plate without hook-and-loop backing. The flat surface of the
fine sanding plate will help achieve optimal sanding results,
especially when carrying out fine sanding.
Auxiliary handle
The auxiliary handle
(1)
enables comfortable handling and
optimum power distribution, with a high sanding removal
rate in particular.
Use the screw
(2)
to secure the auxiliary handle
(1)
on the
housing.
Operation
Starting Operation
u
Pay attention to the mains voltage. The voltage of the
power source must match the voltage specified on the
rating plate of the power tool. Power tools marked
with 230 V can also be operated with 220 V.
u
Products that are only sold in AUS and NZ:
Use a resid-
ual current device (RCD) with a nominal residual current
of 30 mA or less.
Switching on/off
u
Make sure that you are able to press the On/Off switch
without releasing the handle.
To
switch on
the power tool, press and hold the on/off
switch
(4)
.
To
lock
the on/off switch
(4)
press and hold it while also
pushing the lock-on button
(5)
.
English |
9
Bosch Power Tools
1 609 92A 4JA | (18.07.2018)


