


16
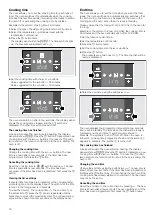
Cooking time
The oven allows you to set the cooking time for each type of
food. The oven switches off automatically when the cooking
time has finished. This avoids interrupting other tasks to switch
the oven off or exceeding the cooking time by mistake.
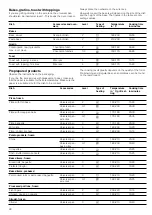
Example in the picture: cooking time: 45 minutes.
1.
Select the type of heating using the function control knob.
2.
Select the temperature or grill power level with the
temperature control knob.
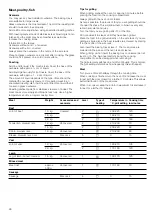
3.
Press the
0
button twice.
The display panel will show
‹‹
:
‹‹
. The time symbols light
up, the brackets are located next to
r
.
4.
Set the cooking time with the
@
or
A
buttons.
Value suggested for the
@
button = 30 minutes.
Value suggested for the
A
button = 10 minutes.
The oven will switch on after a few seconds. The display panel
shows the cooking time elapsed and the [
r
] symbol is
displayed. The other time symbols switch off.
The cooking time has finished
A beep will sound. The oven will stop heating. The display
panel will show
‹‹
:
‹‹
. Press the
0
button. Programme a new
cooking time with the
@
or
A
buttons. Or press the
0
button
twice and turn the function control knob to the zero setting. The
oven is off.
Changing the cooking time
Change the cooking time with the
@
or
A
buttons. The new
time is shown after a few seconds. If the timer has been
programmed, first press the
0
button.
Cancelling the cooking time
Reset the cooking time to
‹‹
:
‹‹
with the button
A
. The new
time is shown after a few seconds. The time has been
cancelled. If the timer has been programmed, first press the
0
button.
Viewing the time settings
If several time functions are programmed, the corresponding
symbols light up on the display panel. The symbol for the time
function in the foreground is in brackets.
To view the timer
U
, the cooking time
r
, the end time
p
or
the actual time
0
, press the
0
sensor repeatedly until the
brackets are around the required symbol. The corresponding
value will be shown for a few seconds on the display panel.
End time
The oven allows you to set the time when you want the food
ready. The oven switches on automatically and switches off at
the set time. E.g. the food may be placed in the oven in the
morning and the oven set so that it is ready at midday.
Please ensure that the food will not go off if it is in the oven for
too long.
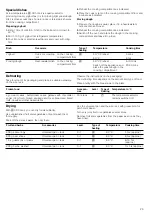
Example in the picture: It is now 10:30 AM, the cooking time is
45 minutes and the oven should switch off at 12:30 PM.
1.
Set the function control knob.
2.
Set the temperature control knob.
3.
Press the
0
button twice.
4.
Set the cooking time with the
@
or
A
buttons.
5.
Press the
0
button.
The brackets are shown next to
p
. The time the dish will be
ready is displayed.
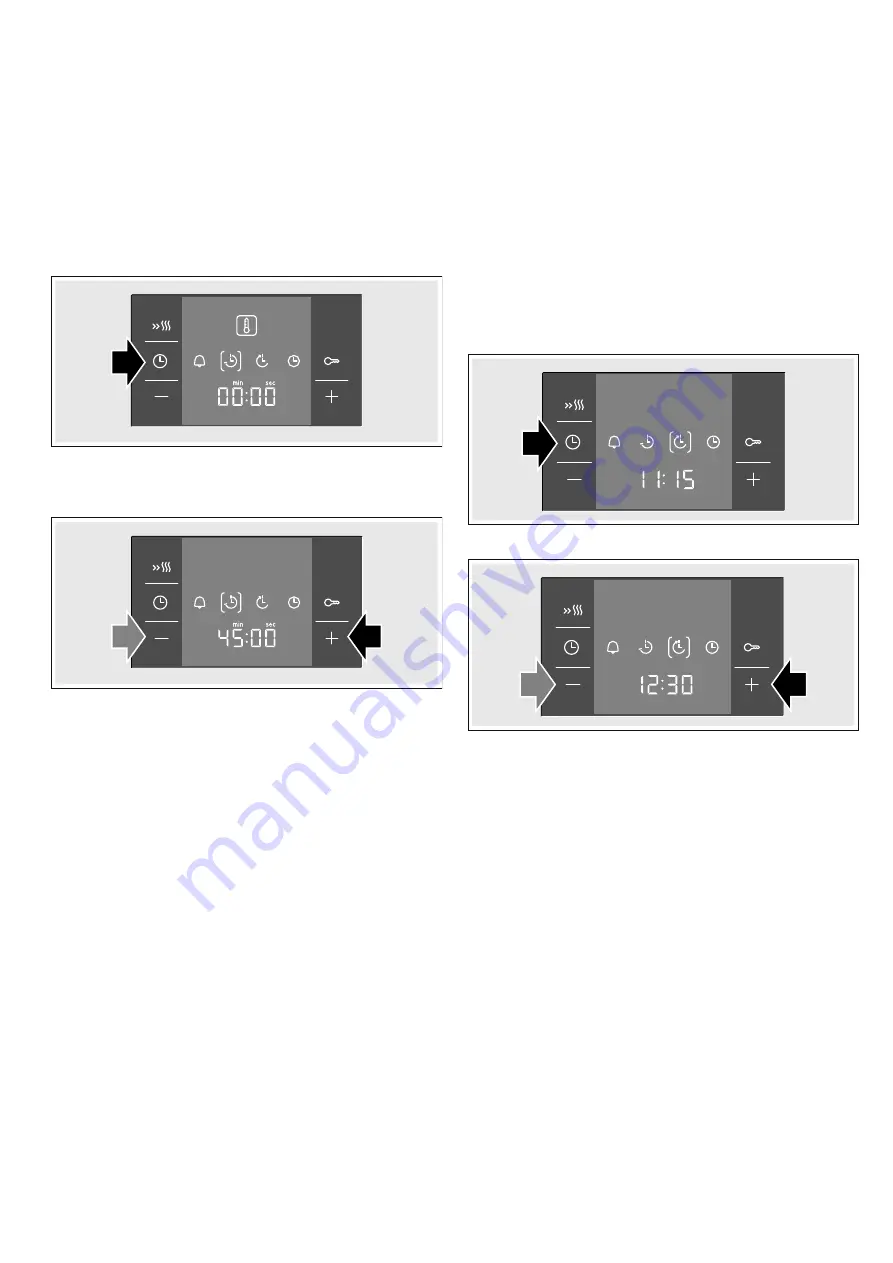
6.
Delay the end time using the buttons
@
or
A
.
The oven displays the programmed time after a few seconds
and is set to standby. The time when the dish will be ready is
displayed and the end time
p
symbol will be shown in
brackets. The symbols
U
and
0
turn off. When the oven is
turned on, cooking time progress is shown and the symbol
r
appears in brackets. The symbol
p
is turned off.
The cooking time has finished
A beep will sound. The oven will stop heating. The display
panel will show
‹‹
:
‹‹
. Press the
0
button. Programme a new
cooking time with the
@
or
A
buttons. Or press the
0
button
twice and turn the function control knob to the zero setting. The
oven is off.
Changing the end time
Change the end time using the buttons
@
or
A
. The new time is
shown after a few seconds. If the timer has been programmed,
first press the
0
button twice. Do not change the end time if the
cooking time has already started to count down. The final result
may not be the same.
Cancelling the end time
Reset the end time to the current time by pressing
A
. The new
time is shown after a few seconds. The oven switches on. If the
timer has been programmed, first press the
0
button twice.
Summary of Contents for HGD745350Y
Page 1: ... en Instruction manual Free standing cooker HGD745350Y ...
Page 2: ......


