en-us
Installation procedure
10
6.
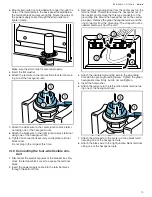
Refit the door in the reverse order in which it was re-
moved.
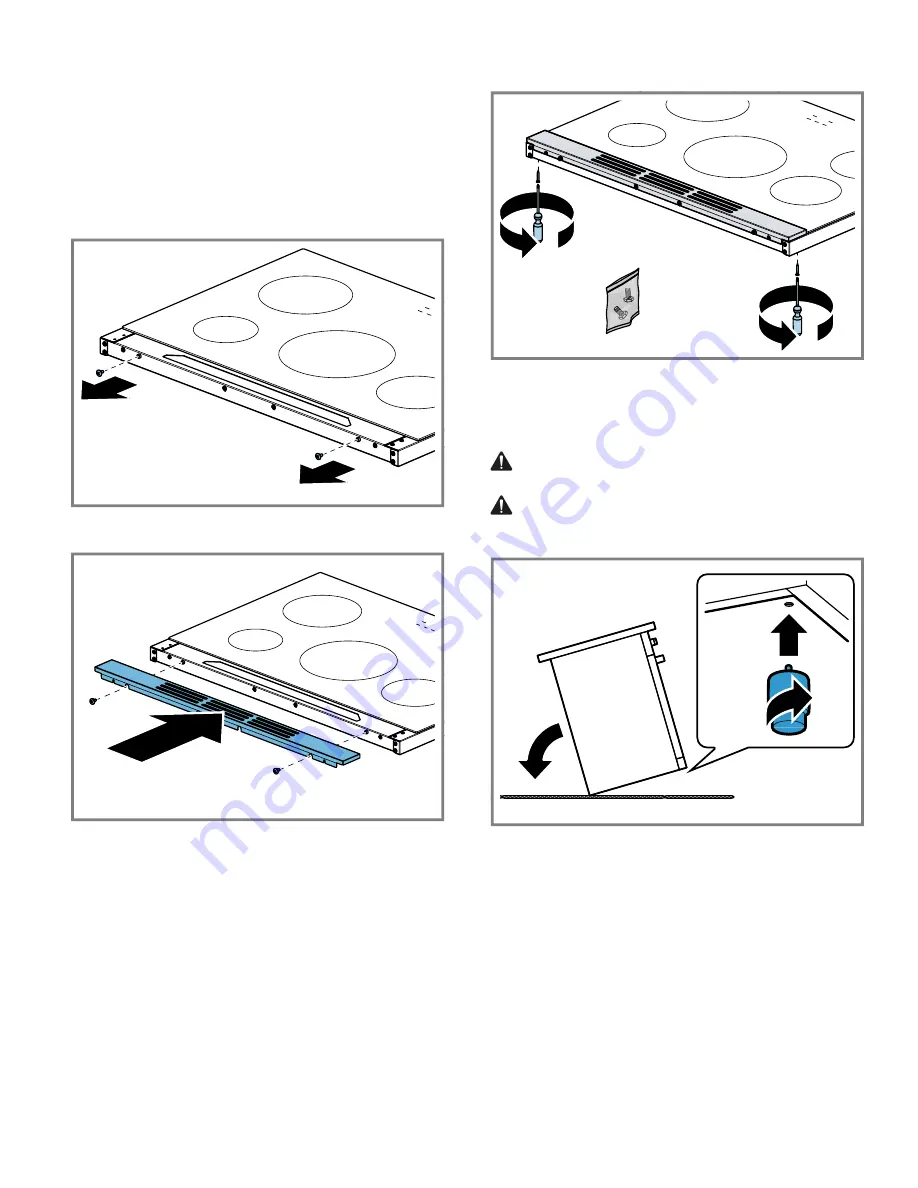
3.2 Fitting the rear vent trim
1.
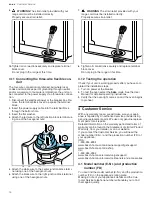
The rear vent trim is nested in the styrofoam packaging.
Remove the packaging and the protective film from the
rear vent trim. Remove the bag with 2 screws attached
to the rear vent trim.
2.
Remove the 2 screws from the back trim of the range-
top.
3.
Place the rear vent trim on the rangetop frame and fas-
ten it with the 2 screws removed in the previous step.
4.
Take the screws from the attached bag and insert and
tighten them from below.
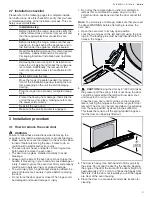
3.3 Fitting the adjustable feet
1.
Remove all parts that are not permanently fixed, espe-
cially the pan supports and burners.
2.
CAUTION Protect the floor.
Remove the accessories from the oven.
3.
CAUTION Do not use the door handle or project-
ing control panel for carrying.
Tilt the appliance and put it to the floor on the backside.
4.
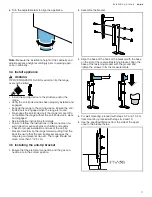
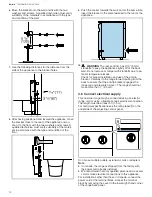
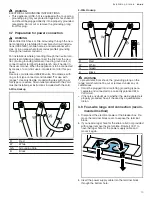
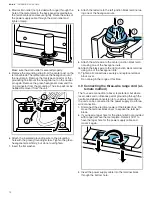
Screw the adjustable feet into the mounting holes on
the underside of the appliance.
If the appliance needs to be moved again, screw the ad-
justable feet in fully.
5.
Carefully move the appliance back onto its feet.
Summary of Contents for HIS8055C
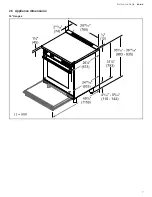
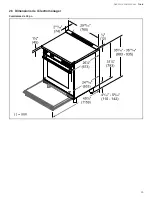
Page 7: ...Before you begin en us 7 2 5 Appliance dimensions 30 Ranges ...
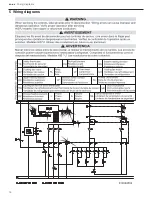
Page 18: ...en us Wiring diagrams 18 Wiring diagrams 5 Wiring diagrams Wiring diagrams ...
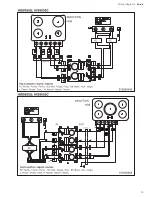
Page 19: ...Wiring diagrams en us 19 ...
Page 25: ...Avant de commencer fr ca 25 2 5 Dimensions de l électroménager Cuisinières de 30 po ...
Page 37: ...Schémas de branchement fr ca 37 ...
Page 38: ......
Page 39: ......


