


en
Tested for you in our cooking studio
26
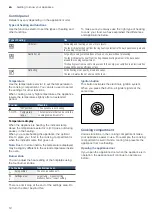
Gentle hot air heating function
Gentle hot air is an intelligent heating function that
allows you to gently cook meat, fish and baked items.
The appliance optimally controls the supply of energy to
the cooking compartment. The food is cooked in
phases using residual heat. This means that it remains
more succulent and browns less. Depending on the
method of preparation and the type of food, it is
possible to save energy. If you open the appliance door
before the food has finished cooking or if you preheat
the appliance, you may not be able to achieve this
result.
Only use genuine accessories for your appliance.
These have been tailored to the cooking compartment
and the heating functions of your appliance. Remove
any accessories that are not being used from the
cooking compartment.
Place the food into the empty cooking compartment
before the oven is heated up. Select a temperature of
between 120 °C and 230 °C.Always keep the
appliance door closed when cooking. Only cook on one
level when using this function.
The Gentle hot air heating function is used to measure
both the energy consumption in air recirculation mode
and the energy efficiency class.
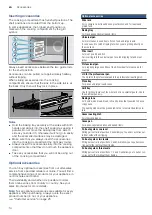
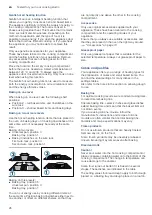
Baking on one level
When baking on one level, use the following shelf
positions:
■
Position 2 – tall baked items and tins/dishes on the
wire rack
■
Position 3 – shallow baked items and baking trays
Baking on two or more levels
Use the hot air heating function. Items that are placed in
the oven on baking trays or in baking tins/dishes at the
same time will not necessarily be ready at the same
time.
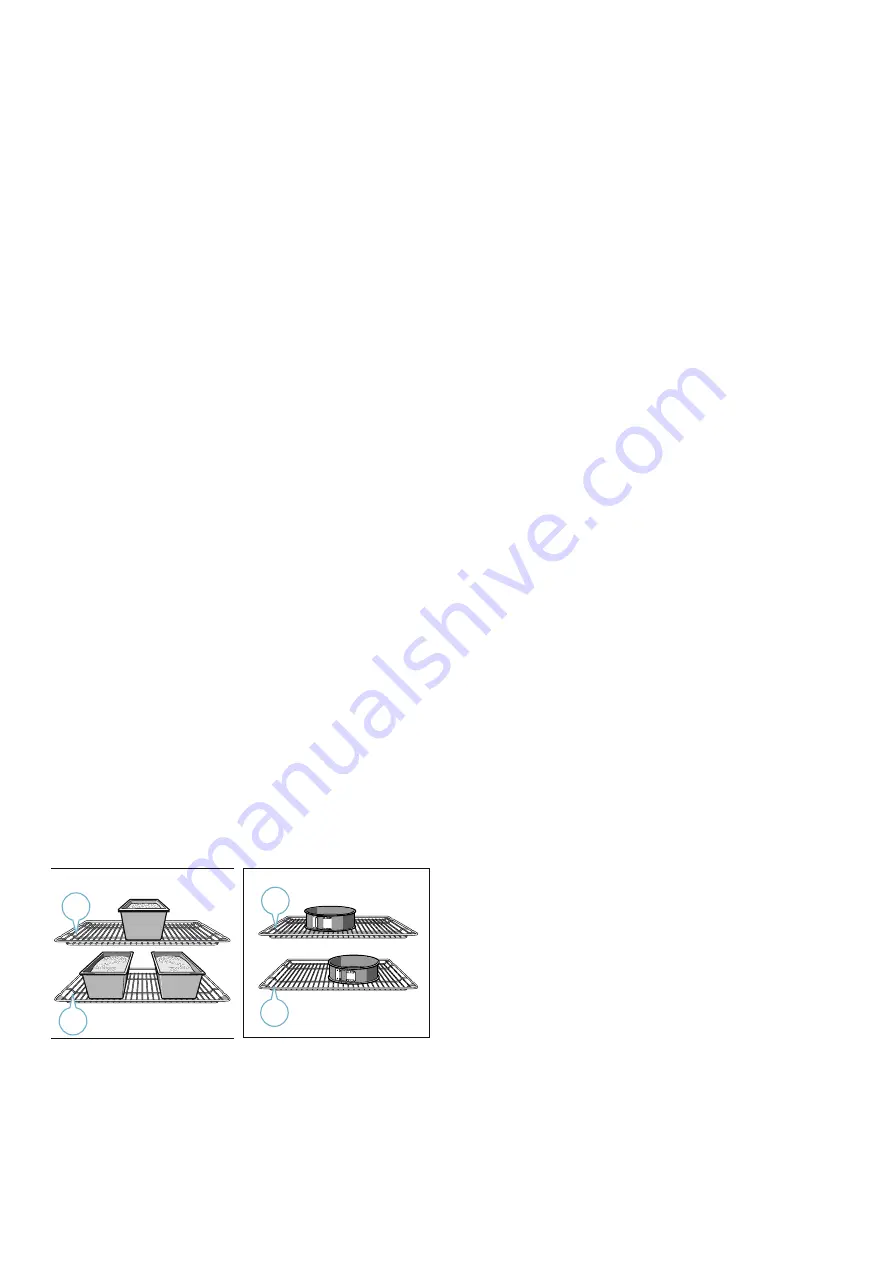
Baking on two levels:
■
Universal pan, position 3
Baking tray, position 1
■
Baking tins/dishes on the wire rack
First wire rack, position 3
Second wire rack, position 1
Baking on three levels:
■
Baking tray, position 5
Universal pan, position 3
Baking tray, position 1
You can cut energy use by cooking different items at
the same time. Position baking tins/dishes either next to
one another or offset on different shelves so that they
are not directly one above the other in the cooking
compartment.
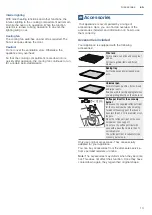
Accessories
Only use original accessories supplied with your
appliance. These have been tailored to the cooking
compartment and the operating modes of your
appliance.
Ensure that you always use suitable accessories and
that they are placed in the oven the right way around.
Greaseproof paper
Only use greaseproof paper that is suitable for the
selected temperature. Always cut greaseproof paper to
size.
Cakes and pastries
Your appliance offers you a range of heating types for
the preparation of cakes and small baked items. You
can find the ideal settings for many dishes in the
settings tables.
Also refer to the notes in the section on allowing dough
to rise.
Baking tins
For optimal cooking results, we recommend using dark-
coloured metal baking tins.
Tinplate baking tins, ceramic dishes and glass dishes
extend baking time and mean that the baked item will
not brown evenly.
If you are using silicone moulds, follow the
manufacturer's instructions and recipes. Silicone
moulds are often smaller than normal baking tins.
Quantity and recipe specifications may vary.
Frozen products
Do not use frozen products that are heavily frosted.
Remove any ice on the food.
Some frozen products may be unevenly pre-baked.
Uneven browning may remain even after baking.
Bread and rolls
Caution!
Never pour water into the hot cooking compartment or
place cookware containing water onto the bottom of the
cooking compartment. The change in temperature can
cause damage to the enamel.
Some food turns out better if it is baked in several
stages. These dishes are indicated in the table.
The setting values for bread dough apply to both dough
placed on a baking tray and dough placed in a loaf tin.


