20
en | Installation
VARI-directional array
2018.06 | V1.3 |
Installation manual
Bosch Security Systems B.V.
4.5
Mechanical installation
4.5.1
Mounting height
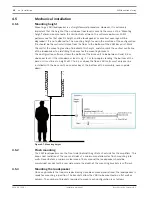
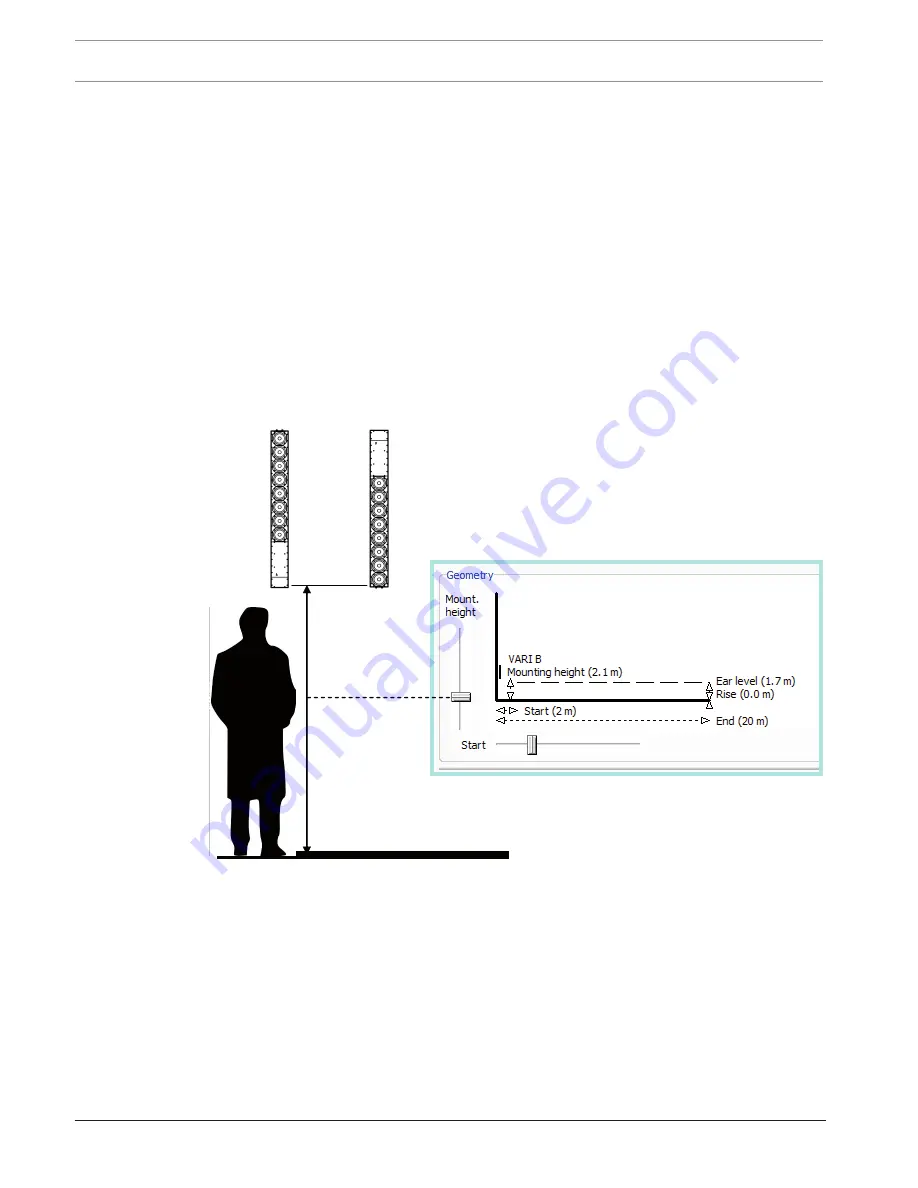
Mounting a VARI loudspeaker is a straightforward procedure. However, it is extremely
important that the height of the unit above floor level is exactly the same as the “Mounting
height” dimension entered in the VariControl software. The software optimises VARI’s
performance for that specific height and the loudspeaker’s acoustical coverage will be
degraded if it is not adhered to. The mounting height used in the creation of the configuration
file should be the vertical distance from the floor to the bottom of the VARI base unit. Mark
the wall at the mounting location to indicate this height, and also mark the vertical centreline
of the loudspeaker to aid drilling the holes for the mounting brackets.
The configuration software allows the bottom of the base unit to be between 0 and 3.5
m
above ear level. If the intended ear level is e.g. 1.7
m for people standing, the bottom of the
base unit must be at a height of 1.7 to 5.2
m above the floor. VARI units must only ever be
installed with the base unit’s connector bay at the bottom of the assembly, never upside
down.
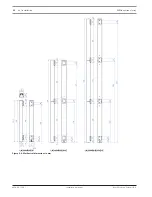
Figure
4.7: Mounting height
4.5.2
Flush mounting
The VARI loudspeakers use the front side (behind the grille) as heatsink for the amplifiers. This
keeps heat radiation at the rear and sides at a minimum and allows for flush mounting into
walls. Nevertheless a minimum clearance of 5
cm around the loudspeaker should be
maintained, except for the rear side where the depth of the mounting brackets is sufficient.
4.5.3
Mounting the loudspeaker
Once any brackets that require repositioning have been moved and refixed, the loudspeaker is
ready for mounting in position. The brackets allow the VARI to be mounted on a flat wall or
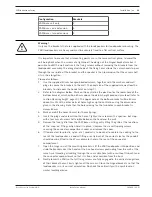
column. The number of brackets required to mount each configuration is as follows:


