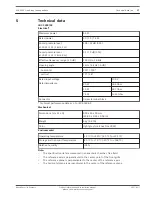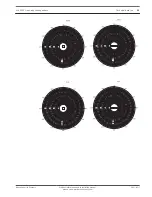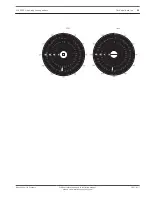
Listening area and related mounting height for
XLA3200/00
Determining mounting height and angle for the LBC3200 loudspeaker array:
1.
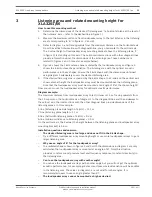
Determine the dimensions of the desired ‘listening area’ (a horizontal plane at the level of
the listeners’ ears – refer to the dashed line in figure 1).
2.
Determine the angle at which the loudspeaker array is to be mounted. The array is
designed to beam sound just above the listeners’ heads, and it is recommended not to
exceed an angle of 6”. There are two approaches, each with specific pros and cons.
–
Approach 1: Maximized listening area
–
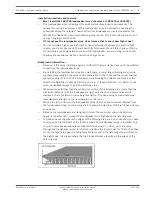
When a large listening area is desired, an angle of around 3” is recommended (see figure
1). Note that when walking away from the loudspeaker array, the sound pressure level
will decrease by an amount that depends on the room reverberation. To hear high tones
clearly, the listener should be able to see the loudspeaker array.
–
Approach 2: Minimized sound pressure level variation
–
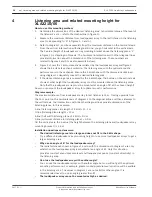
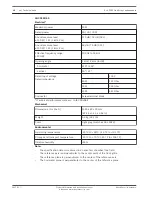
When less sound pressure level variation is desired, an angle of 5º is recommended. Note
that this reduces the size of the total listening area compared to approach 1, and that the
space very close to the loudspeaker array (‘A’ in figure 2) is not part of the listening area.
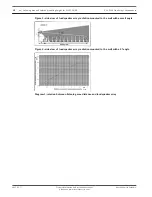
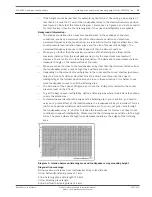
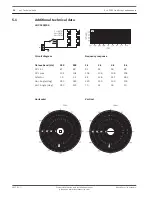
Diagram 1 shows the relationship between ‘A’ and the mounting height of the
loudspeaker array when using a 5” installation angle.
1.
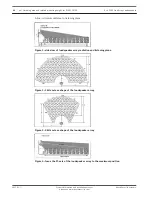
After selecting the most appropriate approach (mounting angle), the mounting height of
the loudspeaker is determined by focusing the 0º-axis of the loudspeaker array to the
desired position just above ear level of the furthest listener. This can be adjusted by
mounting the loudspeaker higher or lower on the wall.
Now you can mount the loudspeaker array for optimal acoustic performance.
2
8
en | Listening area and related mounting height for XLA3200/00
XLA 3200 Line Array Loudspeakers
2017.01 | |
Product information and installation manual,
please see www.boschsecurity.com
Bosch Security Systems

