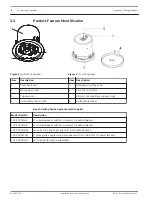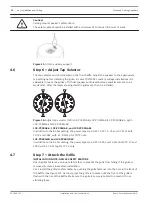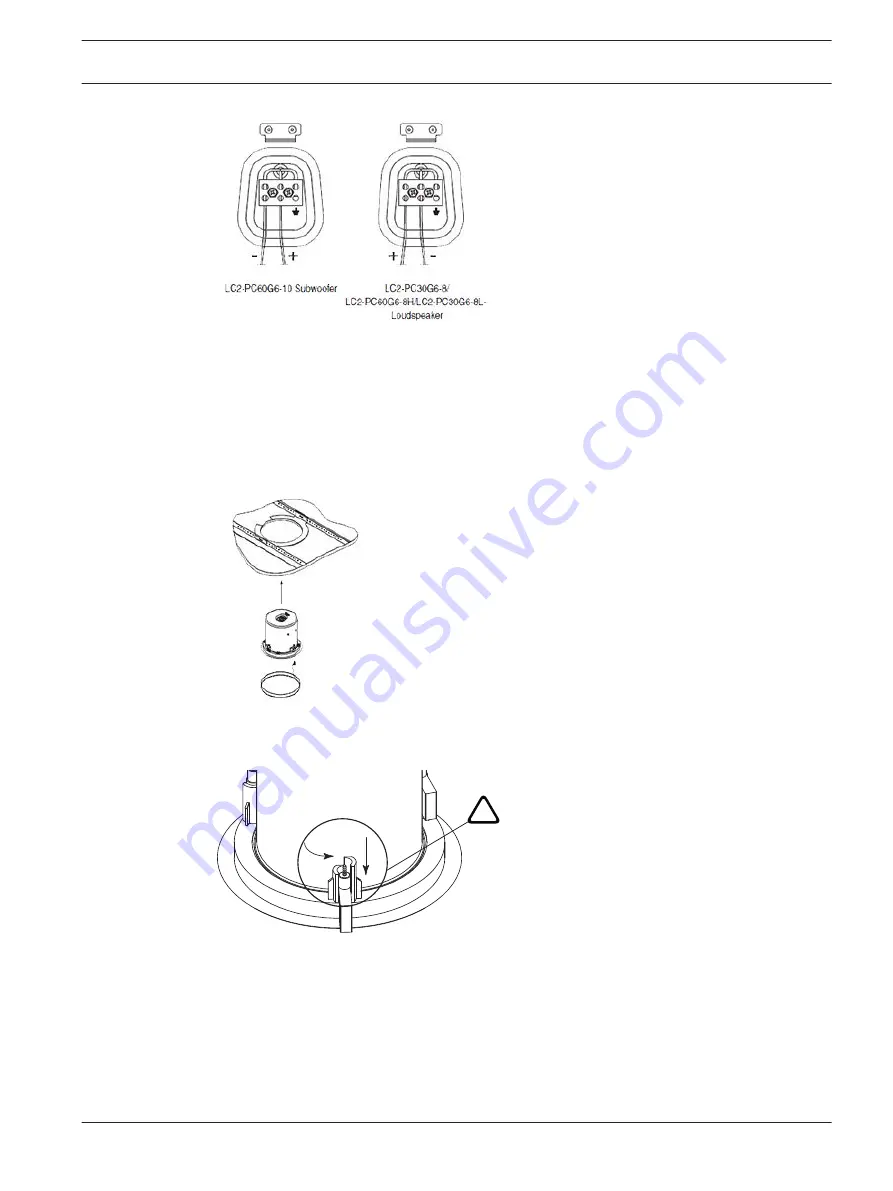
Figure 8: Subwoofer polarity with LC2-PC30G6-8/LC2-PC60G-8H/LC2-PC30G6-8L
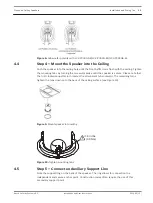
Step 4 — Mount the Speaker into the Ceiling
Push the speaker into the ceiling hole until the front baffle rim is flush with the ceiling. Tighten
the mounting tabs by turning the screw clockwise until the speaker is secure. Please note that
the first clockwise quarter-turn rotates the attachment tabs outward. The remaining turns
tighten the tabs down onto the back of the ceiling surface (see Figure 10).
Figure 9: Mount speaker into ceiling
!
<=8 in. lbs.
(0.9 Nm)
Figure 10: Tighten mounting tabs
Step 5 — Connect an Auxiliary Support Line
Note the support ring on the back of the speaker. The ring allows for connection to a
independent and secure anchor point. Construction codes often require the use of this
secondary support point.
4.4
4.5
Prosound Ceiling Speakers
Installation and Wiring | en
11
Bosch Security Systems B.V.
Installation and User Instructions
2016.05 | 12 |


