en
Before using for the first time
38
6.
Hold the beating whisk at the bot-
tom with one hand and tighten the
lock nut anticlockwise using a
spanner wrench.
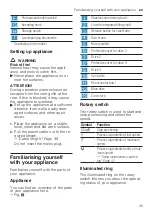
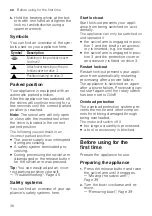
Symbols
You can find an overview of the sym-
bols used on your appliance here.
Symbol
Description
Marking on the protective cover
for drive 2.
Attachment marking on the pro-
tective cover for drive 3.
Position marking on drive 3.
Parked position
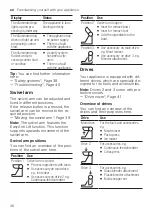
Your appliance is equipped with an
automatic parked position.
After the appliance has switched off,
the drives will continue moving for a
few seconds until the correct parked
position is reached.
Note:
The swivel arm will only open
or close with the inserted tool when
the drive is located in the correct
parked position.
The following causes result in an
incorrect parked position:
¡
The power supply was interrupted
during processing.
¡
A safety system terminated pro-
cessing.
¡
During processing the swivel arm
disengaged or the release button
for the swivel arm was pressed.
Tip:
You can easily adjust an incor-
rect parking position yourself.
→
Safety systems
You can find an overview of your ap-
pliance's safety systems here.
Start lock-out
Start lock-out prevents your appli-
ance from being switched on acci-
dentally.
The appliance can only be switched on
and operated if
¡
the swivel arm is engaged in posi-
tion 1 and the bowl or an access-
ory is inserted, e.g. Ice maker.
¡
the swivel arm is engaged in posi-
tion 3 and the protective cover or
an accessory is fitted on drive 3.
Restart lock-out
Restart lock-out prevents your appli-
ance from automatically restarting
processing after a power failure.
The appliance is switched on again
after a power failure. Processing can-
not start again until the rotary switch
has been set to
.
Overload protection
The overload protection system pre-
vents the motor and other compon-
ents from being damaged through
being overloaded.
The motor will switch off if
¡
too large a quantity is processed.
¡
a tool or accessory is blocked.
Before using for the first time
Before using for the
first time
Before using for the first time
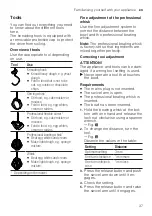
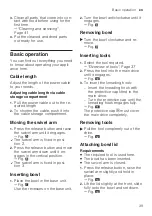
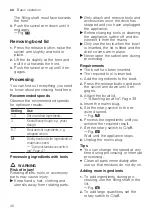
Prepare the appliance for use.
Preparing the appliance
1.
Press the release button and raise
the swivel arm until it engages.
→
2.
Turn the bowl clockwise and re-
move.
→
Summary of Contents for myMUM MUM5 7P Series
Page 2: ...MUM5 P MUM5 S A B C D E F G I H 1 1 2 3 4 5 6 7 8 9 10 13 11 12 2 ...
Page 3: ...10 mm 3 4 5 6 7 8 9 10 ...
Page 4: ...11 12 13 14 15 16 17 18 ...
Page 5: ...19 20 21 22 23 24 ...
Page 6: ...25 ...
Page 28: ...de Kundendienst 28 ...
Page 71: ......

