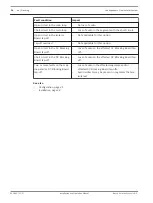
Install Master Unit in 19-inch rack
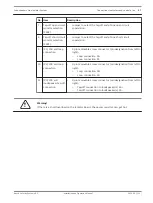
The Master Unit can be easily installed in a 19-inch rack. To do this, use the following
components:
–
the 19" rack mounting brackets (supplied with the product).
–
supplied mounting screws.
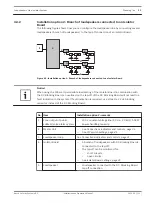
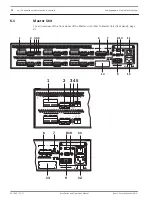
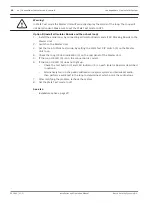
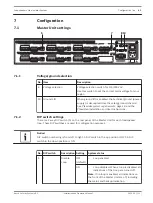
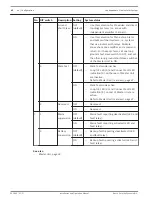
Figure 5.1: 19” mounting bracket or feet installation
If you install the product in a 19” rack, make sure:
–
you take sufficient precautions when lifting the unit (the unit is heavy and may require
two people for lifting).
–
the rack is of suitable quality to sufficiently support the weight of the unit.
–
the ambient temperature inside the rack does not 55 °C.
Install an Isolator Board or DC Blocking Board in a housing
Notice!
Each Isolator Board is supplied with an IP30 rated housing. Alternatively the Isolator Board
can be mounted in selected Bosch loudspeakers using the mounting provisions. Refer to the
appropriate loudspeaker manual.
1.
Open the supplied housing.
2.
Remove the applicable punch out holes from the housing, as required, depending on the
type of cables being used (6 mm or 9 mm diameter holes).
3.
Make sure the all-round clearance between the cable and the hole is less than 1 mm. This
will guarantee the IP30 rating of the housing.
4.
Use the mounting holes to secure the housing to a solid flat surface, loudspeaker or
loudspeaker (fire) dome.
5.
Inspect the board for signs of damage.
6.
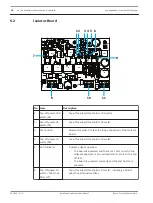
Set the jumpers to the correct positions. See Isolator Board settings, page 43.
7.
Install the board in the housing. Click the board into the provided mounting position,
making sure the snappers grip the board.
8.
Fasten the board with the provided screws.
9.
Connect the cables, use the provided cable ties and tether point to secure the cables and
relieve the strain on the connectors.
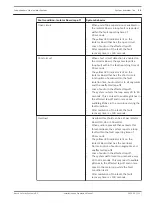
10. For the Isolator Board, make sure that the fault indicator will still be visible through the
transparent viewing hole once the board is installed.
5.1
5.2
Loudspeakers Line Isolator System
Installation | en
29
Bosch Security Systems B.V.
Installation and Operation Manual
2014.03 | V1.1 |

