16
| English
1 609 92A 0VJ | (10.11.14)
Bosch Power Tools
Dust/Chip Extraction
Dusts from materials such as lead-containing coatings,
some wood types, minerals and metal can be harmful to
one’s health. Touching or breathing-in the dusts can cause
allergic reactions and/or lead to respiratory infections of
the user or bystanders.
Certain dusts, such as oak or beech dust, are considered
as carcinogenic, especially in connection with wood-treat-
ment additives (chromate, wood preservative). Materials
containing asbestos may only be worked by specialists.
– As far as possible, use a dust extraction system suitable
for the material.
– Provide for good ventilation of the working place.
– It is recommended to wear a P2 filter-class respirator.
Observe the relevant regulations in your country for the mate-
rials to be worked.
Prevent dust accumulation at the workplace.
Dusts can
easily ignite.
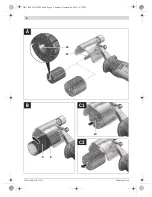
External Dust Extraction (see figure F)
– Insert a vacuum hose (diameter 19 mm; accessory) into
the vacuum connection
3
. Connect the vacuum hose to a
vacuum cleaner (accessory).
An overview for connecting to different vacuum cleaners can
be found at the end of these operating instructions.
The vacuum cleaner must be suitable for the material being
worked.
When vacuuming dry dust that is especially detrimental to
health or carcinogenic, use a special vacuum cleaner.
Operation
Before any work on the machine itself, pull the mains
plug.
When working with the machine, always hold it firmly
with both hands and provide for a secure stance.
The
power tool is guided more secure with both hands.
Starting Operation
Observe the mains voltage! The voltage of the power
source must correspond with the data on the type plate
of the machine.
Switching On and Off
– To
start
the machine, push the On/Off switch
6
forward so
that the
“1”
is indicated on the switch.
To save energy, only switch the power tool on when using
it.
– To
switch off
the machine, push the On/Off switch
6
to-
ward the rear so that the
“0”
is indicated on the switch.
Check sanding tools before using. The sanding tool
must be mounted properly and be able to move freely.
Carry out a test run for at least one minute with no load.
Do not use damaged, out-of-centre or vibrating sand-
ing tools.
Damaged sanding tools can burst and cause in-
juries.
Selecting the Sanding Tool
Choose the sanding tool according to the surface shape and
material you want to sand. Select an appropriate grit for the
desired material removal rate.
Working Advice
The material removal rate and surface quality are primarily de-
termined by the choice of sanding tool, the pre-selected
speed setting and the contact pressure.
Only immaculate sanding tools will deliver good sanding per-
formance and protect the power tool.
Use only original Bosch sanding accessories.
Preselecting the Speed
The required speed can be preselected with the thumbwheel
7
(also while running).
The required speed depends on the material and the working
conditions and can be determined through practical testing.
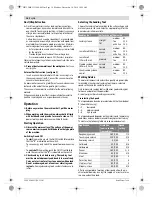
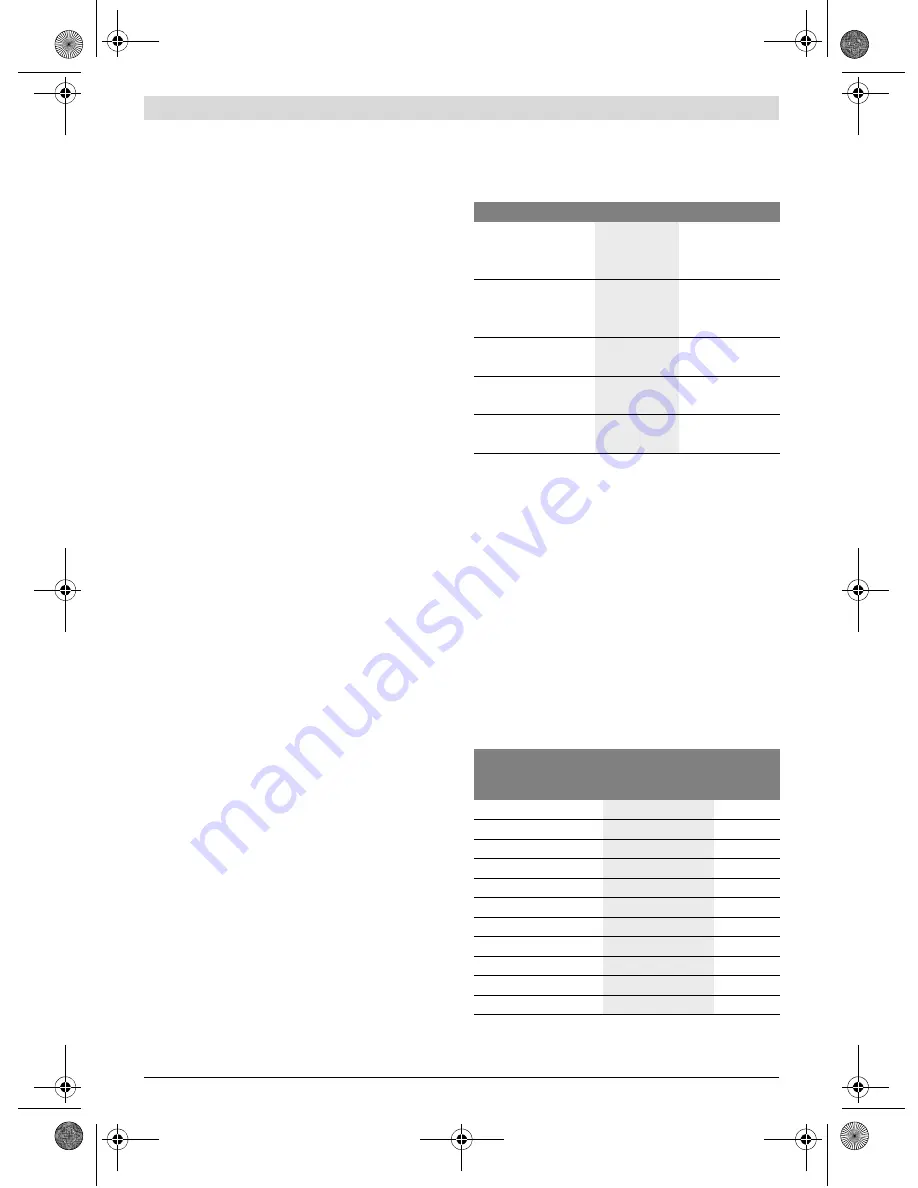
The data in the following table are recommended values.
After longer periods of working at low speed, allow the ma-
chine to cool down by running it for approx. 3 minutes at max-
imum speed with no load.
Sanding tool
Surface shape Grain size
Sanding sleeve
straight
flat
medium
fine
extra fine
80
120
240
Lamella roll (60 mm)
curved
uneven
medium
fine
extra fine
80
120
240
Lamella roll
(10 mm/5 mm)
grooved
medium
fine
80
120
Flexible sanding wheel
(60 mm/10 mm)
curved
flexible
medium
fine
80
120
Shank/sanding sleeve,
conical
medium
fine
80
120
1–2
low speed
3–4
medium speed
5–6
high speed
Application
Grain Size
(course sanding/
fine sanding)
Speed
setting
Roughening varnish
180/240
2/3
Touching up varnish
120/240
4/5
Removing varnish
40/60
5
Softwood
40/240
5/6
Hardwood
60/240
5/6
Veneer
180/240
2–4
Aluminium
80/240
4/5
Steel
40/240
5
Derusting steel
40/120
6
Stainless steel
80/240
5
Masonry, stone
80/240
5/6
OBJ_DOKU-33448-002.fm Page 16 Monday, November 10, 2014 10:59 AM

