English - 3
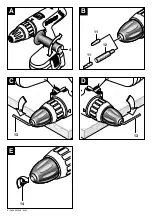
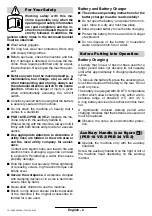
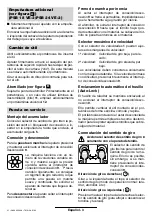
Open the drill chuck 3 by turning until the tool can
be inserted. Insert the tool.
Firmly tighten the sleeve of the keyless chuck 3
by hand until the locking action (“click”) is no
longer heard. This automatically locks the chuck.
Rotate the sleeve in the reverse direction to re-
move the tool.
Screwdriving (see figure
)
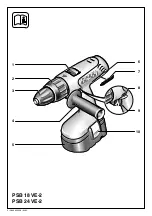
Directly clamp the screwdriver bit 7 into the drill
chuck or use the additional universal bit holder 12
when operating with hex shank bits 11.
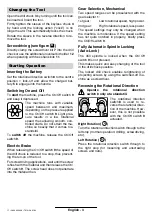
Inserting the Battery
Set the rotational direction switch 8 to the centre
position = lock-off and allow the charged bat-
tery 5 to engage into the handle.
Switching On and Off
To start the machine, press the On /Off switch 9
and keep it depressed.
The machine runs with variable
speed between 0 and maximum,
depending on the pressure applied
to the On/Off switch 9. Light pres-
sure results in a low rotational
speed thus allowing smooth, con-
trolled starts. Do not strain the ma-
chine so heavily that it comes to a
standstill.
To switch off the machine, release the On /Off
switch 9.
Electric Brake
When releasing the On/Off switch 9 the speed of
the drill chuck is reduced to a stop, thus prevent-
ing the run-on of the tool.
For screwdriving applications, wait until the screw
is flush with the material and then release the On/
Off switch 9. The screw head does not penetrate
into the material then.
Gear Selection, Mechanical
Two speed ranges can be preselected with the
gear selector 1:
1st gear:
Low rotational speed, high power.
2nd gear:
High rotational speed, less power.
The speed settings may only be changed when
the machine is motionless. If the speed setting
has not quite notched in properly, briefly press
the On/Off switch 9.
Fully Automatic Spindle Locking
(Auto-Lock)
The drill spindle is locked when the On /Off
switch 9 is not pressed.
This makes quick and easy changing of the tool
in the drill chuck possible.
The locked drill chuck enables retightening of
projecting screws by using the switched-off ma-
chine as a screwdriver.
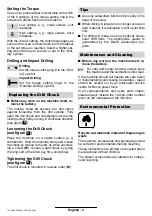
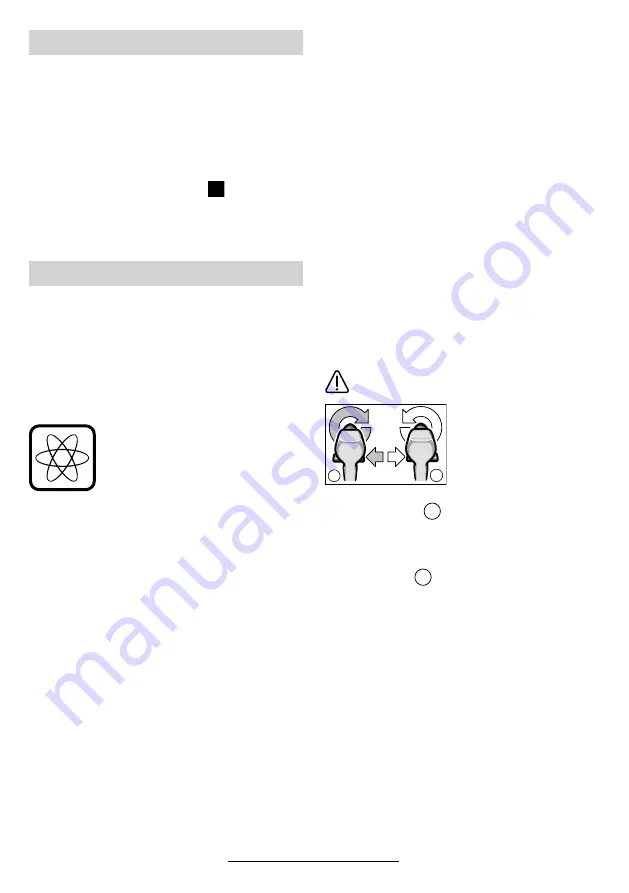
Reversing the Rotational Direction
Operate the rotational direction
switch 8 only at a standstill.
The rotational direction
switch 8 is used to re-
verse the rotational direc-
tion of the machine. How-
ever, this is not possible
with the On/Off switch 9
actuated.
Right Rotation (
)
Turn the rotational direction switch through to the
left stop (normal operation: drilling, screwdriving,
etc.).
Left Rotation (
)
Press the rotational direction switch through to
the right stop (for loosening and unscrewing
screws and nuts).
Changing the Tool
Starting Operation
B
b
a
a
b
11 • 2 609 932 336 • TMS • 26.01.04


