20
ctrlX AUTOMATION First Steps
Step 12 – Commissioning a kinematics
Bosch Rexroth AG R911403760
Edition 01
4.
Assigning axes to kinematics
Assign three configured axes to three kinematic axes (X-Y-Z) in the fol-
lowing steps.
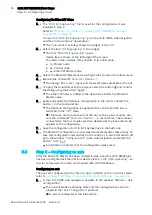
In the table column of the kinematics, click on the button .
The dialog
“Assign axis to [name]”
opens.
The following settings are made in the dialog:
●
“Axis meaning”
Selecting the axis meaning or the kinematic axis (X-Y-Z)
●
“Axis direction”
Specifying the traversing direction (
“Positive”
/
“Negative”
)
●
“Axis name”
Selecting the axis to be assigned to the respective kinematic axis
5.
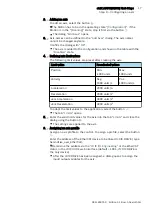
In the input field
“Axis name”
, click on the button
and select the axis to
be assigned to the kinematic axis
“X”
.
Select the button
to save the settings
6.
Repeat the steps for the kinematic axes
“Y”
and
“Z”
7.
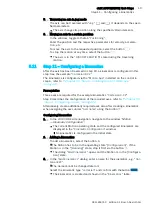
To save the kinematic configuration remanently on the control, i.e. also
after switch-off, select the button (Save axis/kinematics configuration).
A notification confirms that the configuration was saved.
8.
Select the button to switch the Motion to the [Running] mode.
After the configuration, the Motion is in the [Running] state.
5.12
Step 12
–
Commissioning a kinematics
After a kinematics has been created in step 11 and the kinematic axes have
been assigned, the kinematics is commissioned in this step.
Commissioning the kinematics
1.
In the ctrlX CORE side navigation, navigate to the window
“Motion
Kinematic Commissioning”.
Another option is to navigate to the window
“Kinematic Commis-
sioning”
: Go to the window Kinematic Configuration and select the button
.
The Motion operating state can be commanded, kinematics selected,
their motion values defined and traversed a via jog command or a posi-
tion specification in the
“Kinematic Commissioning”
window.
2.
Selecting the kinematics
If only one kinematics was configured, it is already shown in the table.
If multiple kinematics are configured, one kinematics has to be selected
for commissioning. In the
“Kinematics”
table column, click on the button
and select the kinematics.
The kinematics is shown in the table.
3.
Selecting the Motion mode
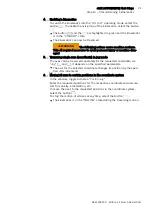
To switch the Motion to the [Running] state, go to the command bar and
select the button .
The Motion is switched to the
“[Running]”
state.
The selected kinematics is in the
“Disabled”
state.
Summary of Contents for rexroth ctrlX AUTOMATION
Page 1: ...ctrlX AUTOMATION First Steps Quick Start Guide R911403760 Edition 01 ...
Page 8: ...8 ctrlX AUTOMATION First Steps Bosch Rexroth AG R911403760 Edition 01 ...
Page 10: ...10 ctrlX AUTOMATION First Steps Bosch Rexroth AG R911403760 Edition 01 ...
Page 24: ...24 ctrlX AUTOMATION First Steps Bosch Rexroth AG R911403760 Edition 01 ...
Page 26: ...26 ctrlX AUTOMATION First Steps Bosch Rexroth AG R911403760 Edition 01 ...
Page 28: ...28 ctrlX AUTOMATION First Steps Bosch Rexroth AG R911403760 Edition 01 ...
Page 30: ...30 ctrlX AUTOMATION First Steps Bosch Rexroth AG R911403760 Edition 01 ...
Page 32: ...32 ctrlX AUTOMATION First Steps ctrlX PLC Engineering Bosch Rexroth AG R911403760 Edition 01 ...
Page 34: ...34 ctrlX AUTOMATION First Steps Bosch Rexroth AG R911403760 Edition 01 ...


