


Basic settings NL
B
Basic settings
asis settings
B
You can set up your device according to your needs.
asis settings
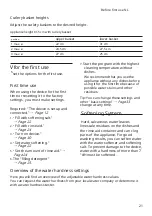
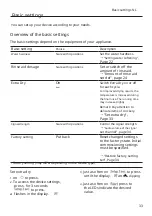
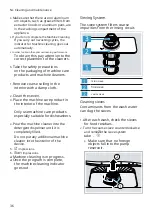
Overview of the basic settings
The basic settings depend on the equipment of your appliance.
Basic setting
Choise
Description
Water hardness
Scale with 4 positions
Set the water hardness.
Rinse aid dosage
Scale with 4 positions
Set or switch off the
amount of rinse aid.
Extra Dry
On
from
1
Switch Extra Dry on or off
for each cycle.
For improved drying results, the
temperature is increased during
the final rinse. The running time
may increase slightly.
Remark: Pay attention to
delicate items of crockery.
Signal strength
Scale with 4 positions
Control the signal strength.
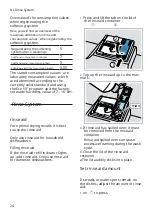
Factory setting
Put back
Reset changed settings
to the factory state. Initial
commissioning settings
must be specified.
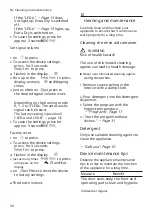
1
Factory setting (may differ depending on the device type)
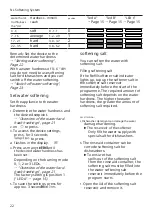
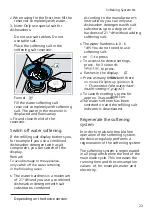
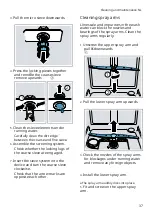
3.
Just as often on
Set extra dry
to press
1.
on
to press.
until the display.
and
press to
clipping
2.
To access the device settings,
press . for 3 seconds
to press.
4.
Just as often on
the LEDs indicate the desired
value.
a flashes in the display.
33


