29
Loading the laundry
9
WARNING
RISK OF EXPLOSION
Do not dry laundry that has ever been in contact
with solvents, oil, wax, grease or paint (e.g. hair
styling products, nail varnish remover, stain
remover, cleaning solvent, etc.).
1.
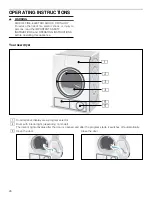
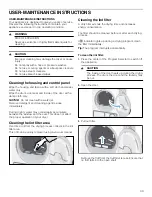
Check lint filter.
The filter should be cleaned after or before every
drying process. Cleaning the filter reduces the drying
time and saves energy.
Cleaning the lint filter; Page 39
2.
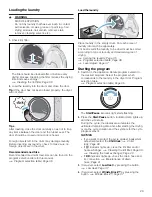
Load the laundry into the drum and close the door.
Tip:
If the door has not been closed properly, the dryer
will not start.
Tips
After loading, close the door carefully so as not to trap
any items between the door and the rubber seal. The
door should be closed until a click is heard.
Foreign objects left in the drum may damage laundry.
Before inserting any laundry, check to make sure no
foreign objects are in the drum.
Recommended Load Size
Recommended maximum load size can be found in the
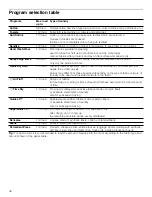
program selection table in this manual.
Program selection table; Page 36
Load the laundry
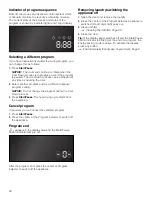
Place laundry in the empty drum. Put each piece of
laundry into machine separately.
For best results the laundry to be dried must be sorted
according to type of laundry and desired degree of
drying.
Program selection table; Page 36
Starting the program
1.
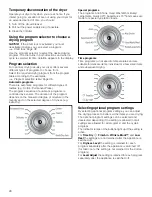
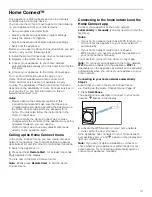
Switch on the appliance. Rotate program selector to
the desired program. Select the program which
corresponds to the laundry in the dryer from Program
selection table.
Program selection table; Page 36
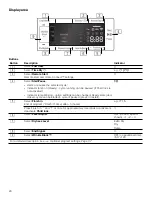
The
Start/Pause
indicator light starts flashing.
2.
Press the
Start/Pause
button. Indicator lamp lights up
and the cycle starts.
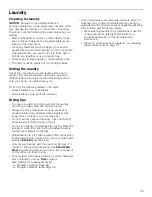
During the cycle, the display area indicates the
estimated remaining time and, after starting the drying
cycle, the cycle duration and the symbols for the cycle
progress stay lit.
NOTICES
▯
If you want to protect the cycle against inadvertent
adjustment select the
Child lock
▯
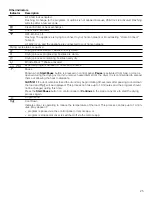
If
é
indicator lights up, clean the lint filter and/or
heat exchanger.
Cleaning the lint filter; Page 39
,
Cleaning the heat exchanger; Page 40
▯
If
DR
indicator lights up, check the drain hose and
its connection.
3.
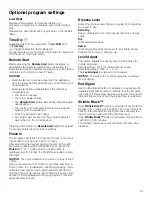
If required, select
Low Heat
by pressing the button.
4.
If required, select
Wrinkle Block™
by pressing the
button.
L


