Home Connect
en
45
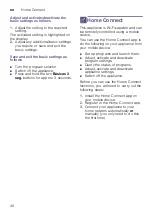
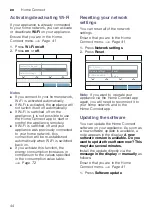
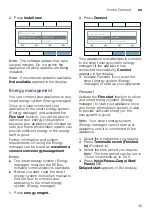
2.
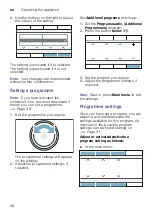
Press
Install now
.
Note:
The software update may take
several minutes. Do not switch the
appliance off while updates are being
installed.
Note:
If no software update is available,
Not available
appears in the display.
Energy management
You can connect your appliance to your
smart energy system (Energy manager).
Once you have connected your
appliance to the smart energy system
(Energy manager) and activated the
Flex start
function, you will be able to
optimise your energy consumption
because your appliance will not start up
until your home photovoltaic system can
provide sufficient energy or the energy
tariff is good.
Further information and system
requirements for using the Energy
manager can be found at:
www.home-
connect.com/energymanagement
Notes
■
The smart energy system (Energy
manager) must use the EEBus
initiative communications standard.
■
Before you start, read the smart
energy system instruction manual to
find out how to connect your
appliance to the smart energy
system (Energy manager).
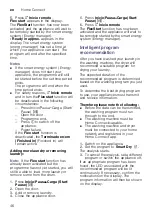
1.
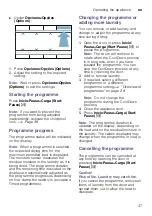
Press
energy mngmt.
.
2.
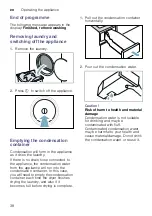
Press
Connect
.
Your appliance now attempts to connect
to the smart energy system (energy
manager).If the appliance has
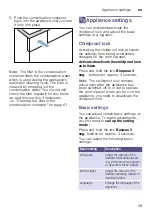
connected successfully,
Connect
appears in the display.
3.
Activate Flexstart if you want the
smart energy system (Energy
manager) to start up your appliance.
Flex start
Activate the
Flex start
function to allow
your smart energy system (Energy
manager) to start your appliance once
your home photovoltaic system is able
to provide sufficient energy or the
energy tariff is good.
Note:
Your smart energy system
(Energy manager) cannot start your
appliance until it is connected to the
appliance.
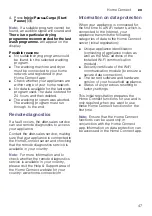
1.
Select the programme you require.
2.
Press
Terminado en/em (Finished
in)
(Finished in).
3.
Select the time period you require.
Note:
The time period can be set in
1-hour increments up to 24 h.
4.
Press
Inicio/Pausa+Carga (Start/
Pause)
A
.
Delayed start
appears in the display.
6RIWZDUHXSGDWH
,QVWDOOQRZ
1HWZRUNVHWWLQJV
$YDLODEOH
'UXPFOHDQDGYLFH
HQHUJ\PQJPW
1RWFRQQHFWHG
&RQQHFW
6RIWZDUHXSGDWH
Summary of Contents for WTX87EH0ES
Page 75: ...6 ...


