5
Installation of the CDI-BR-1
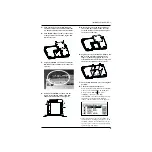
1.
Turn off the power to the BR-1180 and
any connected devices, and disconnect the
AC adapter and all other connector cables.
2.
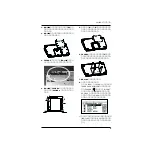
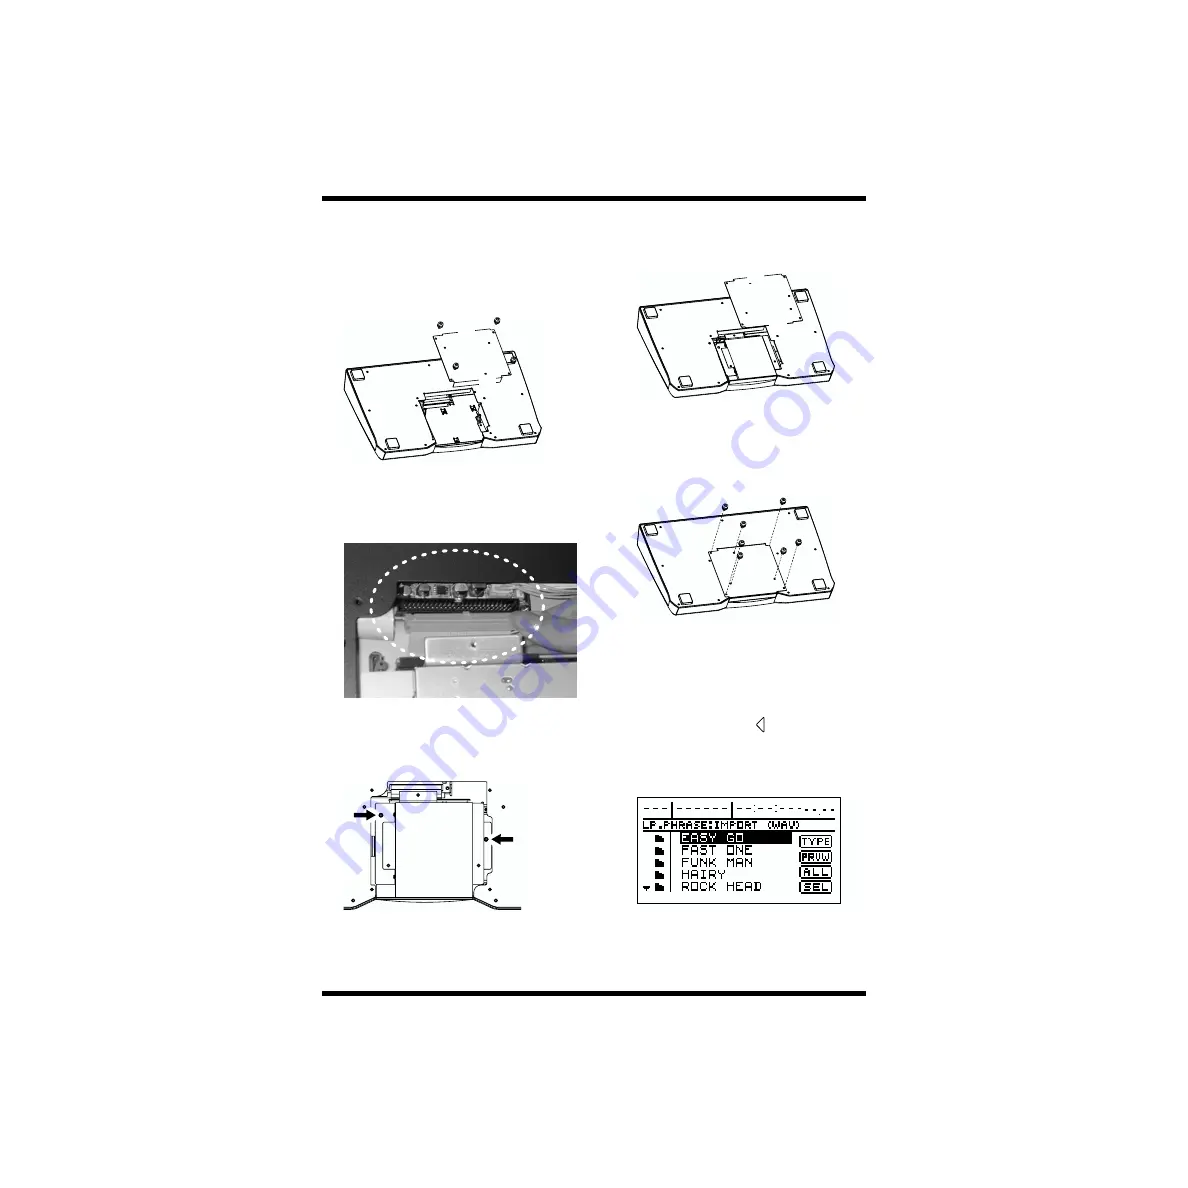
Turn the BR-1180 over, remove the screws
at the positions shown in the figure, and
remove the cover.
fig.01
3.
Align the CDI-BR-1’s connector with the
BR-1180’s socket and insert the connector
securely.
fig.02
4.
Position the CDI-BR-1 as shown in the
figure so that the CDI-BR-1’s and BR-
1180’s attachment holes are aligned.
fig.03
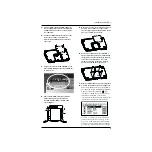
5.
Replace the cover with the positions of
the (A) and (B) sections of the cover are
reversed relative to their positions prior
to the cover’s removal.
fig.04
6.
Tighten the screws included with the CDI-
BR-1 in the positions indicated in the
figure (C) until snug, tighten the cover
attachment screws until they are snug, and
then securely tighten all of the screws.
fig.05
7.
Turn the BR-1180 back over to its original
position.
8.
Check the operation of the unit.
Place the included CD-ROM in the CDI-BR-
1, then press [LOOP PHRASE IMPORT].
Next, press CURSOR [
] to select
“IMPORT,” then press [ENTER].
If the CDI-BR-1 has been installed correctly,
the data on the included CD-ROM is
loaded, and the following screen appears.
fig.06
* If the screen does not appear, first follow the
instructions in “Turning off the power” (p. 30
in the BR-1180 Owner’s Manual) to turn off
the unit’s power, then carry out the procedure
again starting from Step 1.
(A)
(B)
(B)
(A)
(C)
(C)
(C)


