7
DR-3
2.
Press the [EXIT] button to end the SRAM Check.
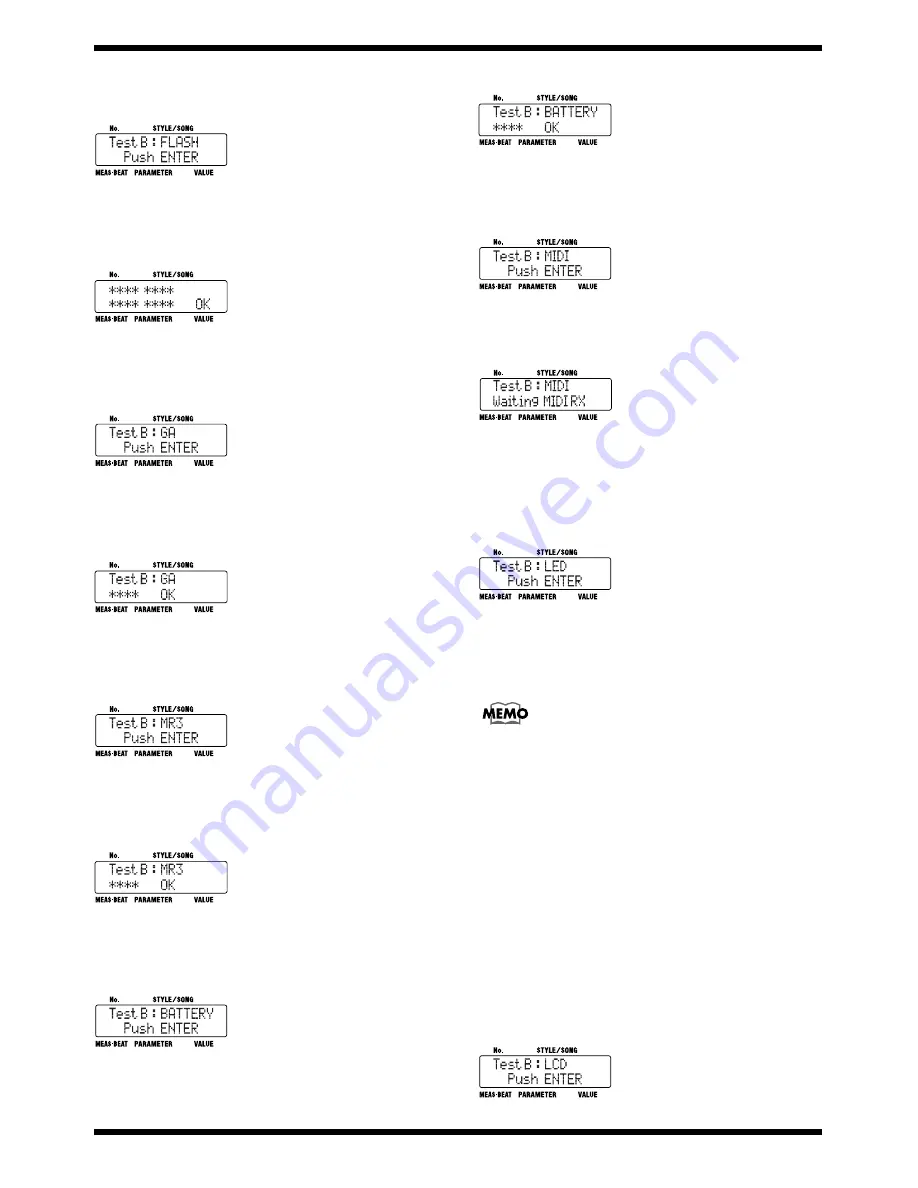
2.FLASH Check
fig.test2-1
1.
Press the [ENTER] button.
If there is no problem, the display will indicate “OK.”
fig.test2-2
2.
Press the [EXIT] button to end the FLASH Check.
3.GA Check
fig.test3-1
1.
Press the [ENTER] button.
If there is no problem, the display will indicate “OK.”
fig.test3-2
2.
Press the [EXIT] button to end the GA Check.
4.MR3 Check
fig.test4-1
1.
Press the [ENTER] button.
If there is no problem, the display will indicate “OK.”
fig.test4-2
2.
Press the [EXIT] button to end the MR3 Check.
5.BATTERY Check
fig.test5-1
1.
Press the [ENTER] button.
If there is no problem, the display will indicate “OK.”
fig.test5-2
2.
Press the [EXIT] button to end the BATTERY Check.
6.MIDI CHECK
fig.test6-1
1.
Press the [ENTER] button.
fig.test6-2
2.
Send NOTE ON information from the connected MIDI keyboard.
(Any settings may be used for the MIDI channel and note number.)
3.
Press the [EXIT] button to end the MIDI Check.
7.LED Check
fig.test7-1
1.
Press the [ENTER] button.
2.
Check the following:
• The LEDs for all buttons must light up (22 locations).
• The brightness of the button LEDs must be without fluctuation.
Names of Buttons with Lighting LEDs
[MANU], [AUTO], [SONG], [START], [STEP REC], [SOUND SHAPE],
[AMBIENCE], [PTN], [INST], [VARIATION PTN], [VARIATION KIT],
[VARIATION MUTE], [KEY SHIFT], [TEMP], [INTRO START], [FILL A],
[VERSE A], [FILL B], [VERSE B], [FILL C], [VERSE C], and ENDING STOP]
3.
Press the button displayed on the LCD.
The button to press next is then displayed. Continue with pressing the
buttons in the sequence shown.
Also make sure that when a button having a lighted LED is pressed, the
LED simultaneously goes dark.
4.
If after being pressed the button catches on the case and does not return
or rubs against the case and returns slowly, the test is considered to have
been failed.
If the test fails “NG”, check for a problem in the installation of the rubber
switch or for burring on the case.
5.
Press the last [ENDING STOP] button to end the LED Check.
8.LCD Check
fig.test8-1


