


72
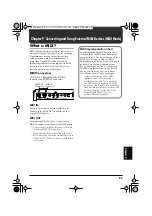
Chapter 5 Performing Songs (Song Play Mode)
In Song Play mode, you can play the songs that
have been created.
◆
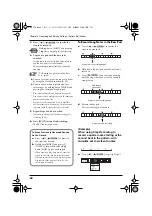
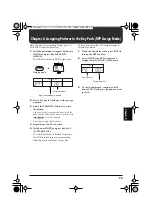
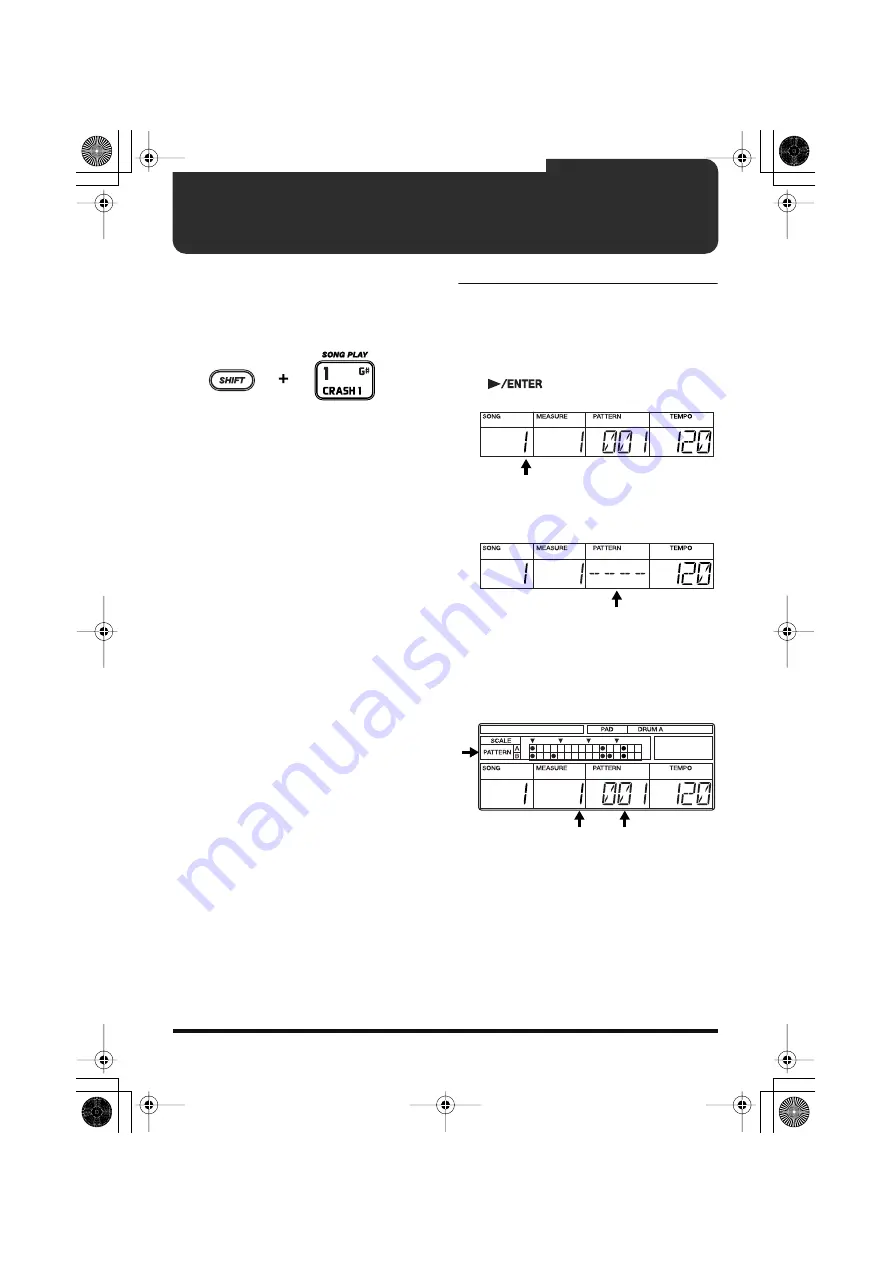
To switch to Song Play mode, hold down
[SHIFT] while the performance is stopped
and press Key Pad 1 (SONG PLAY).
fig.05-01
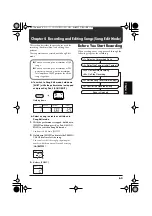
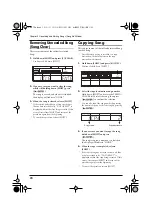
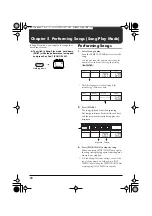
Performing Songs
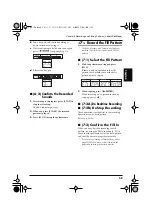
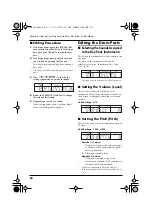
1.
Select a song to play.
Turn the TEMPO/VALUE dial to select the
song.
* You can also input the number by pressing the
numeric keys, and select the song by pressing
[
].
fig.05-02
* The following appears in the display if the
selected song contains no data.
fig.05-03
2.
Press [START].
The song is played from the beginning.
The tempo indicator flashes with each beat,
and the measure currently being played is
displayed.
fig.05-04
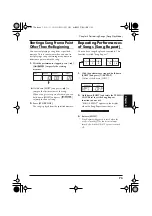
3.
Press [STOP/CONT] to stop the song.
When you press [STOP/CONT] once again,
the song starts playing again from the point
where it was stopped.
* You can change the tempo settings, even while a
song is being played, by holding down [TAP
TEMPO] and rotating the TEMPO/VALUE dial
or by tapping [TAP TEMPO] in rhythm.
Holding down
Pattern
Measure
DR-670.e.book 72 ページ 2006年10月18日 水曜日 午後3時12分
Summary of Contents for Dr. Rhythm DR-670
Page 15: ...15 Memo DR 670 e book 15...
Page 117: ...117 Memo DR 670 e book 117...
Page 118: ...118 Memo DR 670 e book 118...


