90
Chapter 9. Connecting External MIDI Devices
fig.109-20a
■
If you selected “1DRMKIT,” use [DEC] [INC] or
[VALUE] to select the drum kit whose data you want to
transmit.
5.
To execute the bulk dump, press [ENTER].
The display will indicate “Trnsmit” (transmitting)
→
“Done,” and the bulk dump will be completed.
If you decide to cancel, press [STOP/EXIT].
The bulk dump will be canceled, and the display will
indicate “Aborted.”
NOTE
If you select “ALL” and execute the Bulk Dump, the memory on
the receive device will be full before the Bulk Dump is completed,
not being able to receive any more data.
If this happens, change the data to be transferd to “SEQ,”
“GLOBAL,” “DRMKITS,” or “1DRMKIT,” then execute the
Bulk Dump again.
Restoring the Transmitted
Data Back to the DR-770
Here’s how data that was previously saved on a sequencer
can be transmitted back to the DR-770, or how data
transmitted from one DR-770 can be received by another DR-
770.
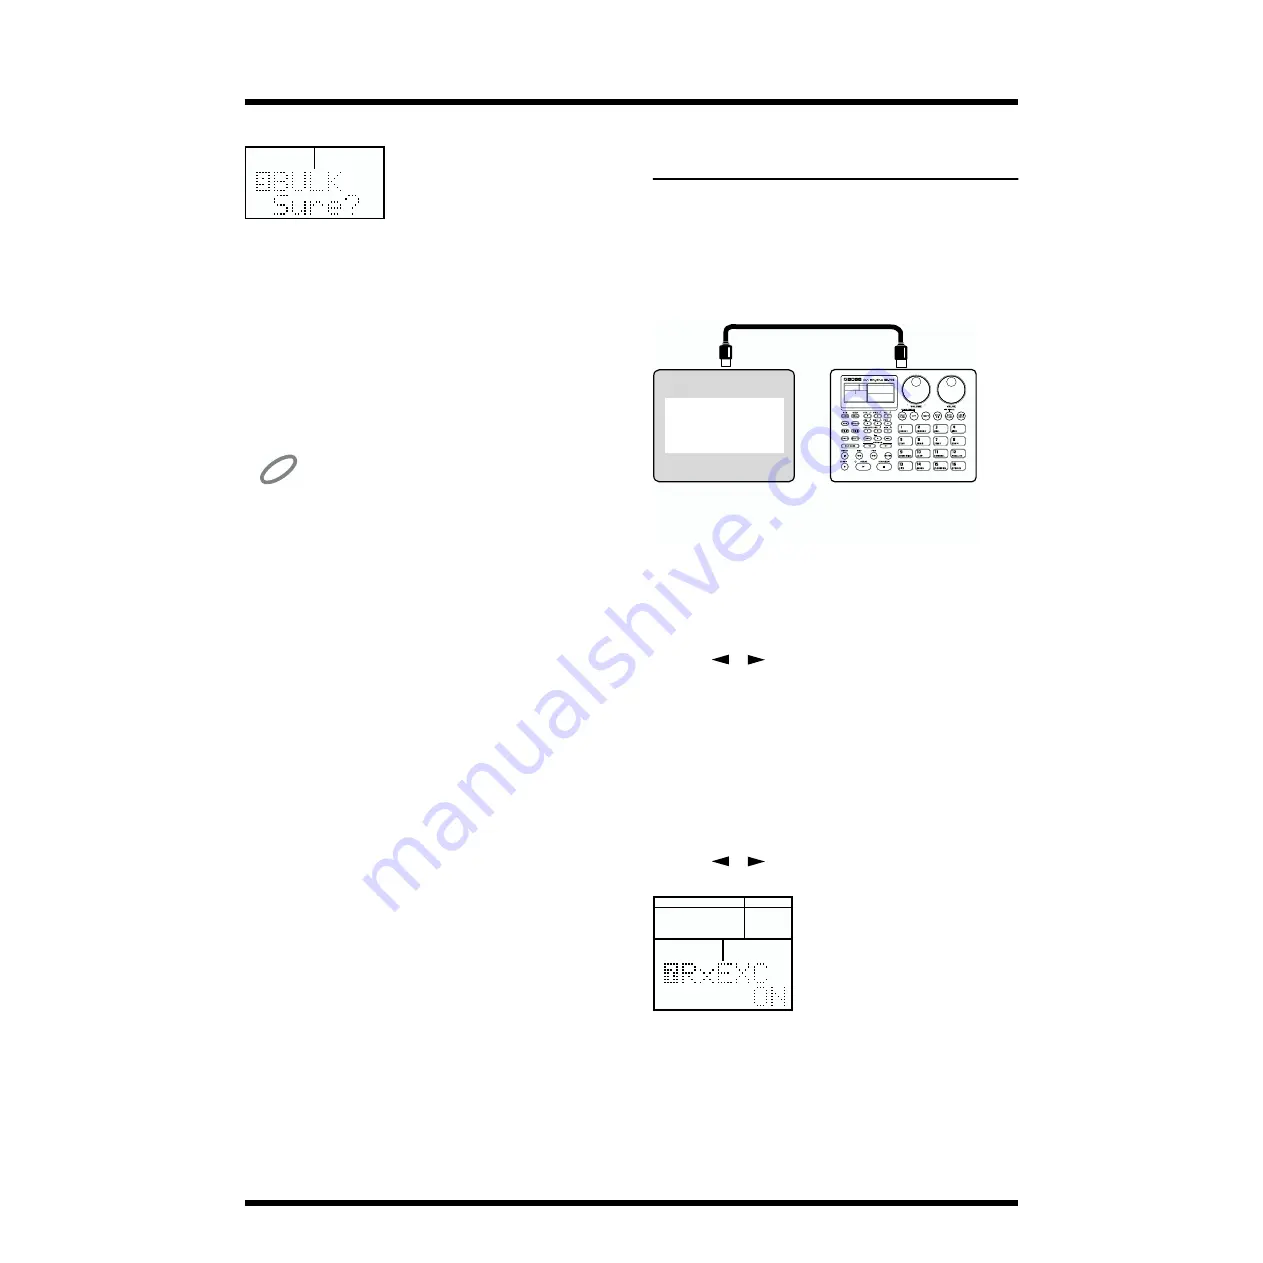
Connections
fig.109-21a
Connections
1.
Press [MIDI] to make “MIDI” light.
The DR-770 is now in MIDI mode.
2.
Use [
] [
] to select “2 MIDIch.”
3.
Use [VALUE*] to set the MIDI channel.
■
If you want to restore data that was formerly
transmitted to a sequencer, set the unit to the same
MIDI channel that was used when transmitting the
data.
■
If you want to receive data that is being transmitted
from another DR-770, set both DR-770 units to the
same MIDI channel.
4.
Use [
] [
] to select “7 RxEXC.”
fig.109-11a
5.
Use [DEC] [INC] or [VALUE] to turn the setting “ON.”
With playback stopped on the DR-770, receive the data.
QUANTIZE
NEXT PTN
PART
BEAT
LENGTH
PATTERN
PAD BANK
FUNC
MODE
MIDI OUT
Transmit device
MIDI IN
Receive device
(DR-770)
MIDI sequencer
Computer
etc.
FUNC
MODE
INSERT
COPY
DELETE
SONG
PATTERN
PAD
UTILITY
REAL
STEP
EFFECTS
MIDI
QUANTIZE
NEXT PTN
PART
BEAT
LENGTH
PATTERN
Summary of Contents for Dr. Rhythm DR-770
Page 119: ...119 MEMO...


