55
Recording a pattern
Chap. 2
* Nothing is recorded when you strike the key pads during
rehearsal.
When you’re finished rehearsing, press
[REC] so the button is lit.
The indication in the screen changes to
“Recording...” or “Rec Standby...”
9.
When you’re finished recording, press
[
].
10.
If you want to save the pattern, proceed
to “Saving a pattern” (p. 65).
<3-2> Step-recording
1.
Switch to a pad bank or the bass pads,
depending on the part you want to record.
To record the drum part
Press [PAD] to select a pad bank 1–3.
To record the bass part
Hold down [SHIFT] and press [PAD] to
select the bass pads.
Choose “BASS -1” if you want to record
sounds one octave lower, or choose “BASS
+1” if you want to record sounds one octave
higher.
2.
Press [EDIT].
The edit menu screen appears.
3.
Move the cursor to the “PATTERN” icon
and press [ENTER].
The pattern edit menu screen appears.
4.
Move the cursor to the “STEP REC” icon
and press [ENTER].
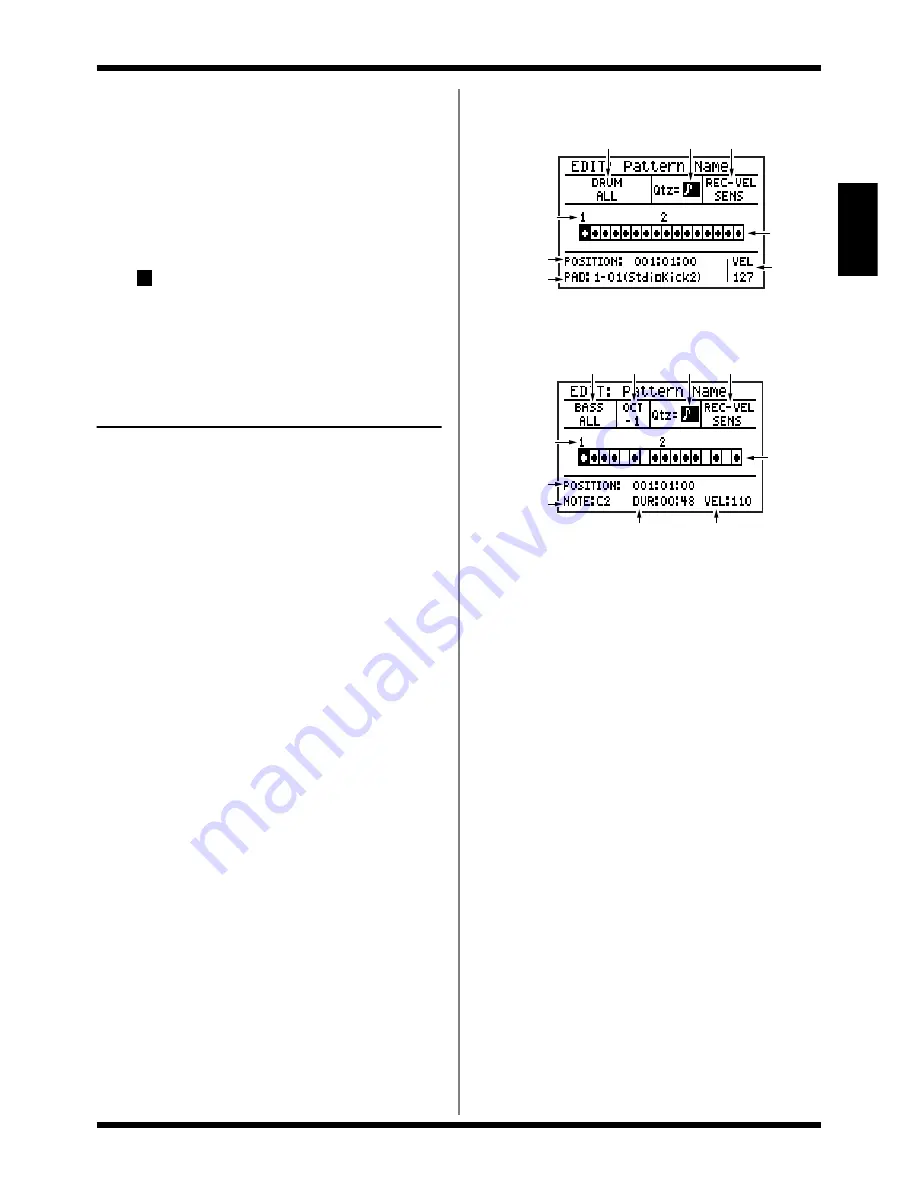
The pattern step-record screen appears.
(Drum part)
fig.02-210d
(Bass part)
fig.02-220d
5.
Move the cursor to each of the items
listed below, and use the VALUE dial to
set the value.
(1) DRUM (drum part), BASS (bass part)
This chooses what will be shown in the
pattern display area.
(Drum part)
ALL:
All instruments will be shown.
BANK1-PAD01–BANK3-PAD20:
Only the instruments of the selected bank or
pad number will be shown.
(Bass part)
ALL:
Note names and pitch bend data will be
shown.
NOTE:
Note names will be shown.
PITCH BEND:
Pitch bend data will be shown (p. 57).
(1)
(4)
(3)
(5)
(9)
Pattern
display
area
(6)
Measure
(1)
(2)
(4)
(3)
(5)
Pattern
display
area
(7)
Measure
(8)
(9)
Summary of Contents for Dr. Rhythm DR-880
Page 2: ......
Page 21: ...21 Quick Start ...
Page 48: ...48 ...
Page 74: ...74 ...
Page 84: ...84 ...
Page 115: ...115 Chapter 8 Convenient function System settings ...
Page 144: ...144 ...
Page 145: ...145 Appendices ...
Page 168: ......


