1.
Before filling Hopper, make sure spreader Handle Lever is in the “OFF” position. Always fill spreader on walk or drive,
not on the lawn.
1.
Never store unused material in spreader. Return unused product to its original container.
2.
Set Rate Slide on the highest number, open spreader and spin Wheels to remove excess material.
3.
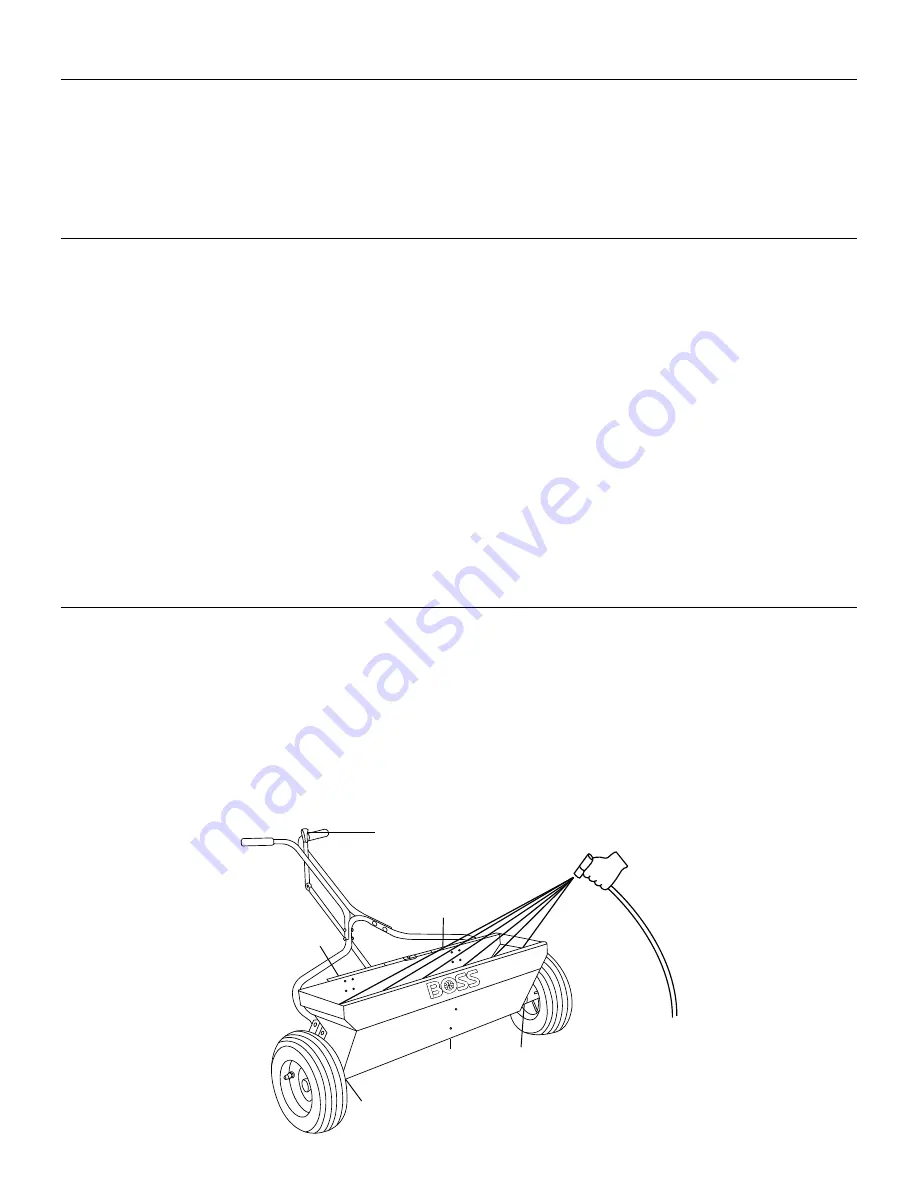
Wash out Hopper thoroughly after each use to remove material clinging to surfaces. Pay close attention to area
between the Shutoff Bar and Hopper. Allow spreader to completely dry.
4.
Oil bottom of Hopper, Control Housing Spring and Agitators at the Center Bearing. Lubricate Axle Bearings with grease.
Store spreader in open position.
2.
Loosen Rate Control Knobs and move the Tie Bar to the desired setting. If setting is not known, try different settings until
desired results are achieved. Retighten knobs after setting is made.
3.
Always push spreader, do not pull. Start spreader in motion and as it passes over the area to be treated, push handle
Lever to the “ON” position. Close Handle Lever at the end of each pass.
4.
Operate spreader at 2-1/2 MPH pace. (18 feet in 5 seconds)
5.
Apply two header strips at each end of area to treated and then proceed lengthwise between the header strips.
Be sure to overlap the wheel tracks slightly to prevent missed strips.
6.
Apply Ice melt prior to the storm to reduce unmanageable levels of ice and snow.
Maintenance
Operation
3.
Assembly
6.
To check spreader for completed shutoff, pull the Handle Lever back to the “OFF” position. Turn spreader over to see if
the Shutoff Bar completely covers the holes in the bottom of the Hopper. If not, stand the spreader upright on Wheels. Push
the Handle Lever forward to the “ON” position. Loosen the Bolts in the Hopper holding the Handle Brace and the front of
the Hopper. Retighten Bolts and check the shutoff.
“Open” Position
Oil
Oil
Grease
Grease
Oil


