background image

-3-

SAFETY INSTRUCTIONS

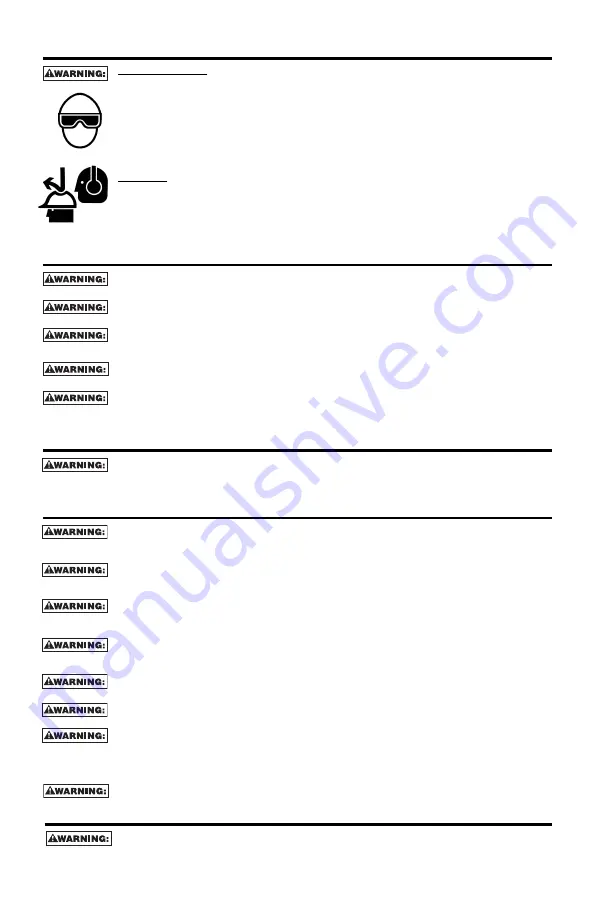
EYE PROTECTION which conforms to ANSI specifications and provides protection against
flying particles both from the FRONT and SIDE should ALWAYS be worn by the operator and
others in the work area when connecting to air supply, loading, operating or servicing this
tool. Eye protection is required to guard against flying fasteners and debris, which could
cause severe eye injury.

The employer and/or user must ensure that proper eye protection is worn.  Eye protection
equipment must conform to the requirements of the American National Standards Institute,
ANSI Z87.1 and provide both frontal and side protection. NOTE: Non-side shielded
spectacles and face shields alone do not provide adequate protection.

CAUTION: Additional Safety Protection will be required in some environments. For
example, the working area may include exposure to noise level which can lead to hearing
damage. The employer and user must ensure that any necessary hearing protection is
provided and used by the operator and others in the work area. Some environments will
require the use of head protection equipment. When required, the employer and user must
ensure that head protection conforming to ANSI Z89.1 is used.

AIR SUPPLY AND CONNECTIONS

Do not use oxygen, combustible gases, or bottled gases as a power source for this tool as
tool may explode, possibly causing injury.

Do not use supply sources which can potentially exceed 200 P.S.I.G. as tool may burst,
possibly causing injury.

The connector on the tool must not hold pressure when air supply is disconnected.  If a
wrong fitting is used, the tool can remain charged with air after disconnecting and thus will
be able to drive a fastener even after the air line is disconnected possibly causing injury.

Do not pull trigger or depress contact arm while connected to the air supply as the tool may
cycle, possibly causing injury.

Always disconnect air supply: 1.) Before making adjustments; 2.) When servicing the tool;
3.) When clearing a jam; 4.) When tool is not in use; 5.) When moving to a different work
area, as accidental actuation may occur, possibly causing injury.

LOADING TOOL

When loading tool:  1.) Never place a hand or any part of body in fastener discharge area of
tool;  2.) Never point tool at anyone;  3.) Do not pull the trigger or depress the trip as
accidental actuation may occur, possibly causing injury.

OPERATION

Always handle the tool with care:  1.) Never engage in horseplay;  2.) Never pull the trigger
unless nose is directed toward the work;  3.) Keep others a safe distance from the tool while
tool is in operation as accidental actuation may occur, possibly causing injury.

The operator must not hold the trigger pulled on contact arm tools except during fastening
operation as serious injury could result if the trip accidentally contacted someone or
something, causing the tool to cycle.

Keep hands and body away from the discharge area of the tool.  A contact arm tool may
bounce from the recoil of driving a fastener and an unwanted second fastener may be
driven possibly causing injury.

Check operation of the contact arm mechanism frequently.  Do not use the tool if the arm
is not working correctly as accidental driving of a fastener may result.  Do not interfere with
the proper operation of the contact arm mechanism.

Do not drive fasteners on top of other fasteners or with the tool at an overly steep angle as
this may cause deflection of fasteners which could cause injury. 

Do not drive fasteners close to the edge of the work piece as the wood may split, allowing
the fastener to be deflected possibly causing injury.

This nailer produces SPARKS during operation. NEVER use the nailer near flammable
substances, gases or vapors including lacquer, paint, benzine, thinner, gasoline, adhesives,
mastics, glues or any other material that is -- or the vapors, fumes or byproducts of which are --
flammable, combustible or explosive. Using the nailer in any such environment could cause an
EXPLOSION resulting in personal injury or death to user and bystanders.

Never use belt hook with contact trigger (black trigger) operated tools.

MAINTAINING THE TOOL

When working on air tools note the warnings in this manual and use extra care when
evaluating problem tools.

Summary of Contents for N52FN

Page 1: ...EBER N ESTUDIAR ESTE MANUAL PARA PODER COMPRENDERY SEGUIR LAS ADVERTENCIAS SOBRE SEGURIDADY LAS INSTRUCCIONES MANTENGA ESTAS INSTRUCCIONES CON LA HERRAMIENTA PARA FUTURA REFERENCIA SITIENE ALGUNA DUDA...

Page 2: ...product purchased is free from defects in material and workmanship and agrees to repair or replace at Bostitch s option any defective Bostitch branded pneumatic stapler or nailer for a period of seve...

Page 3: ...s not in use 5 When moving to a different work area as accidental actuation may occur possibly causing injury LOADING TOOL When loading tool 1 Never place a hand or any part of body in fastener discha...

Page 4: ...ionally allowed to recontact the work surface with the trigger still actuated finger still holding trigger pulled an unwanted second fastener will be driven SEQUENTIAL TRIP The Sequential Trip require...

Page 5: ...equired to control the operatiing pressure for safe operation of this tool Do not connect this tool to air pressure which can potentially exceed 200 p s i 14 kg cm2 as tool may fracture or burst possi...

Page 6: ...l discharge area of tool while the air supply is connected Never point the tool at anyone else Never engage in horseplay Never pull the trigger unless nose is directed at the work Always handle the to...

Page 7: ...nst flying fasteners and debris which could cause severe eye injury The employer and or user must ensure that proper eye protection is worn Eye protection equipment must conform to the requirements of...

Page 8: ...igger The trigger must return to the trigger stop on the frame C Pull the trigger and press the contact trip against the work surface THE TOOL MUST NOT CYCLE D With finger off the trigger press the co...

Page 9: ...ol is not in use 5 When moving to a different work area as accidental actuation may occur possibly causing injury 1 2 3 4 5 6 Partial Release Of Magazine 3 Slide magazine to rear of tool 4 Clear Jam J...

Page 10: ...mble to correct Head valve dry Disassemble lubricate Air pressure too low Check air supply equipment Skipping fasteners intermittent feed Worn bumper Replace bumper Tar dirt in driver channel Disassem...

Page 11: ...ESSURE AND VOLUME Air volume is as important as air pressure The air volume supplied to the tool may be inadequate because of undersize fittings and hoses or from the effects of dirt and water in the...

Page 12: ...lo EE UU y Canad A partir del 1 de diciembre de 2005 Bostitch L P garantiza al comprador del comerciante original que el producto comprado est exento de defectos en material y fabricaci n y se compro...

Page 13: ...rea distinta de trabajo ya que se puede activar accidentalmente posiblemente causando lesiones AL CARGAR LA HERRAMIENTA Al cargar la herramienta 1 Nunca coloque una mano o cualquier otra parte del cu...

Page 14: ...le permite inintencionalmente encontrar en contacto nuevamente con la superficie de trabajo mientras el gatillo est todav a activado mientras el dedo mantiene el gatillo halado se impulsar un segundo...

Page 15: ...de 0 8 7 kg cm2 8 6 bars para controlar la presi n de operaci n para la segura operaci n de esta herramienta No conecte esta herramienta a una presi n de aire que potencialmente exceda 14 kg cm2 13 8...

Page 16: ...ador de la herramienta mientras el suministro de aire est conectado Nunca apunte la herramienta hacia otra persona Nunca participe en juegos rudos con la herramienta Nunca hale el gatillo a menos que...

Page 17: ...o hasta que la nariz toque la superficie del objeto y luego hale el gatillo para impulsar un sujetador No presione la herramienta contra la superficie del objeto a clavar usando fuerza extra En vez de...

Page 18: ...AR SU CICLO B Sostenga la herramienta alejada de la superficie de trabajo y hale el gatillo LA HERRAMIENTA NO DEBE EFECTUAR SU CICLO C Hale el gatillo y presione el disparador de contacto contra la su...

Page 19: ...un atascamiento 4 cuando la herramienta no se usa 5 al trasladarse a otra rea de trabajo para que no se active accidentalmente posiblemente causando una lesi n Modelo N52FN y N62FN cuentan con un car...

Page 20: ...esensamblar para corregir debidamente en el amortiguador de abajo V lvula de cabeza seca Desensamblar lubricar Presi n de aire demasiado baja Verifique el equipo de suministro de aire Sujetadores que...

Page 21: ...el aire El volumen de aire suministrado a la herramienta puede ser inadecuado debido a conexiones y mangueras m s peque as que lo normal o debido a los efectos de polvo y agua dentro del sistema Un fl...

Page 22: ...d faut de mat riaux et de fabrication et accepte le cas ch ant de r parer ou de remplacer la discr tion de Bostitch toute agrafeuse ou cloueuse de marque Bostitch d fectueuse pour une p riode de sept...

Page 23: ...lessures Toujours d saccoupler l appareil de sa source d nergie 1 avant tout r glage 2 lors de l entretien 3 lors d un d senrayage 4 la fin de l utilisation 5 lors du d placement vers une nouvelle zon...

Page 24: ...lors de l jection de l l ment d assemblage L outil peut donc rebondir et entrer accidentellement en contact avec la surface de travail ce qui peut entra ner la sortie d un deuxi me l ment d assemblag...

Page 25: ...g cm2 8 6 bars est n cessaire pour contr ler la pression d utilisation du cloueur Ne pas accoupler cet appareil un r gulateur de pression pouvant exc der 14 kg cm2 13 8 bars car l outil pourrait se fr...

Page 26: ...ne d jection des clous lorsque l outil est reli la source d air Ne jamais pointer le cloueur vers quelqu un Ne jamais jouer avec l outil Ne jamais appuyer sur la d tente si le nez n est pas dirig vers...

Page 27: ...SANS APPUYER SUR LA D TENTE Appuyer sur le palpeur jusqu ce que le nez touche la surface de travail puis appuyer sur la d tente pour jecter un l ment d assemblage Ne pas presser trop fort l outil sur...

Page 28: ...de travail et actionner la d tente L APPAREIL NE DOIT PAS SE D CLENCHER Rel cher la d tente elle doit revenir sa position initiale C Appuyer sur la d tente et appuyer l l ment palpeur sur la surface...

Page 29: ...la fin de l utilisation 5 lors du d placement vers une nouvelle zone de travail car un d clenchement accidentel peut se produire et causer des blessures Modele N52FN et N62FN inclure a chargeur a coin...

Page 30: ...ionn e D monter et r installer correctement sur l amortisseur inf rieur Valve de t te s che D monter et lubrifier Pression d air trop faible V rifier le circuit d air l ments d assemblage manquants Am...

Page 31: ...olume d air est aussi important que la pression Le volume d air n cessaire au bon fonctionnement de l appareil peut tre perturb par des tuyaux et des raccordements sous dimensionn s ou par la pr sence...

Reviews: