6 |
P a g e
3.8
S
TEP
9
‐
A
TTACH
B
LADE
A
SSEMBLY
:
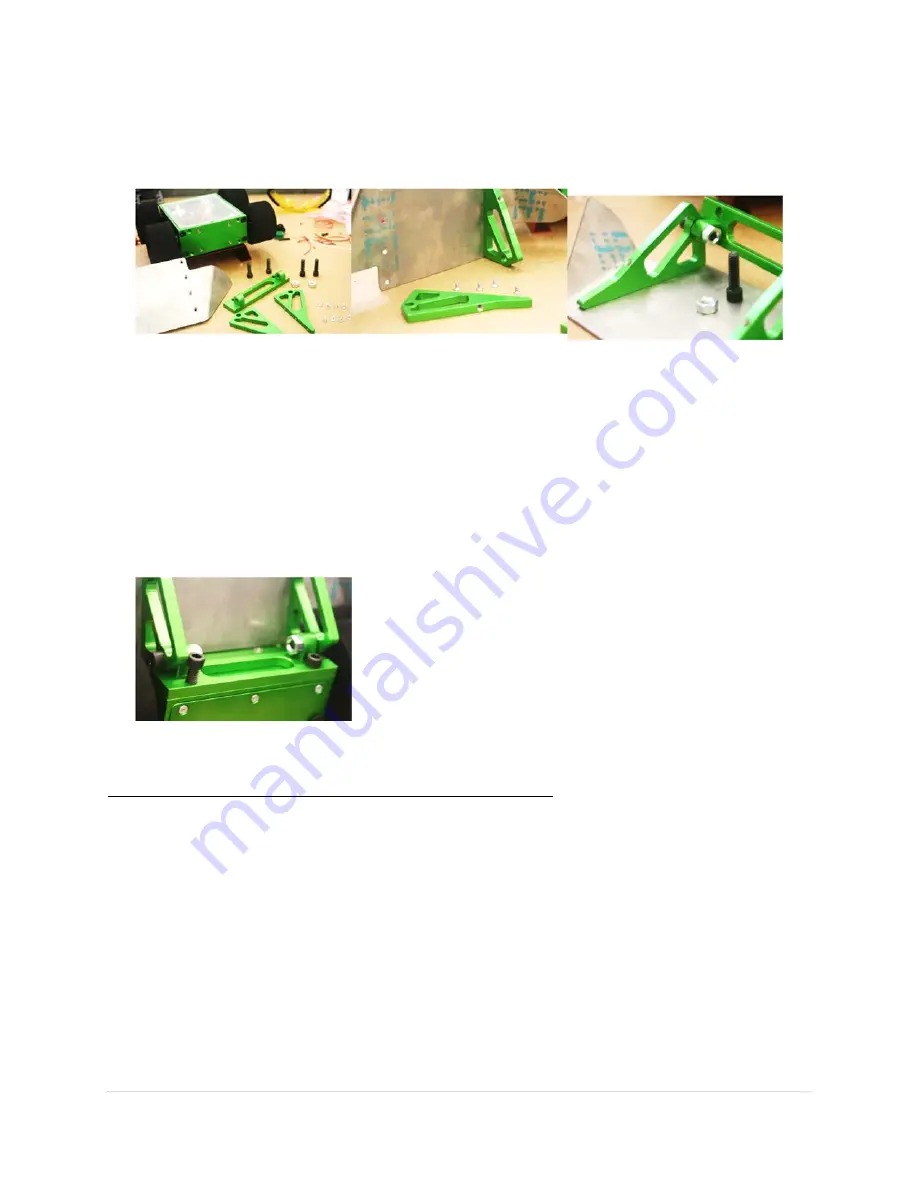
Mount the titanium blade, completing the build.
Attach the blade to the blade brackets, using the supplied M3 machine screws and the Torx
screwdriver supplied with your D2 Combat Robot Chassis kit. The small tips of the brackets go
towards the lower edge of the blade.
Use blue Loctite to keep these screws from coming loose
during combat!
Attach the blade brackets to the blade mount, using the supplied ¼‐20 x 0.875” socket head cap
screws. Leave the screws loose enough that the brackets rotate freely on the mount. Secure
the ¼‐20 machine screws by using the supplied ¼‐20 nuts, so the machine screws can’t unscrew
due to vibration, etc.
Attach the blade mount to the D2 Combat Robot Chassis, using
the supplied ¼‐20 x 0.75” socket head cap screws. You can mount
the blade on the end that you want to be the “front”.
Use blue
Loctite to keep these screws from coming loose during combat!
You will want to grind, sand or file the bottom edge of the blade:
If the arena you will fight in has a very flat floor, you can lower the leading edge of the blade by grinding,
sanding, or filing the lower edge carefully. If you make it too sharp, however, it can catch on seams in
the floor, so be mindful of how much to sharpen the blade.


