Bot’n Roll ONE A User Assembling Manual
4.
BOT’N ROLL ONE A ASSEMBLY
The Bot'n Roll ONE A assembly is carried out in three steps:
1 – Mechanical Assembly
2 – Electronic Assembly
3 – Electrical Wiring
TIP:
Put the battery to charge when you start building up your robot, so that afer assembling it is ready
to use. It takes about 8 hours for a battery full charge. Do not leave the battery charging for longer than
8 hours otherwise you may damage it. Since these are Ni-MH batteries you must perform complete
charges and discharges, rather than charging just a few minutes or even one or two hours. Short charges
reduce the battery capacity and its lifetme.
IMPORTANT NOTE:
Some tools not included on this kit might be necessary, namely multmeter, PH1 and
PH2 Phillips screwdriver, fat nose pliers, soldering iron, soldering wire, desoldering pump, cutng pliers.
4.1. MECHANICAL ASSEMBLY
For the mechanical assembly, you will need the motors, the wheels, the motors supports, hubs, screws
and the acrylic base.
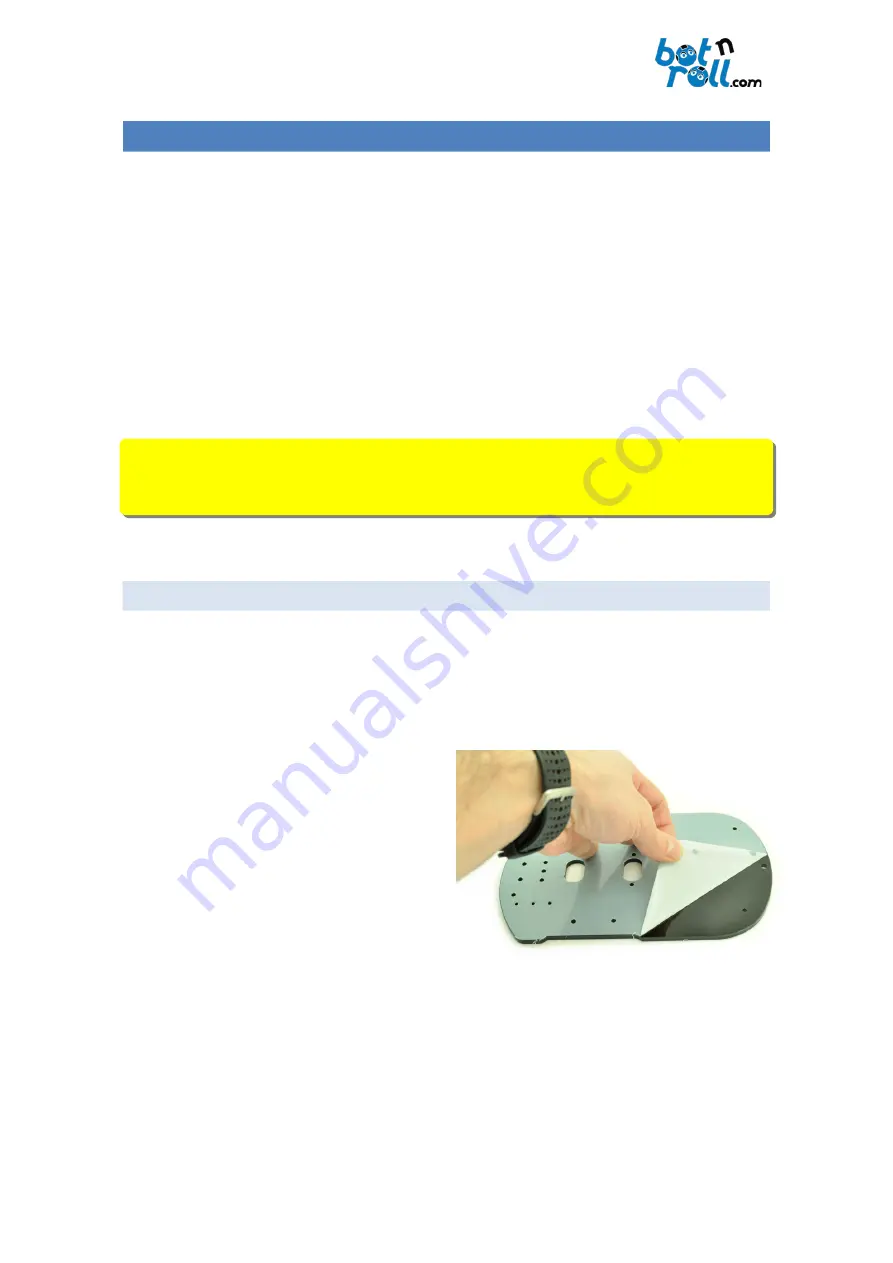
Before you start assembling the robot, remove the
two protectve plastc layers form the acrylic base!
©Copyright 2018, SAR - Soluções de Automação e Robótca, Lda.
12
Fig. 6: Preparing the acrylic base
Summary of Contents for ONE A
Page 1: ......


