background image

bL-

MCJD 

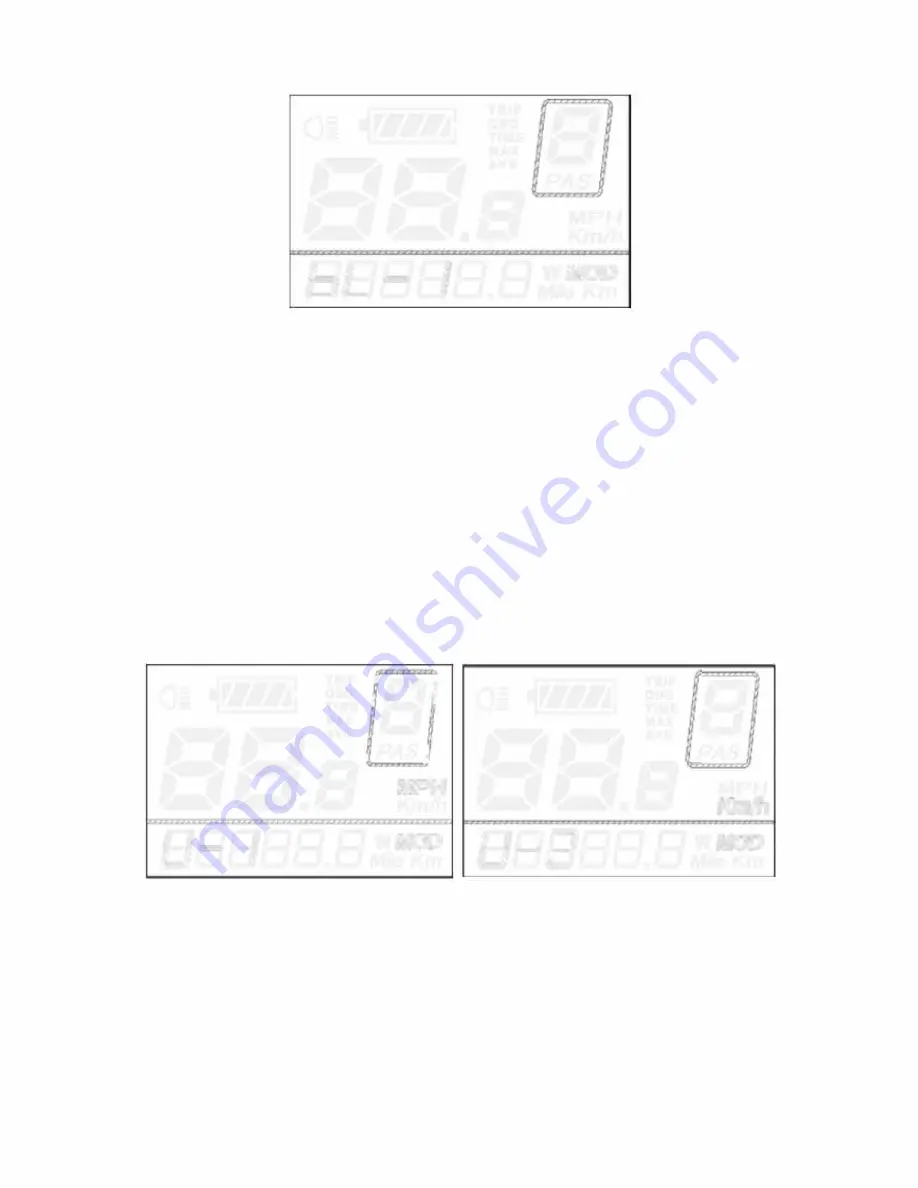
Unit  conversation  (km  /  mi) 

The 

U

 code represents the unit change setting: the "l" value 

indicates miles, "2" the kilometers.

The default value is 2. To convert the unit, press the 

UP 

or 

DOWN 

button. Press the 

MODE

 button to save and access 

the travel distance reset.

To exit the general settings, press the 

MODE

 button for 2 

seconds.

I

'

MPH 

Km/h 

LJ-

I

MOD 

LJ-2 

MCD 

Summary of Contents for PITBULL BE01

Page 1: ...EICJTTECCHIA User s Guide BE01 PITBULL ...

Page 2: ...ations Power supply 36V Rated current l0mA Corrente di funzionamento The maximum working current 30mA Off leakage current luA The supply co ntro ller wo rking current S0mA Use temperature 20 C a 60 C Storage temperature 30 C a 70 C Appearance and Size Ili 1 _ _ ...

Page 3: ... Battery indicator Error Code Indicator Battery level Speed unit Power assist level Headlight Backlight Indicatore Velocità Trip totale distance Mileage unit BBB B Button Definition There are three bu ttons M that represent thee fu nctions MODE UP DOWN Power on off To tu rn on off the e bike system hold the M bu tton for 2 seconds Function Summary Mode list General setting ...

Page 4: ...y Power assistant level To change the information shown press the MODE key The following parameters will be displayed in this order Speed km h Trip distance km Trip distance ore Max speed km h Medium speed km h Motor powe W Speed km h IIJ 3 PA e 0 5 Km 7 25 6 Km IIJ 3 PA e 0 5 Km 7 25 6 Km Modalità Walk Assistance assistenza alla partenza To activate the Walk assistance hold the button DOWN ...

Page 5: ...eactivate the push release the DOWN button PAS I I IJ Km h Warnings do not use the cruise mode against when the e bike has no contact with the ground Do not use the pedals while in cruise versus mode Headlight On Off To turn on off the lights of the e bike press the UP button for 2 seconds ...

Page 6: ... motor Default level is l The power range is from O no power a 5 maxiumum To increase or decrease the power level press the UP DOWN bottons Battery level Indicator The 5 bars represented in the next image indicate the battery capacity When the battery is about to run out the bars icon will blink ...

Page 7: ...on the display See error code list for details r Ji i E 2 I General setting To access the settings menu press the UP and DOWN keys simultaneously for 2 seconds Reset trip distance The TC code represents the travel distance reset setting To reset the value press the buttons UP DOWN and select Y yes or N no ...

Page 8: ... bl code indicates the Backlight setting Level 1 indicates the lowest brightness Level 2 the intermediate one Level 3 the highest brightness The default is 1 To increase or decrease the brightness press the UP or DOWN buttons Press the M button to save and enter the unit change menu ...

Page 9: ...the l value indicates miles 2 the kilometers The default value is 2 To convert the unit press the UP or DOWN button Press the MODE button to save and access the travel distance reset To exit the general settings press the MODE button for 2 seconds Il I 1 MPH Km h LJ I MOD LJ 2 MCD ...

Page 10: ...lly Do not open disassemble or puncture the battery under any circumstances it could cause serious damages In the event of a fall impact or similar events do not continue to use the battery and bring it to a dealer to check it as soon as possible Use only the special charger provided with the battery Disposal of used batteries must follow local disposal regulations Please read carefully the follow...

Page 11: ...time make sure it is charged for at least half of its capacity and charge it again at least every two months Do not wrap it with any driver material to prevent it from any damage due to direct contact between metal and battery Store the battery in a dry place The battery should always be kept away from children Do not allow children to remove the battery or play with it If the battery seems to be ...

Page 12: ...an adult should not use the charger Make sure the charger is clean to avoid the risk of electric shock Do not use the charger in places that are humid or full of dust Avoid direct exposure to sunlight Unplug the charger from the power outlet when it is not in use POWER 522 Wh RECHARGE TIME 4 5 6 h CHARGE TEMPERATURE 0 45 C DISCHARGE TEMPERATURE 20 60 C BATTERY RANGE 40 km max POSITION Tubo sottose...

Page 13: ...in the appropriate position and locked Without the contact with the battery the e bike system does not work To insert and remove the battery the safety lock must be unlocked You can lock and unlock the battery using the supplied key Proceed as follows to install the battery 1 Unlock the battery lock using the key pressing lightly on the lock 2 Insert the battery in its seat located behind the seat...

Page 14: ...ead the charger instructions inside the box before charging the battery Proceed as indicated 1 Insert the charger cable plug into the battery socket and then the charging socket into the electrical socket 2 As soon as the cable is plugged into the electrical socket a red LED lights up 3 When the charge is complete the LED will be green Charging time depends on various factors It can vary depending...

Page 15: ...on dry and non flammable surfaces IMPORTANT The battery must be fully charged at least every 2 months to avoid damage or destruction of the cells If the charging time exceeds the usual charging time see table the battery may be damaged In this case stop charging immediately and bring both the battery and the charger to a dealer for a check Store the battery If you do not use your e bike for a long...

Page 16: ...As battery usage increases battery capacity slowly decreases This also reduces the travel range of your e bike and does not constitute a defect If the distance is still sufficient according to your needs you can continue to use the battery Battery life depends on various factors Number of recharges about 700 800 charge cycles The age of the battery Storage and use conditions Obviously the battery ...

Page 17: ...s NiMH nickel metal hydride or lithium ion technology are to be considered dangerous goods Lithium ion batteries must be insulated in each pole with insulating tape to prevent short circuits and potential dangerous reactions During the transport or the transfer of the exhausted batteries to the waste disposal facilities the ADR regulations regulation for the transport of dangerous goods have to be...

Reviews: