Boxfish ROV Owner’s Manual
V1.3. All rights reserved. Information and specifications may change at any time without notice.
p60
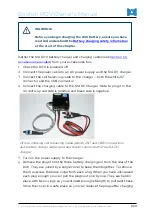
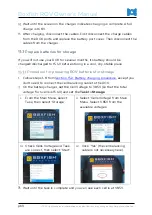
Gather the 12A ROV battery charger and charging cables (see
Section 5.6:
Accessories provided
) from your accessories box.
Check the ROV is powered off.
Connect the power cable to an AC power supply and the 12A DC charger.
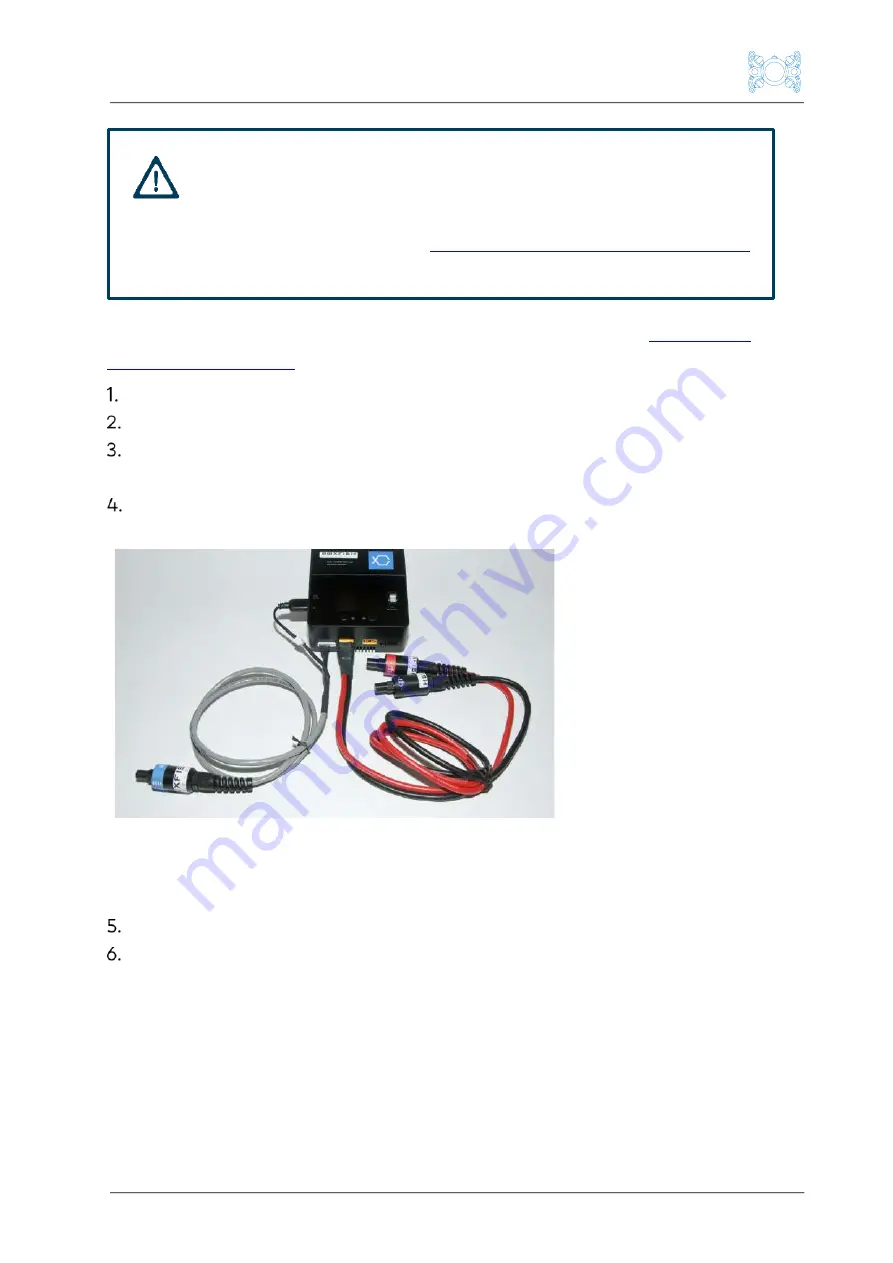
Connect the cell balancing cable to the charger – both the white JST
connector and the USB connector.
Connect the charging cable to the 12A DC Charger. Note to plug it in the
correct way: red side is positive and black side is negative.
Picture showing cell balancing cable (white) JST and USB connections
and battery charge cables (red and black) connected to the 12A DC
charger
Turn on the power supply to the charger.
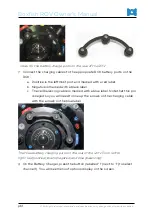
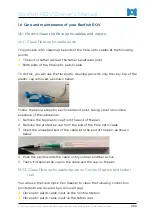
Remove the plugs from the three battery charging ports on the rear of the
ROV. They are joined by a single cover to keep them together. To remove
them, unscrew the black collar from each plug. When you have unscrewed
each plug enough you can pull the plugs out one by one. They are held in
place with two o-rings so you will need enough strength to pull past these.
Store the cover in a safe place so you can replace the plugs after charging.
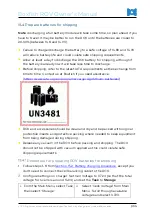
WARNING!
Before you begin charging the ROV battery, ensure you have
read and understood the
Battery charging safety information
at the start of this chapter.

