background image

INSTALLATION GUIDE

Skylight

7

11

FINAL ASSEMBLY

Fit the fabric strip into the anchor rail to cover the internal hardware.


N

Attach the handle to the moving rail using the screws provided.


N

REMOVE THE SHADE

Fully raise the shade.


N

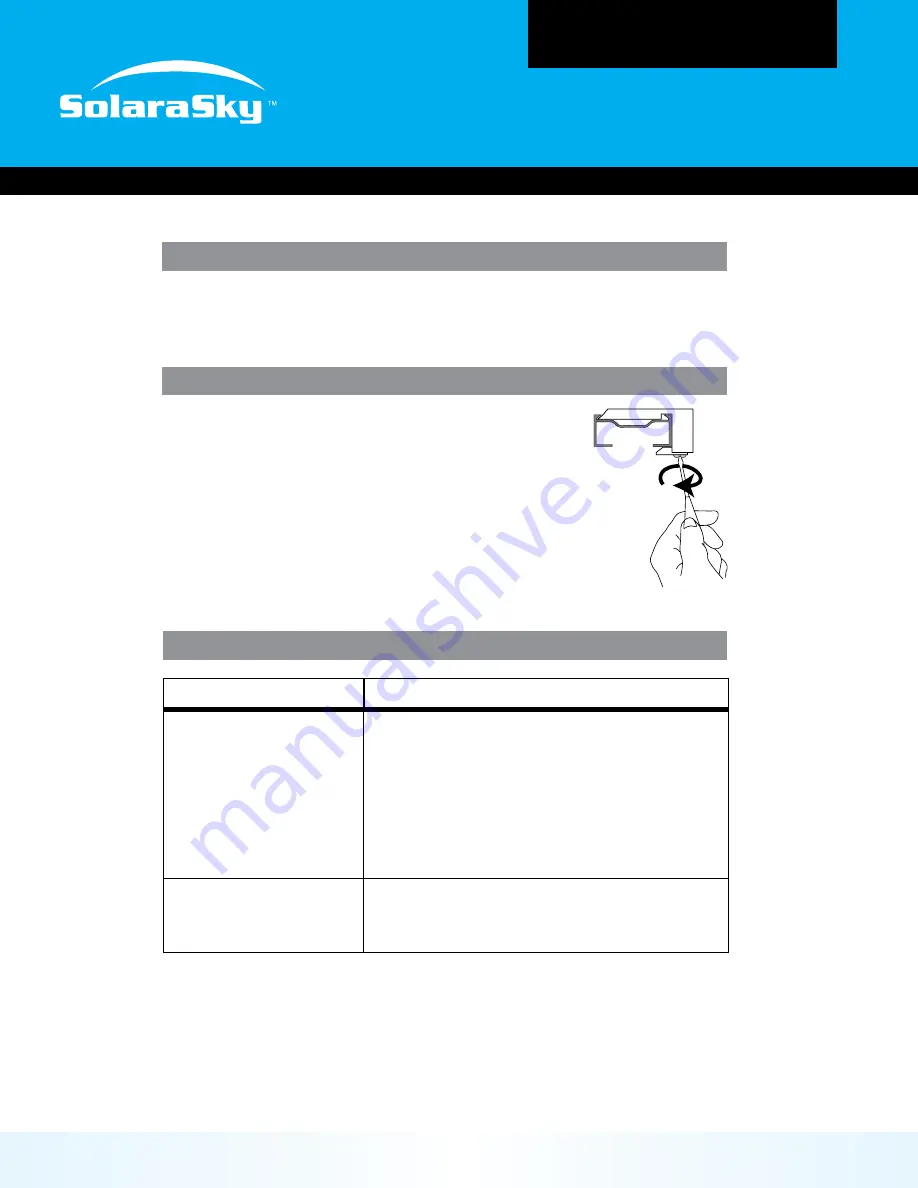
Unscrew the tab screw on each bracket to release 


N

the headrail.
If you used brackets to install the anchor rail, unscrew the 


N

tab screw on each bracket to release the anchor rail.
If you did not use brackets to install the anchor rail, 


N

remove the fabric strip, then remove the screws to release 

the anchor rail.

14

TROUBLESHOOTING

Problem

Solution

The shade does not raise 

and lower evenly.

Check the installation brackets. Make sure the 


N

shade fabric is not caught between the bracket 

tab and the headrail.
Adjust the cord tension (see 


N

Moving Rail, 

page 10).
Check that the lift cords are not pinched 


N

or tangled.

The shade will 

not snap into the 

mounting brackets.

Make sure the mounting brackets are level. 


N

Loosen the tab screws slightly.

Summary of Contents for SolaraSky Skylight

Page 1: ...INSTALLATION GUIDE Skylight C C Sol S Sol Rec...

Page 2: ...INSTALLATION GUIDE Skylight Straight SolaraShade Curved SolaraShade Cathedral SolaraShade Conservatory SolaraShade Skylight SolaraSky Rectangle Triangle...

Page 3: ...INSTALLATION GUIDE Skylight Cord Clamping Screw And Washers Slip Knot Tension Spring Tension Cord Movable Rail Handle Headrail Fabric Side Rail Bottom Rail Expanded Hardware Diagram Siderail...

Page 4: ...ky by Brading Fabrication Your new shade has been custom built for you from the highest quality materials Once in your skylight it will provide you with years of trouble free use Installation has been...

Page 5: ...At Back Of Shade Wide Flange At Front Narrow Flange Of Side Track At Back Of Shade Window Casement Skylight Frame Make sure the wide ange is towards the room side of the skylight Attach the side track...

Page 6: ...ng holes N space installation brackets on the bottom sill the same distances as used for the top sill Attach the anchor rail to the brackets Use the rear hole of the bracket if the mounting depth N is...

Page 7: ...ets into the front N groove on the top of the headrail Snap the headrail into place N Tighten the tab screw on each bracket until it N is snug Do not overtighten the tab screw CAUTION Make sure the fa...

Page 8: ...n the two washers N Cord Clamping Screw And Washers Slip Knot Tension Spring Clamping Screw Support Cord Washers 6 10 ADJUST THE SHADE Tension Cords The moving rail should slide easily yet hold its po...

Page 9: ...o release the anchor rail If you did not use brackets to install the anchor rail N remove the fabric strip then remove the screws to release the anchor rail TROUBLESHOOTING Problem Solution The shade...

Page 10: ...e shade to dry in the completely lowered position N CAUTION Do not spot clean Batiste Opalessence or Royale fabrics Deep Cleaning Immerse the shade in a basin or bathtub filled with a mild detergent N...

Page 11: ...solarashade com info solarashade com 1 800 483 5550 www solarasky com...

Reviews: