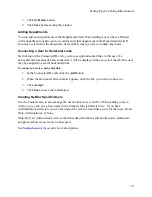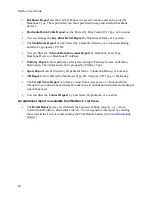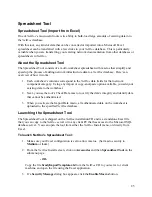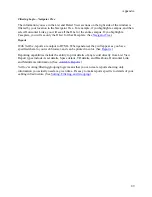
Spreadsheet Tool
Note:
If you are loading data into more than one database, you must close the tool and
reopen it to switch to a different database.
3.
Click the
Options>>
button to open the bottom half of the window where you can select
the correct
Database
from the drop-down list.
4.
When done, click
OK
.
The Check Data macro will authenticate the data in that particular worksheet against the data in
the database you’ve selected. When the Check Data function is finished, the data in your
spreadsheet will be displayed in one of three colors (which are also documented on the
Help
worksheet tab in the tool itself):
Black
if the data checked out all right. Data rows that return in black
will
be imported.
Red
if the row of data is considered invalid. Data in
red
will
not
be imported. A data row
may be marked red/invalid for a variety of reasons:
•
The data in one or more fields doesn’t match the correct format — a numerically
formatted field contains text, a date is invalid or uses the wrong date format, the
data does not match a option (e.g., a Horizontal Link type may only be Data,
Voice, or Unused; if that field in the spreadsheet contains another value, or if the
information doesn't use the same capitalization as the format, the row is marked
invalid).
•
A required field has been left blank.
•
A unique data item already exists in the database.
•
A unique data item appears more than once on the spreadsheet.
Purple
if that data will create a new infrastructure item when it is imported. Purple is
applied to individual cells, rather than complete rows.
For example,
if an asset being
imported is located in a building already documented in the database, but on a floor that has
not yet been documented, the import process will create the new floor first and then
associate the asset with it.
To Import Data:
1.
With the checked data displayed in the active worksheet, click the
Import Data
button.
2.
The data will be copied into the selected
NetDoc
database.
3.
When the import process is finished, a message box will appear with the message,
“Data
Successfully Imported for X Rows,”
with
X
indicating the number of rows successfully
imported.
87
Summary of Contents for NetDoc
Page 1: ......


