
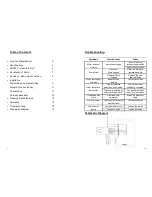
Table of Contents
•
From the Manufacturer
3
•
Specifications
4
•
SAFETY : Read this first !
5
•
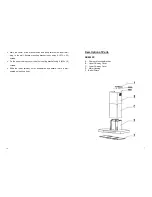
Description of Parts
7
•
Ducted vs. Recirculation version
8
•
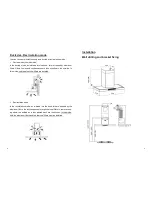
Installation
Wall drilling and bracket fixing
9
Mounting the hood body
11
Connections
11
Chimney assembly
13
•
Cleaning & Maintenance
13
•
Operation
14
•
Troubleshooting
15
•
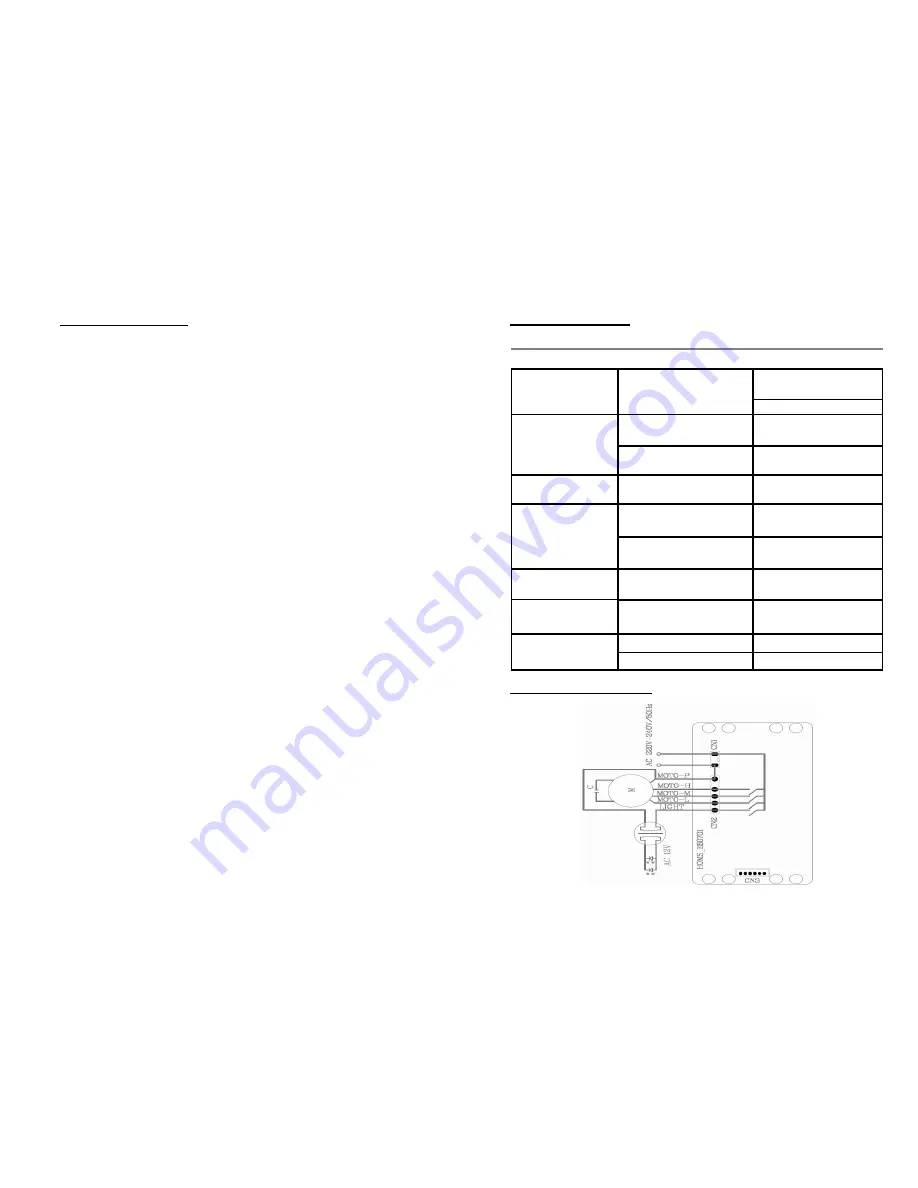
Schematic Diagram
15
2
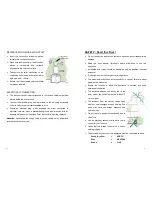
Troubleshooting
Schematic Diagram
Symptoms
Possible Cause
Action
Ensure the plug
Motor does not
No electrical supply
is connected properly.
working
Reset circuit breaker.
Aluminum
Clean the filters and
Poor airflow
filters clogged
replace when dry
Charcoal filters
Replace the
new
clogged
charcoal filters
Motor running but
Butterfly valve
Contact technician
no airflow
jammed
High temperature
The kitchen is not
Motor cuts after a
safety device activated.
sufficiently ventilated.
few minutes
The hood is installed too
The hood must be at
near the cooking stove.
least 75cm from stove.
Oil dripping onto
Aluminum filter
Wash the aluminum
stove
saturated.
filters.
Whirring sound
Foreign object in contact
Contact technician.
with fan blade.
Lamps do not
Lamps are burnt out.
Change the lamps.
light up
Lamps are loose.
Tighten the lamps.
15
Summary of Contents for AD995XC
Page 1: ...AD995XC COOKER HOOD USE MANUAL INSTALLATION INSTRUCTION ...
Page 3: ......


