background image

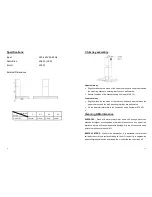
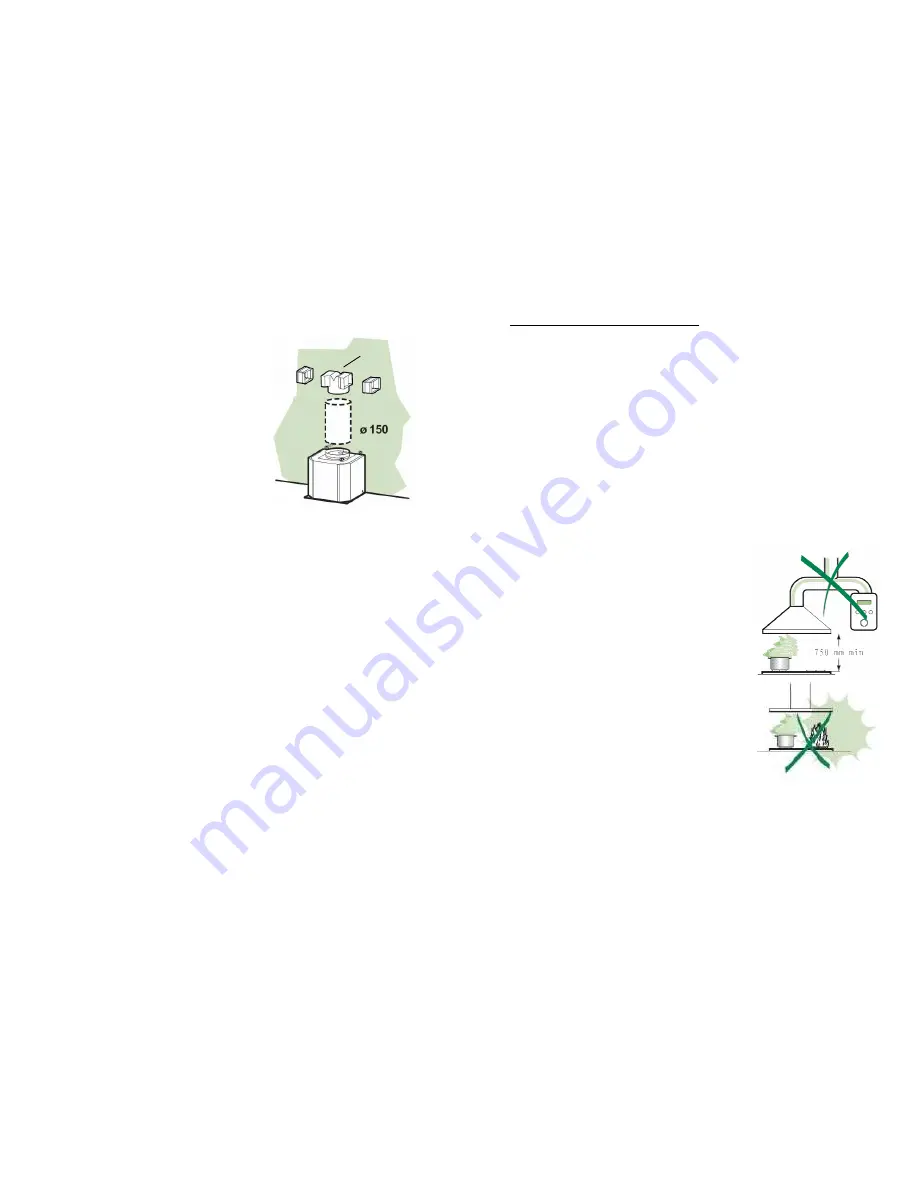
RECIRCULATION MODE AIR OUTLET 

• 

Insert  the  connection  extension  pieces

laterally in air outlet connection.

• 

Make sure that the outlet of the extension

pieces  is  horizontally  and  vertically

aligned with the chimney outlets.

• 

Connect  the  air  outlet  connection  to  the

hood body outlet using either a flexible or

rigid pipe with 

 150mm.

• 

Ensure  that  the  activated  charcoal  filters

have been inserted.

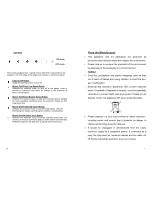
ELECTRICAL CONNECTION 

• 

The electrical tension must correspond to the tension noted on the label

placed inside the cooker hood.

• 

Connect  the  electrical  plug,  where  provided, to  the  an  easily  accessible

outlet in conformity with local standards in force.

• 

Where  an  electrical  plug  is  not  provided  (for  direct  connection  to

electrical  network)  place  a  standards  approved  bipolar  switch  with  an

aperture distance of not less than 3mm (accessible) from the contacts.

Attention:  substituting  the  supply  cable  must  be  carried  out  by  authorized 

technical assistance service. 

Air outlet 

connection 

12 

SAFETY : Read this First ! 

• 

Do not connect the appliance if there are obvious signs of transportation

damage.

• 

Read  this  user  manual  thoroughly  before  attempting  to  use  this

appliance.

• 

Installation  and  repair  should  be  attempted  only  by  qualified  technical

personnel.

• 

It is dangerous to modify any part of this appliance.

• 

The  manufacturer  declines  all  responsibility  in  case  of  failure  to  adopt

proper safety measures.

• 

Ensure  the  location  in  which  this  appliance  is  installed  has  good,

permanent ventilation.

• 

The  distance  between  the  bench  top  to  the

lower part of the hood must not be at least 75

cm or  higher.

• 

The  exhaust  from  the  canopy  range  hood

must  not  be  discharged  into  any  heating  flue,

which  may  carry  combustion  products  from

other sources.

• 

Do  not  leave  lit  gas  burners  exposed  due  to

risk of fire.

• 

Use  an  electrical  connector  with  earth  that  is

correct for your location.

• 

Check  that  the  voltage  in  your  area  is  correct

before plugging in.

• 

The electrical connection of this appliance must be connected to earth.
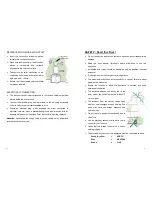
Green & yellow 

EARTH 

Blue 


NEUTRAL 

Brown   

LIVE 

Summary of Contents for AD995XC

Page 1: ...AD995XC COOKER HOOD USE MANUAL INSTALLATION INSTRUCTION ...

Page 2: ...eset circuit breaker Aluminum Clean the filters and Poor airflow filters clogged replace when dry Charcoal filters Replace the new clogged charcoal filters Motor running but Butterfly valve Contact technician no airflow jammed High temperature The kitchen is not Motor cuts after a safety device activated sufficiently ventilated few minutes The hood is installed too The hood must be at near the coo...

Page 3: ......

Page 4: ...between the upper chimney and the wall ensuring that they are well seated Fix the lower parts laterally to the hood body using 2 screws ST4 X 8 Cleaning Maintenance SURFACES Wash with warm soapy water and a soft sponge Never use abrasive detergent scouring pads steel wool or solvents on any part of this appliance as this will cause irreparable damage Dry the kitchen hood using a cloth that does no...

Page 5: ...ized technical assistance service Air outlet connection 12 SAFETY Read this First Do not connect the appliance if there are obvious signs of transportation damage Read this user manual thoroughly before attempting to use this appliance Installation and repair should be attempted only by qualified technical personnel It is dangerous to modify any part of this appliance The manufacturer declines all...

Page 6: ...knowledge unless they have been given supervision or instruction con cerning use of the appliance by a person responsible for their safety Children should be supervised to ensure that they do not play with the appli ance 2 If the supply cord is damage it must be replaced by the manufacturer and use the genuine parts only 3 There is a fire risk if cleaning is not carried out in according with the i...

Page 7: ...g 2 ST5 x 25 screws Fix the upper chimney cover to both mounting bracket using 2 M3 x 12 screws Slide the lower chimney cover downwards and ensure that it is well seated on the hood body 10 Description of Parts AD995XC A Chimney Mounting Bracket B Upper Chimney Cover C Lower Chimney Cover D Motor Housing F Baffel Filters 7 ...

Page 8: ... outside In this mode only the aluminum filters are installed Recirculation mode In the recirculation mode air is drawn into the hood fats are trapped by the aluminum filters the air then passes through charcoal filters to remove cook ing odors the purified air is then passed back into the kitchen In this mode both the aluminum filters and the charcoal filters must be installed 8 Installation Wall...

Reviews: