background image

49

Starting up and temperature regulation

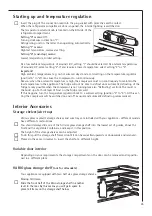
Insert the plug of the connection lead into the plug socket with protective earth contact. 
When the refrigerator compartment door is opened, the internal lighting is switched on.
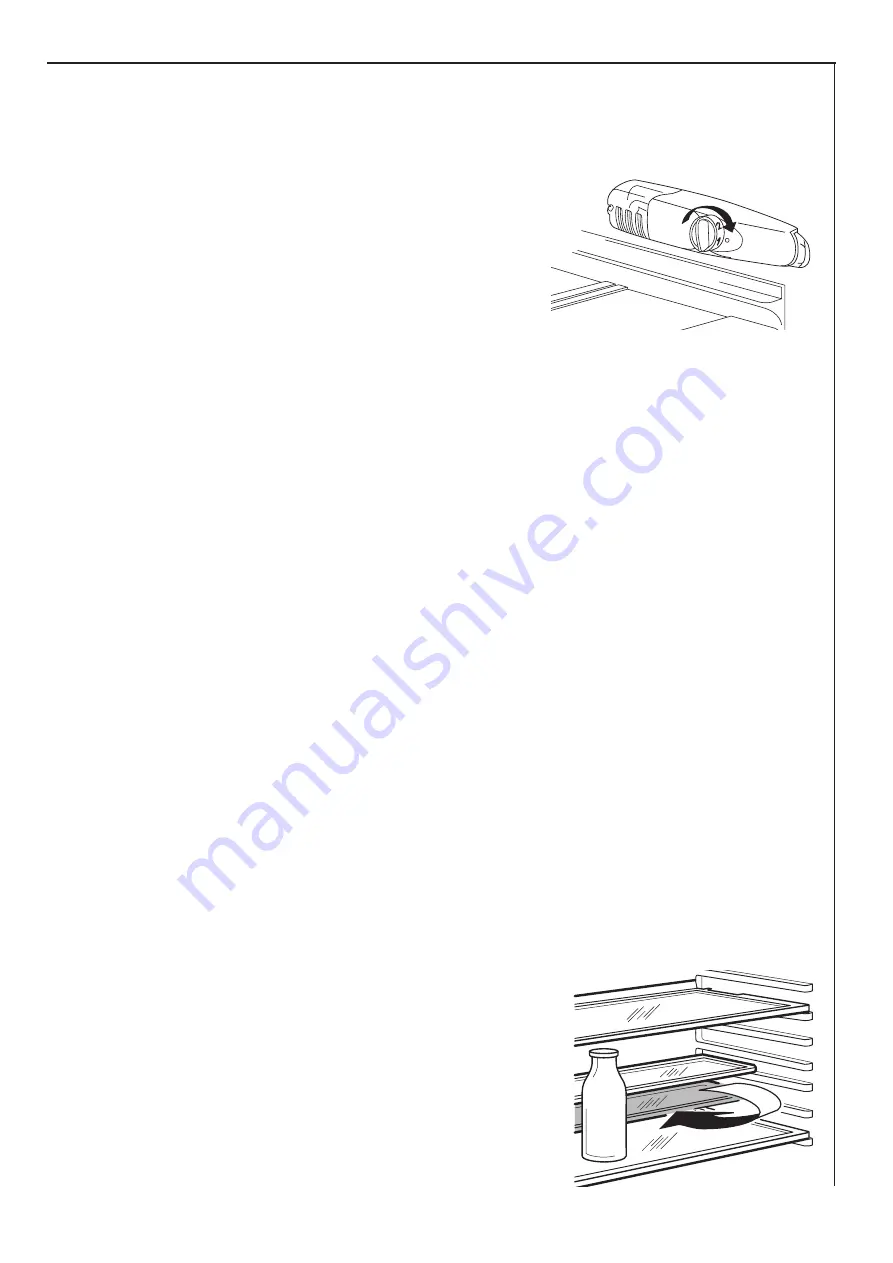
The temperature selector knob is located on the RH side of the
refrigerator compartment.

Setting “0” means:

Off.

Turning clockwise in direction “1”:
Refrigerating unit on, the latter then operating automatically.

Setting “1” means:

Hightest temperature, warmest setting.

Setting “6” (end-stop) means:

Lowest temperature, coldest setting.

At a low ambient temperature of around 16°C, setting “1” should be selected. At ambient temperatures
of around 25°C, select setting “2”. If you require a lower temperature, select setting “3” or “4”.

Important!

High ambient temperatures (e.g. on hot summer days) and a cold setting on the temperature regulator
(position”5” to “6”) can cause the compressor to run continuously.
Reason: when the ambient temperature is high, the compressor must run continuously to maintain the
low temperature in the appliance. The fridge will not be able to defrost since automatic defrosting of the
fridge is only possible when the compressor is not running (see also "Defrosting" section). The result is
the build up of a thick layer of frost on the fridge rear wall.
If this happens, turn the temperature regulator back to a warmer setting (position “3” to “4”). At this set-
ting the compressor will be switched on and off as usual and automatic defrosting recommenced.

AEG62

Interior Accessories

Storage shelves/wire trays

Various glass or plastic storage shelves and wire trays are included with your appliance - different models
have different combinations.
You should always slide one of the full size glass storage shelf into the lowest set of guides, above the
fruit and the vegetable containers, and keep it in this position.
The height of the storage shelves can be adjusted:
To do this pull the storage shelf forward until it can be swivelled upwards or downwards and removed.
Please do the same in reverse to insert the shelf at a different height.

VARIO glass storage shelf 

(not for all models)

Your appliance is equipped with two half size glass storage shelves.

Variable door interior

Depending on your requirements, the storage compartments on the door can be removed and repositio-
ned in a different place.

Storing tall items:
Slide the front half of the Vario storage shelf in another
level to the rear. By this means you will gain space to
place tall items on the storage shelf below.

Summary of Contents for TCA 160 WE

Page 1: ...Gebrauchsanweisung Tisch K hlautomat Mode d emploi R frig rateur automa tique table top Gebruiksaanwijzing Tafelmodel koelkast Operating Instructions Automatic refrigerator TCA 160 WE 2222632 34...

Page 2: ...e are stressed with a warning triangle and or with signal words Warning Caution Attention Please observe the following carefully This symbol guides you step by step in the operation of the appliance S...

Page 3: ...48 Description of the appliance 48 View of the appliance 48 Starting up and temperature regulation 49 Interior Accessories 49 Storage shelves wire trays 49 Variable door interior 49 VARIO glass storag...

Page 4: ...and sources of ignition thoroughly ventilate the room in which the appliance is situated Safety of children Packaging e g wraps polystyrene can be dangerous for children There is a risk of suffocation...

Page 5: ...The refrigerant circuit especially the heat exchanger at the back of the appliance must not be dam aged Information concerning collection schedules or locations can be obtained from your local Council...

Page 6: ...ther refrigerator or freezer a clearance of 5 cm at the sides is required in order to prevent the formation of condensation on the outside of the appliance Your refrigerator needs air The refrigeratin...

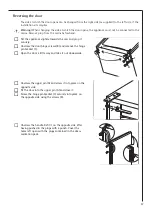
Page 7: ...prop it securely Unscrew the door hinge screws K and remove the hinge pin bracket 1 Open the door a little way and take it out downwards Unscrew the upper pin A and screw it into place on the opposit...

Page 8: ...iance is installed under a continuous work top the plug socket should be provided as shown Alternatively a concealed spur socket fitted with a 13 A fuse may be fitted If the socket is not accessible o...

Page 9: ...or is not running see also Defrosting section The result is the build up of a thick layer of frost on the fridge rear wall If this happens turn the temperature regulator back to a warmer setting posit...

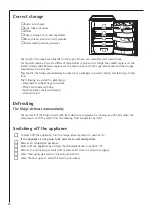
Page 10: ...re suited for packaging Polyethylene airtight bags and wraps Plastic containers with lids Special plastic covers with elastic aluminium foil Defrosting The fridge defrosts automatically The rear wall...

Page 11: ...onents danger of electrical shock Hot vapours can lead to the damage of plastic parts The appliance must be dry before it is placed back into service Important Ethereal oils and organic solvents can a...

Page 12: ...properly adjusted Please look in the Initial Start Up section Door was open for an extended peri od Open the door only as long as necessary A large quantity of warm food was placed in the appliance wi...

Page 13: ...urred The compressor starts after a period of time Water drain hole is blocked See the Cleaning and Care section Water on the floor or on storage shelves Changing the light bulb Warning There is a ris...

Page 14: ...om the food sto red in the fridge or freezer can cause the refrigerant to boil and vaporise Closed circulation system that contains the refrigerant The refrigerant circuit compri ses primarily of an e...

Page 15: ......

Page 16: ......

Reviews: