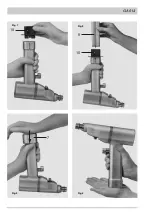
10
ACCULAN reamer GA 613
6. Operation
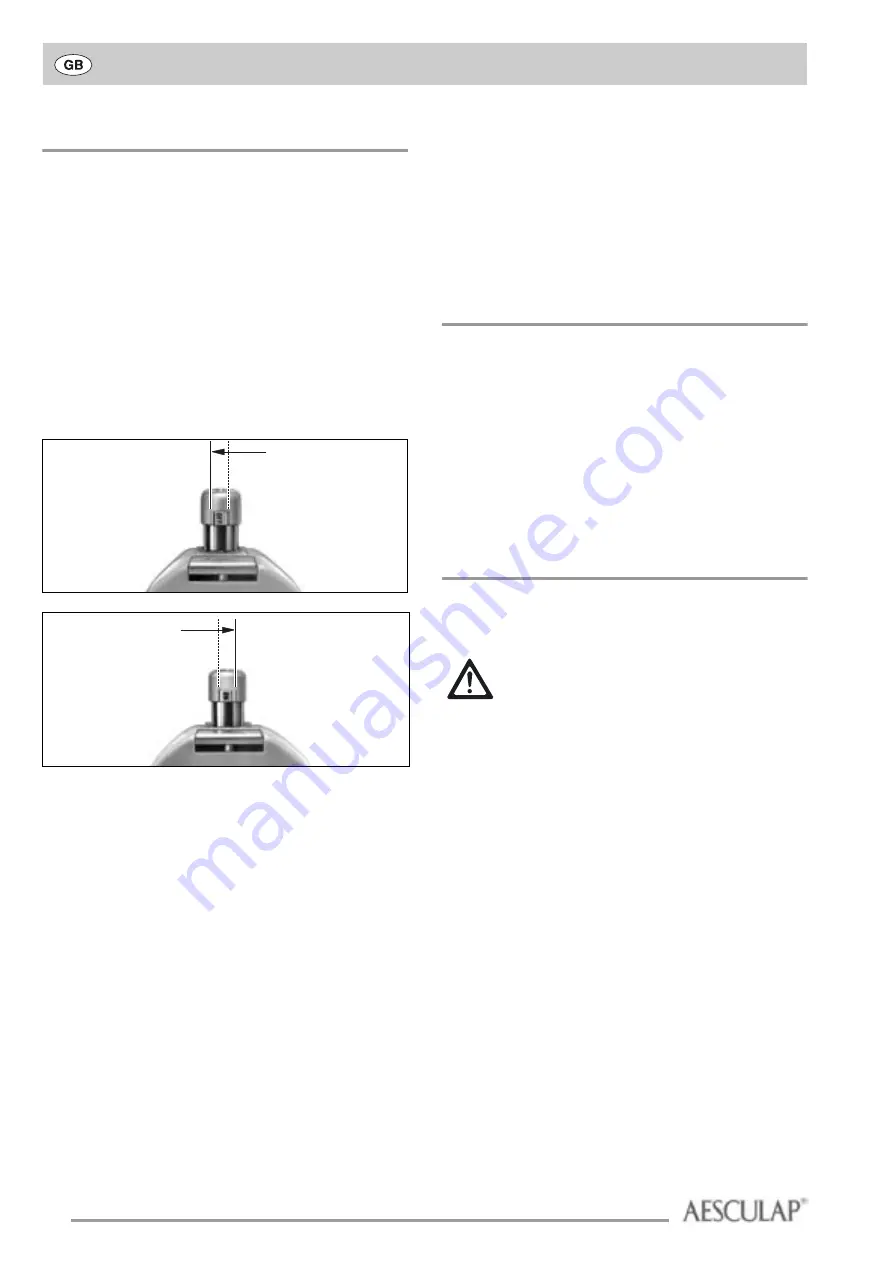
Prevention of unintentional operation
In order to prevent unintentional operation (for example during tool
change), the machine is equipped with a lock on the speed control
trigger.
Explanation of symbols:
ON:
The machine is in the ready state.
OFF:
The speed control trigger is blocked.
The machine cannot be started.
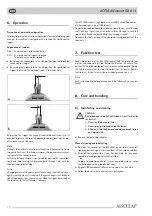
a By turning the trigger lock to the OFF position, you can block the
speed control trigger.
b By turning the trigger lock to the ON position, the speed control
trigger is released. The machine is now in the ready state.
By pressing the trigger, the reamer is controlled continuously in 1st
gear (cutting) up to 180 rpm. In 2nd gear (medullary reaming), the ma-
chine reaches max. 380 rpm.
Note
Owing to the electronics used, a quiet beep tone is heard shortly before
the gentle start-up of the reamer. However, this tone becomes increas-
ingly quiet as the reamer runs up.
Switching between the gears is performed by pressing the release but-
ton
5
and then turning the gear changer
4
through 180° until the
changer snaps in detectably.
Note
Changing between the gears is possible both when the machine is non-
operational and when it is running. If the gear changer is not locked in
one of the end positions, the motor runs when the trigger is pressed but
the spindle with the tool remains stationary.
The ACCULAN reamer is equipped with a HARRIS chuck. You can cou-
ple Aesculap tools with a HARRIS shaft.
To clamp the tools, pull back the clamping sleeve
2
, now insert the tool
shaft and turn it gently until the drive surfaces
12
snap in. Lock the
tool and the handpiece by releasing the clamping sleeve
2
.
To release the tools, push back the clamping sleeve
2
and pull out the
tool shaft.
7. Function test
Each time before use, the ACCULAN reamer with the mounted tool
must be subjected to a test run. Before the function test, ensure that
neither the machine nor the battery is mechanically damaged. During
the test run, ensure that the tools fit correctly on the reamer. For this
function test, the battery must be inserted beforehand (see 5.1).
Note
Each intraoperative battery change has to be followed by a function
check!
8. Care and handling
8.1 Disinfecting and cleaning
¾
Remove the tool and/or adapter.
Manual cleaning and disinfecting
¾
To clean the surfaces of the ACCULAN reamer, brush them off
lightly under running water or clean them with an alcohol solution.
¾
Wipe off the motor with a clean, lint-free cloth that has been
soaked in cleaning and disinfectant solution.
- or -
In order to avoid formation of sticky or encrusted residues, spray
the components with a disinfectant spray.
¾
Wipe off the component surfaces with a clean, lint-free cloth.
¾
Follow the disinfectant manufacturer's instructions.
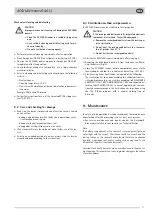
a
b
CAUTION
Risk of damage to the ACCULAN reamer from fluid inside
the device!
¾
Never lay the device in fluid.
¾
Never spray pressurized air on the device.
¾
Allow any fluid that has penetrated the device to run
out immediately.


