E
OPERATING INSTRUCTIONS
(6) NO bulbs and open fires are allowed to place in bathtub during installation.
(7) NO stuff like sand, cement or other sundries are allowed to place in bathtub as that would likely damage bathtub surface.
(8) NO solvent like paint or glue are allowed to contact with bathtub.
Attentions at installation of electrical appliances
(1) Professional help from electrician is required to connect power cord of air pump with reference to standards.
(2) Exclusive power source for bathtub must have protective device of creepage,overload and short circuit installed and checked
frequently.
(3) Earth wire must be earthed.
(4) Power source must close to electric motors, NO temporary extended socket is allowed to use.
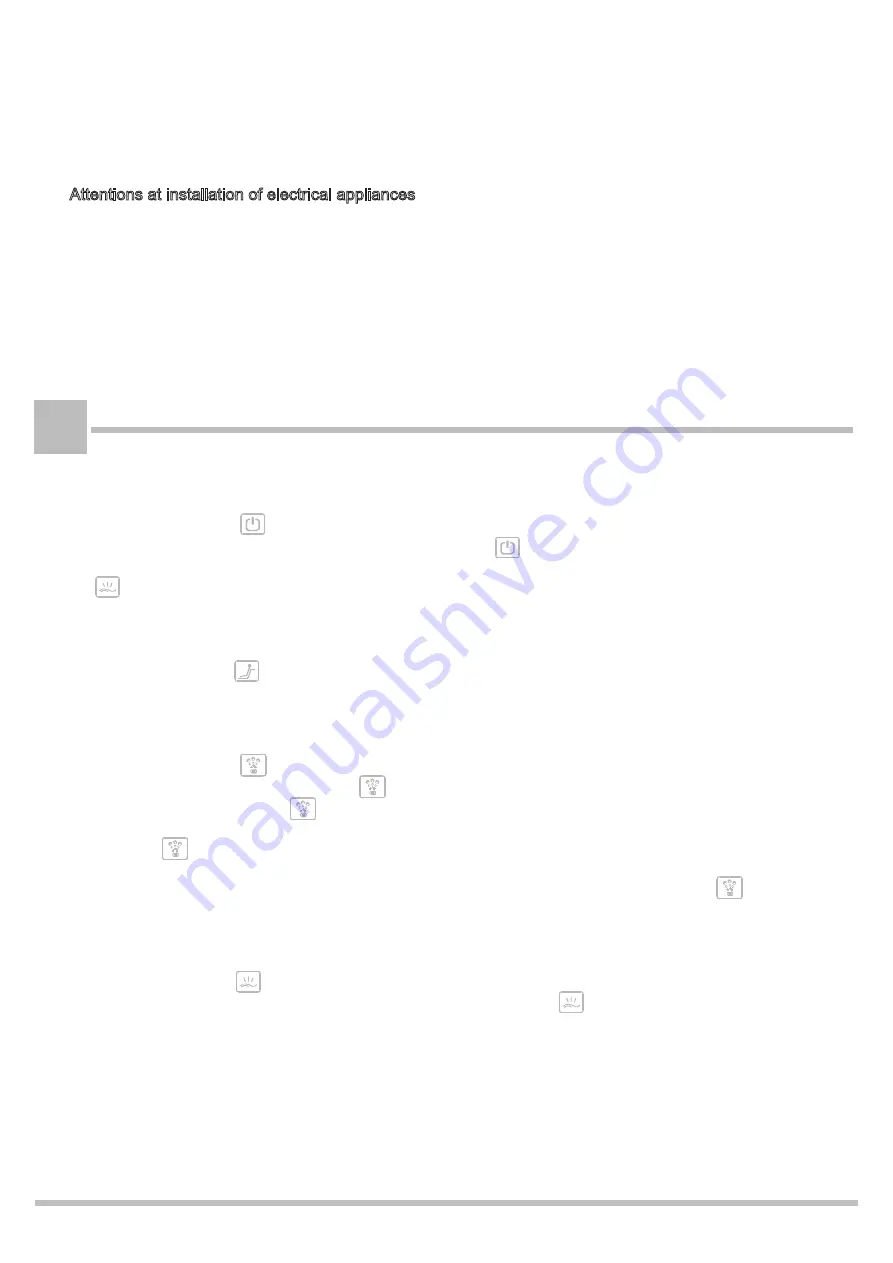
Automatic drainage: Turn the system off, the orange backlight of the air pump icon will be lit by touching and keeping the icon for one second,
the air pump will work at its maximum power for three minutes.
Switch the power on, touch the icon on the panel to turn the system on. Then the orange backlight of the power icon and the white backlight
of the lamp icon will be lit. The light of the nozzle is shining white. Touching the icon again or Runinng time out, all the functions and button
backlight will be turned off. Operation timing: The default setting time of the system is 20 minutes. The system turns off, by touching and keeping
the icon for one second, the backlight of the air pump icon and lamp icon will be lit simultaneously and the timing will be cancelled; touch
the icon again, the orange backlight will be lit simultaneously, and the timing is set. The settings become valid when you restart the machine.
(1) Power On/Off
(2) Backup Heating Function
Turn the system on, touch the icon to start the function of backup heating, then the orange backlight of the icon will be lit; touch the icon again,
the function of backup heating and the backlight of the icon will be turned off.
(3) Air Bubble Massage
Turn the system on, touch the icon to turn on the function of keeping the speed of the air pump; the air pump will run at its maximum power
and the white backlight of the icon will be lit; touch the icon again to turn on the function of regulating the speed of the air pump and the orange
backlight of the icon will be lit; touch the icon for the third time to turn off the function of air pump, then the backlight of the icon will be turned
off. During the process of turning the air pump on, the function of air pump can be shifted between speed maintaining and regulating, by touching
and keeping the icon for one second.
(4) Lamp
Turn the system on, touch the icon to turn on the manual function of 12-color lamp conversion. Touch the icon each time, the lamp will be
changed into a different color and the white light of lamp icon will be lit. Touch and keep the icon for one second to turn on the lamp function
of automatic color conversion and the orange backlight of the lamp icon will be lit.
Guangzhou BRAVAT Industrial Co., Ltd.
Service Hot Line: 800-820-5330
Web:www.bravat.com
3


