48- 55
62- 76
A
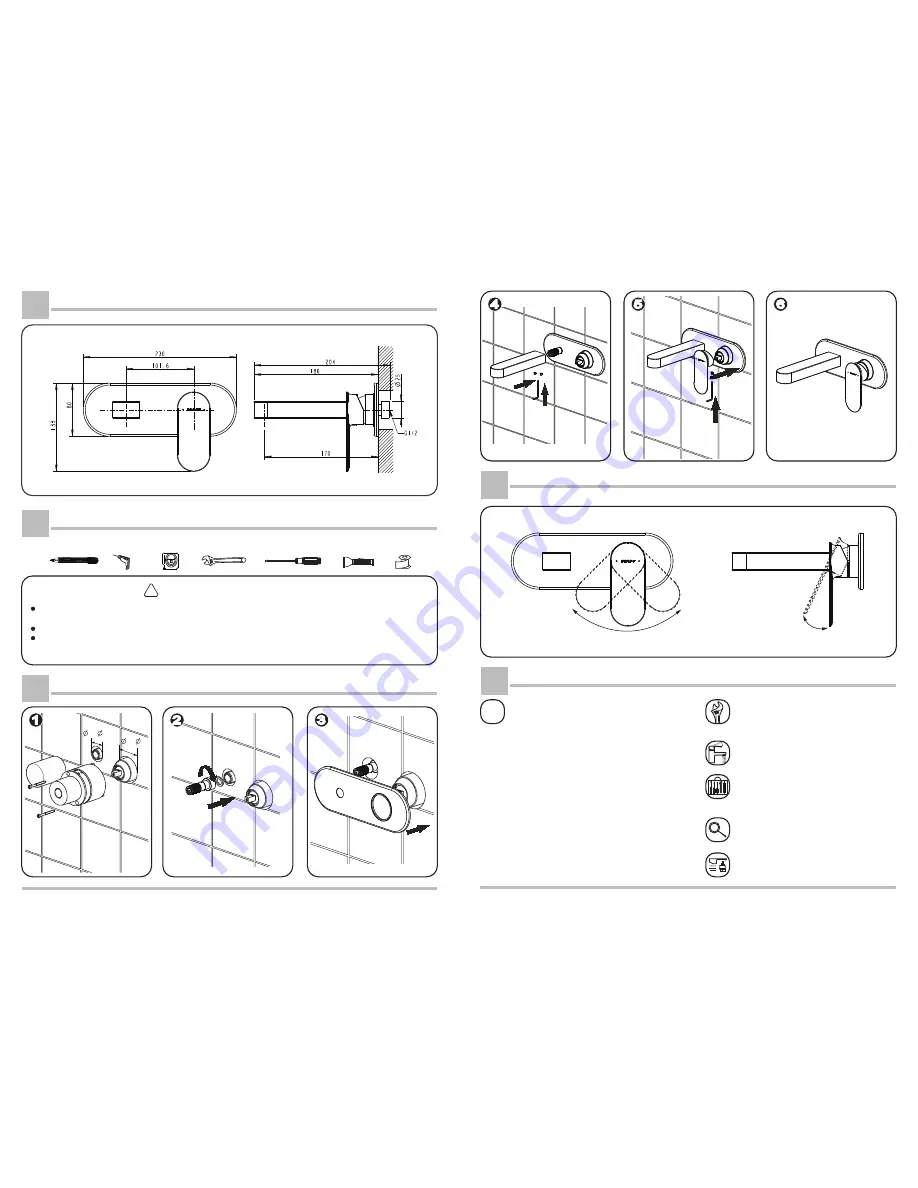
INSTALLATION DIMENSION
Unit:mm
2
Designed and developed by Bravat/Dietsche Germany
B
HELPFUL TOOLS
Before installing the new mixer, it is essential that you thoroughly flush through the supply pipes in order to remove any remaining swarf,
solder or other impurities. Failure to carry out this simple procedure could cause problems or damage to the workings of the mixer.
Work water pressure
:
0.15 - 1.0 MPa (Including cold and hot).
If the pictures and statements in the ‘Installation Specifications’ is unconfirmed with practicality, please take practicality as standard.
!
Points for attention before installation
INSTALLATION STEP
C
3
Designed and developed by Bravat/Dietsche Germany
FAUCET OPERATION
D
Spanner
Teflon tape
Screwdriver
Flashlight
Tape Measure
Impact Drill
Pencil
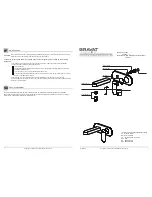
SPECIFICATION
E
Application:
Operation with unpressurized storage heaters is not possible.
Use for indoor public places and common residence.
Specifications:
Hot and cold water inlet pressures should be equal.
Static inlet pressure range: 0.15 - 1.0 MPa
New regulation: 0.5 MPa maximum static pressure at any outlet
within a building.
(Installation shall be in accordance with the AS/NZS3500 series
of Standards.)
Hot water inlet temperature: max. 80
℃
Recommended (energy saving): 60
℃
Environment temperature: 5
℃~
45
℃
If static pressure exceeds 5 bar, a pressure-reducing valve must
be fitted.
Avoid major pressure differences between hot and cold water supply.
This technical product information is exclusively
for the installer or trained specialists.
Please pass these instructions on to the user.
GB
Installation:
Flush piping system prior and after installation of
fitting thoroughly (Consider EN 806)!
Fitting a temperature limiter is possible.
Function:
Check connections for leaks and check function of
fitting.
Maintenance:
Inspect and clean all components and replace if
necessary.
Shut off water supply for maintenance work.
When installing the cartridge, ensure that the seals
are correctly seated.
Tighten the screws evenly and alternately.
Replacement parts: see exploded drawing
.
Care: see Care Instructions.
4
5
6
1
2
3
25°
Close
Open
Hot
Cold
90°
Finished


