9
LUX
TIME
SENS
ON OFF
1
3
2
4
6
7
8
9
10
11
12 13 14
5
Directions for use
SOLAR LED Light SOL 80 ALU IP 44
INTRODUCTION
Thank you for choosing this product.
Familiarize with the product before installation and first use. Carefully read this
instruction manual and safety precautions. Only use the appliance for its intended use in
the specified areas.
Keep the user manual in a safe place and pass it on together with the product.
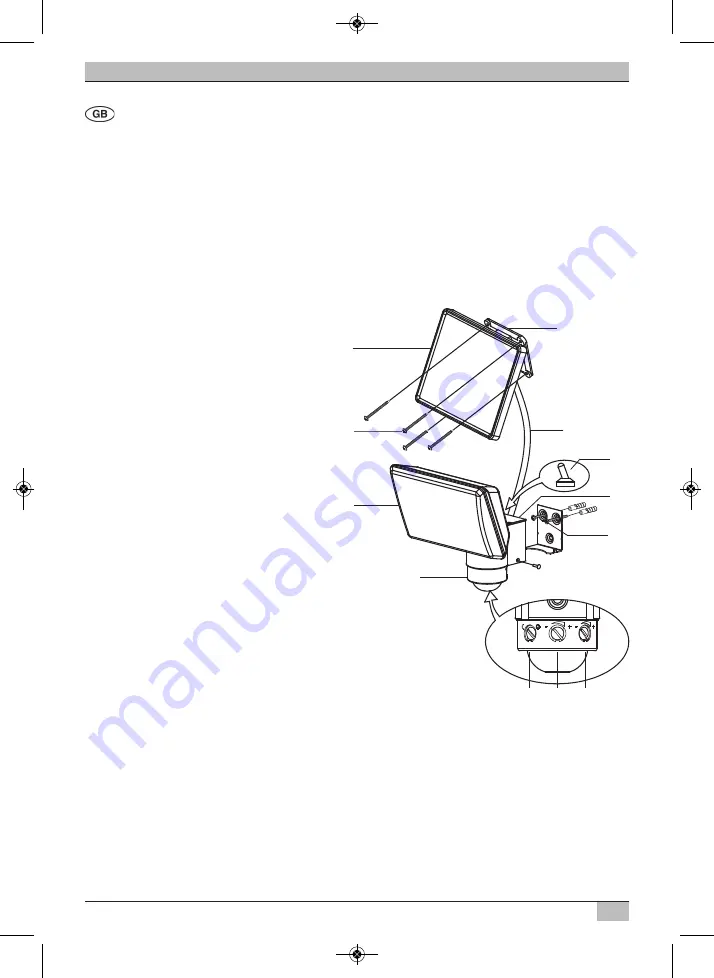
PARTS LIST
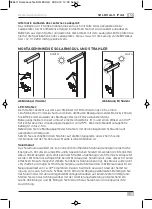
Solar Unit
1.
Solar module
2. Mounting plate
3. Mounting screws solar module (4x)
4. Connecting cable
LED Lamp
5. LED unit
6. ON / OFF switch
7. Battery compartment
8. Mounting plate for main unit
9. Mounting screws for main unit (2x)
10. Safety screw
11. Movement detector
12. Control knob response sensitivity (LUX)
13. Control knob sensitivity (SENS)
14. Control knob light duration (TIME)
Important information before operation:
Before first use charge the integrated rechargeable batteries. Follow these steps:
Charge with solar energy via the solar module:
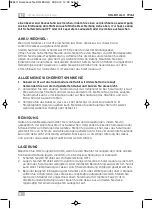
Connect the solar module cable with the LED lamp. The lamp switch must be set to OFF
position. Find exact information regarding the switch settings below. Place the solar
module in a location where it is as long as possible in direct sunlight. Observe the
instructions for best placement in the next section.
Depending on the time of year, weather and position of the solar module charging can
take several days before the lamp is ready to use. As a guide, charging time if fully
unloaded is approx. 3-4 days in full sunshine.
066411 Solar-Leuchte SOL 80 ALU 20.02.12 14:30 Seite 9


