Microscope Features
R. Focus Knob. Slowly turn the knob back
and forth to focus an object in the eyepiece.
Notice what happens to the power indicator
(U, Fig. 1) as you turn the knob.
S. The Body Tube. Connected to the
eyepiece and helps focus the lenses.
T. The Eyepiece with fixed lens that has
a10X magnification. Remove the dust
cover from the eyepiece and put it aside in
a safe place.
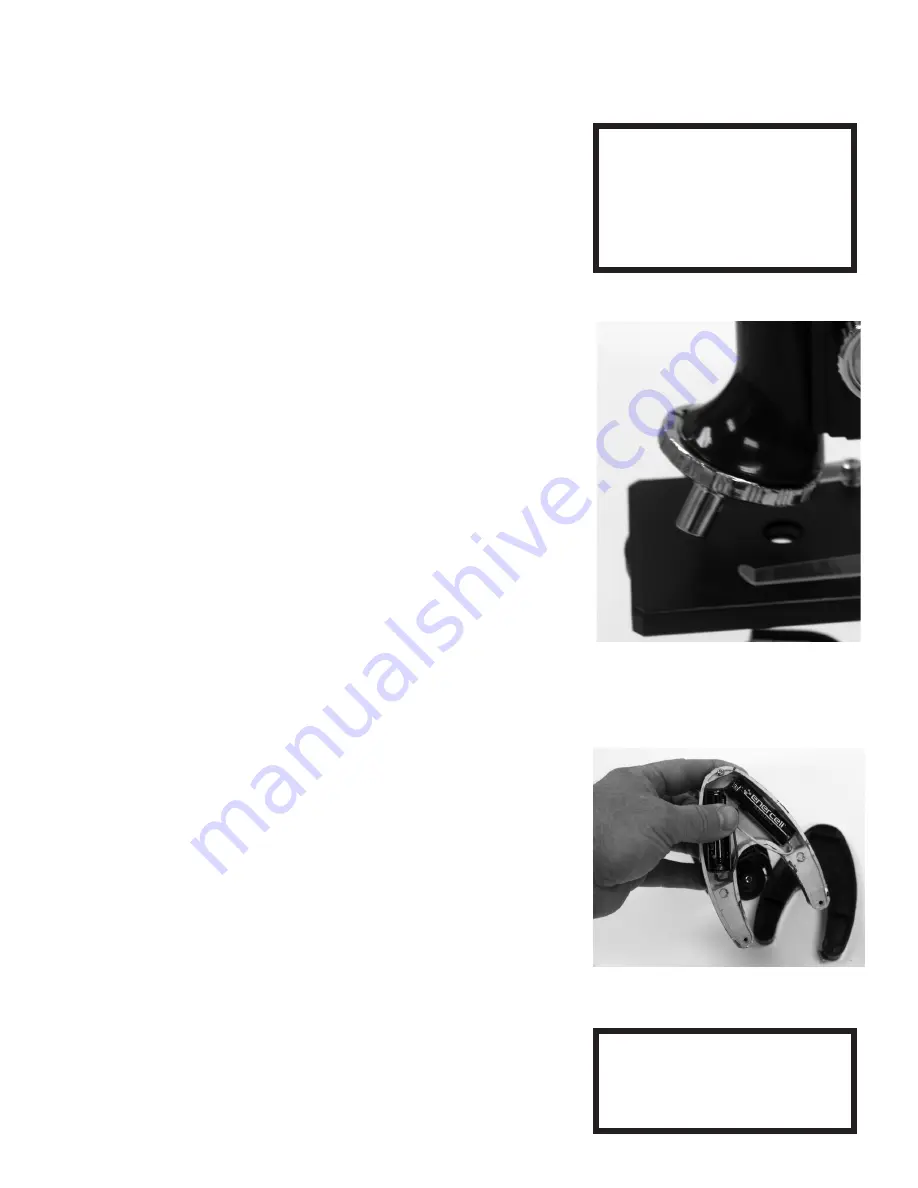
U. Power Indicator/ Objective Turret. The
turret has 3 lenses or objectives: 10X,
40X, and 90X (See Fig. 2). The shorter
the objective, the lower the power or
magnification. The longest objective
is the highest power. To calculate the
magnification you are using, multiply the
value of the objective by the power of the
eyepiece (note that the power indicator on
the turret makes this calculation for you).
For example, turn the power indicator to
the longest objective (90X), and multiply
by the power of your fixed eyepiece (10X)
– you will magnify the object by 900 times
(note that the power indicator reads 900).
This means that the object appears 900
times larger than it appears to the naked
eye! Gently turn the power indicator on the
objective turret (U, Fig. 1). You will feel and
hear the objectives lens click into place.
Practice turning the focus knob (R, Fig. 1)
in both directions and notice how far you
can turn it without letting the objective
come into contact with the stage (V, Fig. 1).
V. The Stage is a flat platform with a
hole in the center to allow reflected light
off the mirror or light source to enter the
microscope.
W. The Stage Clips (2) hold the glass slide
firmly onto the stage.
X. Mirror/Light Source. While holding the
base down, pull on the arm to tip the micr
scope back. Examine the mirror and light
source located below the stage to see how
you
Fig. 3: Install batteries in
the base.
TIP: Begin viewing at the
lowest magnification or power
and focus the object. Once the
image is focused, increase
magnific tion by turning the
objective turret and refocus.
Need Help? Toll Free 866-252-3811


