l
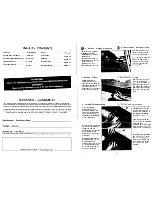
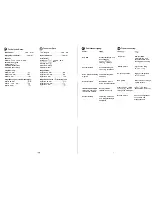
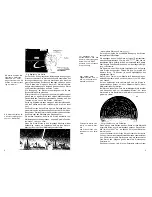
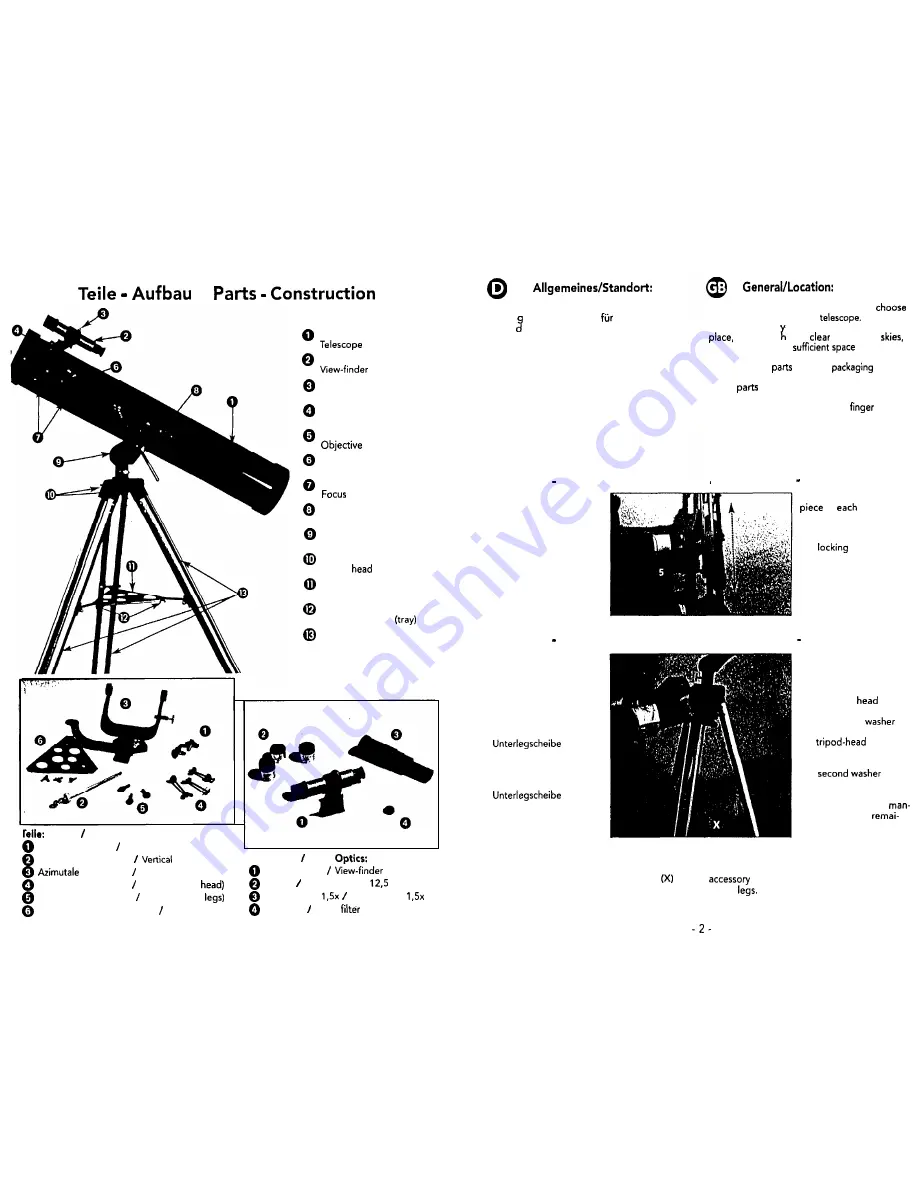
Aufbau Parts: Construction:
Schrauben (Tubus) Screws (tube)
Teleskop-Tubus
tube
Sucherfernrohr
scope
Justierschrauben (Sucher)
Adjusting-screws (view-finder)
Befestigungsschrauben (Sucher)
Fastening screws (view-finder)
Objektiv
Okular-Stutzen
Eyepiece connection
Scharfeinstellungsrad
wheel
Tubus-Anschluß
Tube connection
Montierung
Mount
Stativ-Kopf
Tripod
Zubehör-Ablage
Accessory tray
Befestigungsschrauben (Ablage)
Fastening screws
Stativbeine
Tripod legs
Vertikal-Feineinstellung
fine-adjustment
Teile: Optik Parts:
Montierung Azimutaf mount
Sucherfernrohr
scope
Schrauben (Stativkopf) Screws (tripod
Okulare Eyepieces: 20 +
+ 6mm
Schrauben (Stativbeine) Screws (tripod
Umkehr-Linse
Erecting lens
Zubehör- Schrauben Tray + Screws
Mondfilter Moon
1 .
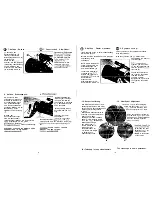
Bevor Sie mit dem Aufbau beginnen, wählen Sie
einen
eeigneten Standort
Ihr Teleskop.
Es wir
Ihnen helfen, wenn Sie dieses Gerät an
einem Ort aufbauen, an dem Sie freie Sicht auf
den Himmel haben, einen stabilen Untergrund
und genügend Platz um sich herum.
Nehmen Sie zuerst alle Teile aus der
Verpackung. Überprüfen Sie anhand des
Schaubildes, ob alle Teile vorhanden sind.
Wichtig: Ziehen Sie alle Schrauben nur
“handfest” an und vermeiden Sie so ein
“Überdrehen” der Schrauben.
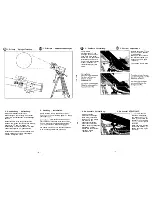
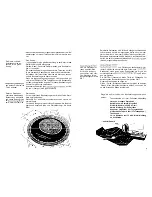
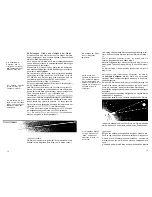
2. Aufbau Stativbeine:
Zuerst ziehen Sie das
jeweils mittlere Stück der
drei Stativbeine (13) auf
die gewünschte Länge
heraus.
Danach werden die
Feststellschrauben (5)
in die Stativbeine einge-
schraubt und fest ange-
dreht.
: 1.
Before you begin construction, you must
a suitable location for your
lt will help you, if ou build this appliance in a
where you
ave a
view on the
a stable footing and
around you.
Remove all the
from the
first.
Check, using the diagram, whether
all the
are there.
Impottant:
Only do the screws up
tight
and avoid over tightening them.
2. Construction Tripod-legs:
First, pull out the middle
of
of the
three tripod legs (13)
to the desired wished
length.
The
screws (5)
are then inserted into
the tripod legs and
screwed in securely.
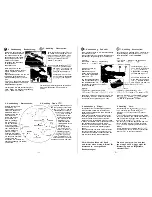
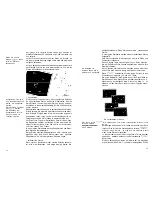
3. Aufbau Mont Stativ:
Damit die Montierung (9)
und das Stativ fest verbun-
den sind, muß die
Montierung in den
Stativkopf
(10)
eingesetzt
werden.
Hierzu werden die
Schrauben (4) mit einer
durch das
Bohrloch im Stativkopf
und der Halterung an der
Montierung gesteckt.
Danach wird die zweite
und die
Flügelmutter auf die
Schraube aufgesetzt und
angedreht. Verfahren Sie
auf die gleiche Weise bei
3. Construction Mount + tripod:
So that the mount (9) and
the tripod are
securely connected, the
mount must be attached
to the tripod
(10).
The screws (4) are
inserted with a
through the boring in
the
and the
mounting on the mount.
The
and
the wing nut are screwed
on and tightened.
Proceed in the same
ner with the two
ning mountings, until the
mount and
den zwei übrigen Halterungen, bis die
tripod are solidly connected as one.
Montierung fest mit dem Stativ verbunden ist.
Achten Sie darauf, daß die Halterungen
für
Make sure that the mountings (X) for the
die Zubehör-Ablage an den Stativbeinen nach
storage tray are on the inside of the
innen gerichtet sind.
tripod


