ATTACHMENT
HOLES
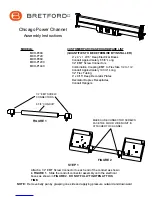
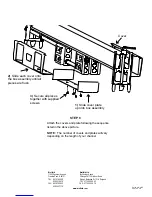
Position the box assembly to the channel using screws provided. Once assembly
is attached to channel, tighten conduit.
NOTE:
The attachment holes are marked
in
FIGURE 3.
DO NOT USE THE SMALL THREADED GROUND HOLE FOR
ATTACHMENT
.
STEP 2
FIGURE 3
STEP 3
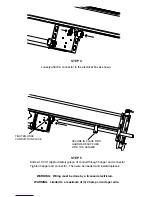
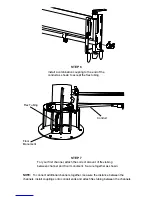
Attach 1/2 conduit hanger to channel approximately 6 from the end. Using
supplied screws and washers
HAND TIGHTEN
hanger to channel as shown.
NOTE: TO AVOID STRIPPING SCREW, DO NOT USE POWER TOOLS.
PLACE HANGER 6
FROM END OF
CHANNEL
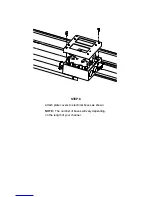
NOTE:
The number of box assemblies will vary depending on the length of your channel.

