NOTE: There are three methods of attaining Top Tilt support. All methods require
additional optional components. Installer must predetermine location of mount before
installation begins.
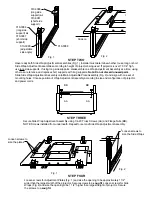
1). Installation Using Flush Ceiling Mount
Ceiling Mount must be attached to solid wood ceiling joist or metal structural beam.
Ceiling Mount must not be attached to drywall, plaster or dropped ceiling.
1. Determine location and type of fasteners required to support mount.
2. Attach Ceiling Mount to ceiling. Adjust to required angle and tighten screws securely.
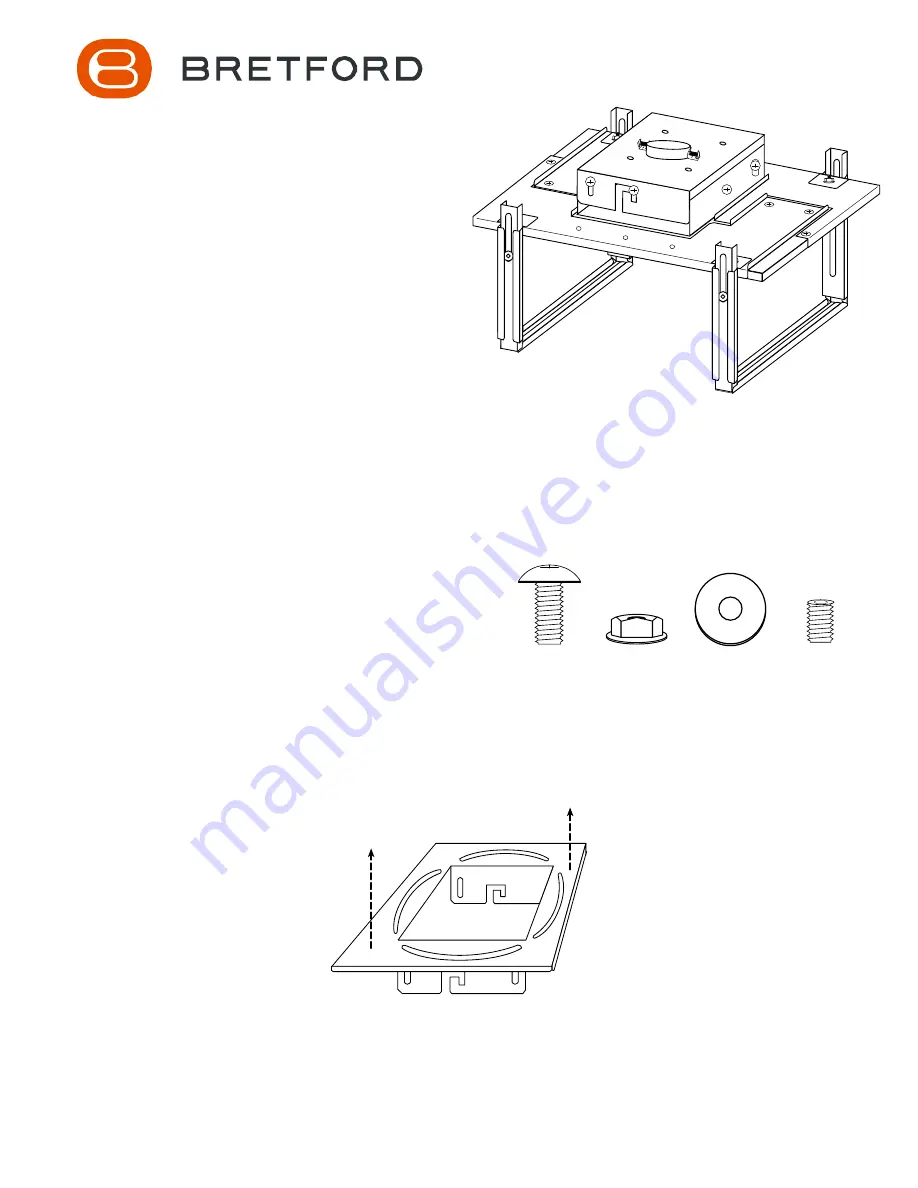
TPMA LCD Projector Mount
Assembly Instructions
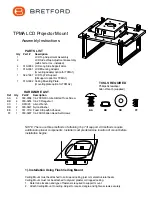
HARDWARE LIST
Ref
Qty
Part #
Description
AA
6030-0304 1/4-20X5/8 Combo Slotted Truss Screw
BB
4
030-02561/4-20 Flange Nut
CC
1
HK1020 Allen Wrench
DD
2
030-0427 Nylon Washer
EE
1
031-3119 Foam Strip with Adhesive
FF
1
030-0297 1/4-20X3/8 Allen Head Set Screws
PARTS LIST
Qty Part #
Description
1
LCD Top Adjustment Assembly
2
LCD Side Wrap Adjustment Assembly
(with short arms - installed)
4
010-3086 LCD Long Side Support Arms
1
010-3091 LCD Mounting Adaptor
(mounting adapter option for TPMA1)
1
022-1967 LCD Top Tilt Support
(tilt support option for TPMA1)
1
010-3092 Ceiling Mounting Plate
(mounting plate option for TPMA2)
TOOLS REQUIRED
Phillips Screwdriver
Allen Wrench (supplied)
AA
BB
DD
FF


