4
5
•
•
To protect against electric shock do not
immerse cord, plug or mixer body in
water or any other liquid.
•
•
Always use the appliance on a dry,
level surface.
•
•
Position your mixer away from the edge
of the bench top as it may move slightly
during use.
•
•
Handle you mixer and attachments with
care. Never place your fingers inside a
mixing bowl or near beaters during use.
•
•
Keep hands, hair, clothing, as well as
spatulas and other utensils away from
moving beaters during operation.
•
•
Ensure the motor and beaters have
completely stopped before setting the unit
down on the benchtop or disassembling.
•
•
Do not place hands in the mixing bowl
unless the unit is disconnected from the
power outlet. Disconnect the mixer from
the power outlet before removing beaters.
•
•
Use only the beaters supplied with
this mixer.
•
•
Always remove the beaters from the
mixer before cleaning.
•
•
Always switch the appliance off and then
switch off at the power outlet before
unplugging the appliance after use and
before attempting to move the appliance,
before putting on or taking off parts and
before cleaning.
•
•
The appliance is not intended for use
by young children or infirm persons
without supervision.
•
•
Do not leave the appliance unattended
when in use.
•
•
Young children should be supervised
to ensure that they do not play with
the appliance.
•
•
Regularly inspect the supply cord, plug
and actual appliance for any damage. If
found damaged in any way, immediately
cease use of the appliance and return the
entire appliance to the nearest authorised
Breville service centre for examination,
replacement or repair.
•
•
The installation of a residual current
device (safety switch) is recommended to
provide additional safety protection when
using electrical appliances. It is advisable
that a safety switch with a rated residual
operating current not exceeding 30mA be
installed in the electrical circuit supplying
the appliance. See your electrician for
professional advice.
•
•
Do not let the cord hang over the edge of
a table or counter, touch hot surfaces or
become knotted.
•
•
Do not place this appliance on or near a
hot gas or electric burner, or where it
could touch a heated oven.
•
•
Always turn off at the power outlet and
remove cord before attempting to move
the appliance, before putting on or taking
off parts or before cleaning.
•
•
This appliance is for household use only.
Do not use this appliance for anything
other than its intended purpose. Do not
use outdoors.
BREVILLE RECOMMENDS SAFETY FIRST
We at Breville are very safety conscious. We design and manufacture consumer products with
the safety of you, our valued customer foremost in mind. In addition, we ask that you exercise a
degree of care when using any electrical appliance and adhere to the following precautions:
IMPORTANT SAFEGUARDS
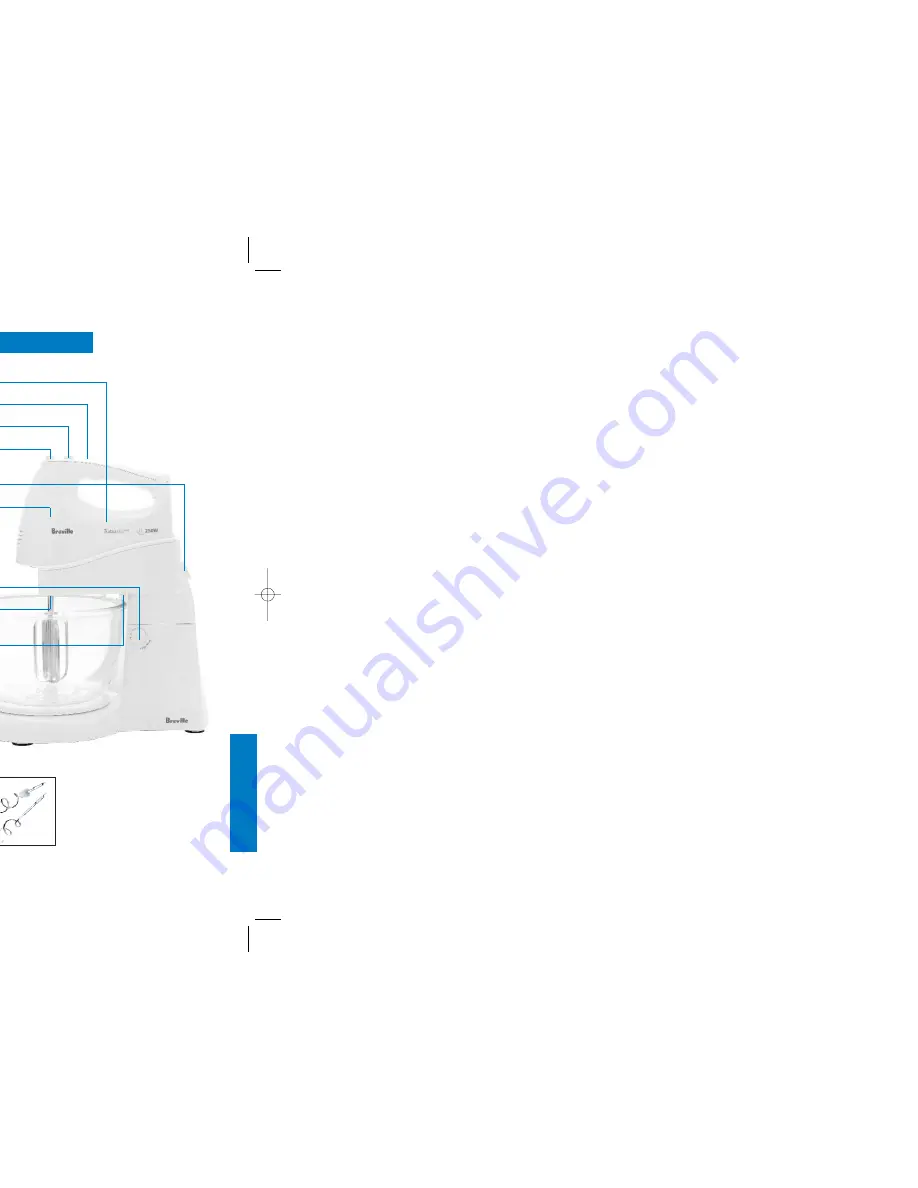
KNOW YOUR BREVILLE WIZZ MIX PLUS
Mixer motor body
Turbo button for extra burst of power
5 speed selector switch plus Pulse
Eject button for release of beaters
Mixer release button - press
to release mixer from stand
320 watts of power
Mixing Pivot button
Beater sockets
Gear drive - for automatic
rotation of mixing bowl
Mixing bowl platform
ATTACHMENTS
• 1 x steel beater
• 1 x steel beater with white cog
wheel collar
• 1 x steel dough hook
• 1 x steel dough hook with white
cog wheel collar
• 1 x glass mixing bowl
BR3936 EM6 WizzMix Plus Book 22/7/02 4:29 PM Page 4
Summary of Contents for EM6
Page 1: ...Mix Plus SE Model EM6 ...
Page 2: ...Wizz Mix Plus atulations your new Breville Wizz MixPlus ...
Page 3: ...5 WIZZ MIX PLUS ...
Page 12: ...il of f n 23 ...
Page 13: ...k ely m 25 ...
Page 14: ...y 27 ...


