11
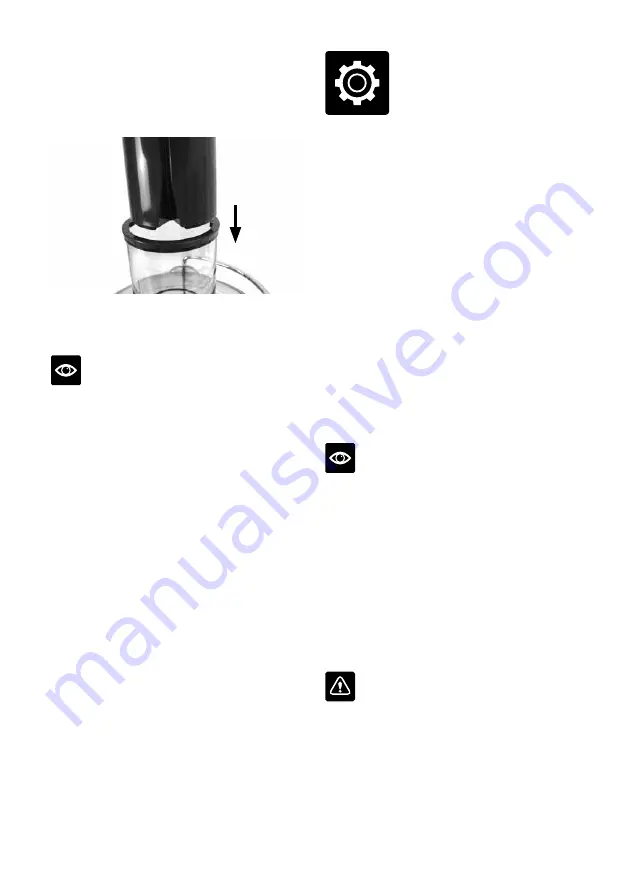
7. Place the juice jug provided sideways under
the spout of the juicer. A graphic on the lid
shows where the juicer spout is to be placed.
NOTE
The jug is designed to clip in under the spout
to give it a positive location.
A glass could also be used to collect the juice,
but using the jug and lid is recommended to
avoid any splatter.
1. Wash your selection of fruit and vegetables
ready for juicing.
2. Ensure the juicer is correctly assembled.
Ensure the Nutri Disc™ is thoroughly
cleaned before each use (refer to care and
cleaning). Place the juice jug with lid fitted
(or glass) under spout before commencing
juicing.
3. Plug the power cord into a 110/120V power
outlet and push the ON/OFF button to ON.
4. With the motor running, place food into the
feed chute. Using the food pusher, gently
guide food down the feed chute. To extract
the maximum amount of juice, always push
the food pusher down slowly.
5. Juice will flow into the juice jug and the
separated pulp will accumulate in the
integrated pulp container.
NOTE
•
Most fruit and vegetables such as small
apples, carrots and cucumbers will not need
to be cut to size as these will fit into the feed
chute whole.
•
When juicing carrots place the tip of the
carrot into the feed chute last.
•
When the integrated pulp container is full of
pulp, it must be emptied before continuing to
juice. (Refer to disassembling instructions).
•
Reassemble machine to continue juicing.
WARNING
Never use fingers to push food down the feed
chute or to clear the feed chute. Always use the
food pusher provided.
Functions
Summary of Contents for Juice Fountain BJE200
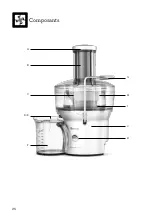
Page 8: ...8 Components B I H C A D E J F G K ...
Page 19: ...FR CA MANUEL D INSTRUCTIONS the Juice Fountain Compact Manuel d instructions BJE200 ...
Page 26: ...26 Composants B I H C A D E J F G K ...
Page 37: ...37 Notes ...
Page 38: ...38 Notes ...
Page 39: ...39 ...


