
10
11
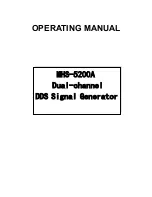
Attaching the lid
Attach the lid by placing the lid on the processing
bowl with the food chute positioned slightly left
of the bowl handle and aligning the spindle of
the processing blade or disc holder with the
bowl lid bearing located under the white button
in the centre of the lid (see Fig 8). Turn the lid
clockwise to slide the locking tab on the lid into
the interlocking safety slot in the motor base (see
Fig 9). Ensure the lid is positioned securely. Insert
the food pusher and measuring cup into position
in the food chute (Fig 10).
Ensure the fine end of the processing blade or
disc holder spindle and the hole in the bowl
lid bearing, located under the white button in
the centre of the lid, are clean and free of food
residue before attaching the lid.
The Breville Wizz™ Multi Processor will not
operate unless the processing bowl and lid are
positioned correctly and locked into position.
Fig.9
Fig.10
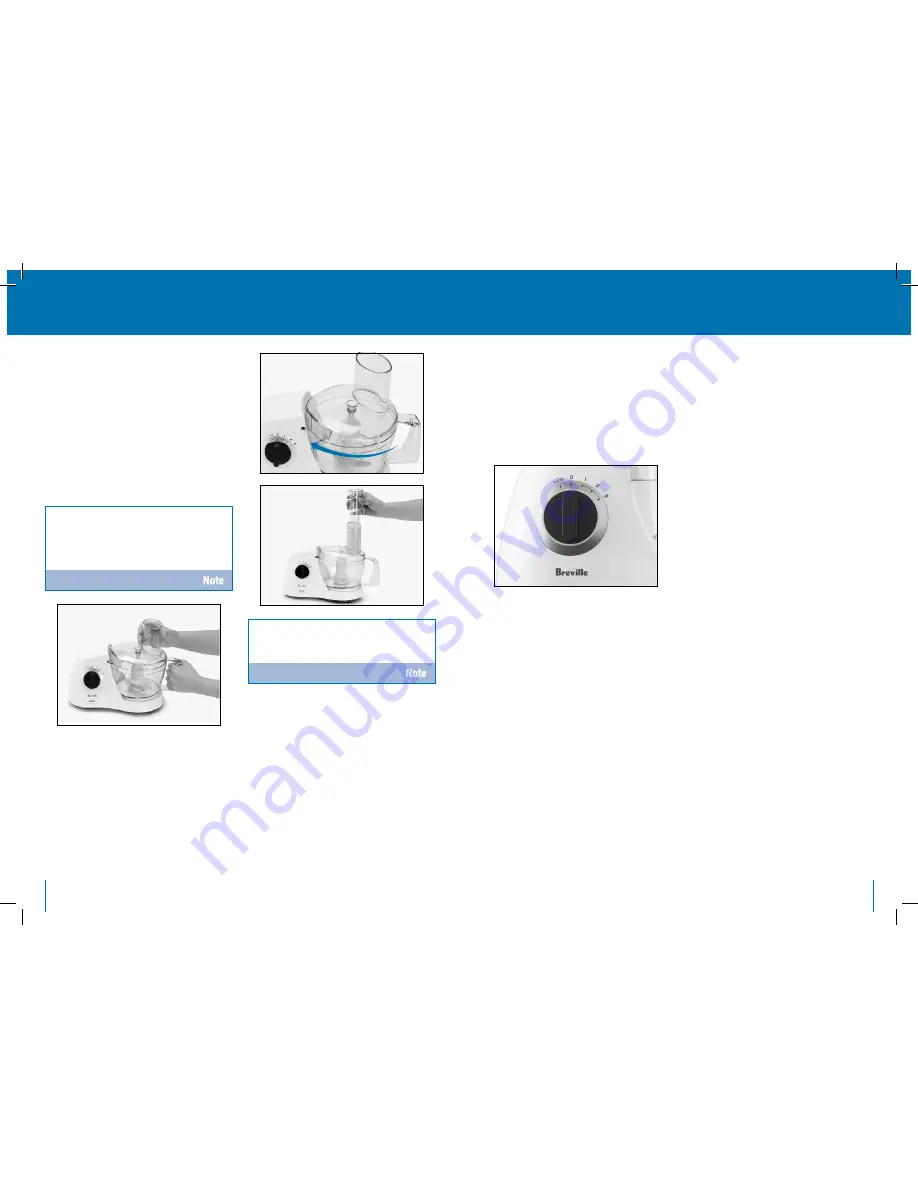
Commence processing
Step 1
To commence processing, insert the power plug
into a power outlet and switch on. Select a speed
on the Speed Selection Dial by turning clockwise
one notch for Speed 1, two notches for Speed 2,
or three notches for Speed 3 or turn anticlockwise
for ‘Pulse’ (see Fig 11).
Step 2
Processing blade
When using the processing blade, the food to be
processed should be placed into the processing
bowl before locking the lid into position.
However, some recipes call for liquids, etc. to
be added during processing. To do this, remove
the measuring cup from the food pusher and
slowly pour the liquid through the narrow
opening.
Slicing/shredding discs
When using the slicing or shredding discs, the
food is placed into the food chute and pushed
down onto the rotating disc using the food
pusher. To support narrow food items, when
processing, position the food pusher into the
food chute, insert the food into the narrower
opening and use the measuring cup as the food
pusher.
Fig.8
Fig.11
Assembly and operation of your
Breville Wizz™ multi processor
continued
Assembly and operation of your
Breville Wizz™ multi processor
continued