28
Laddermill Owner’s Manual—2017
A-frame Assembly
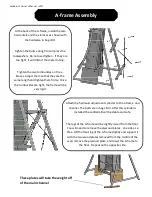
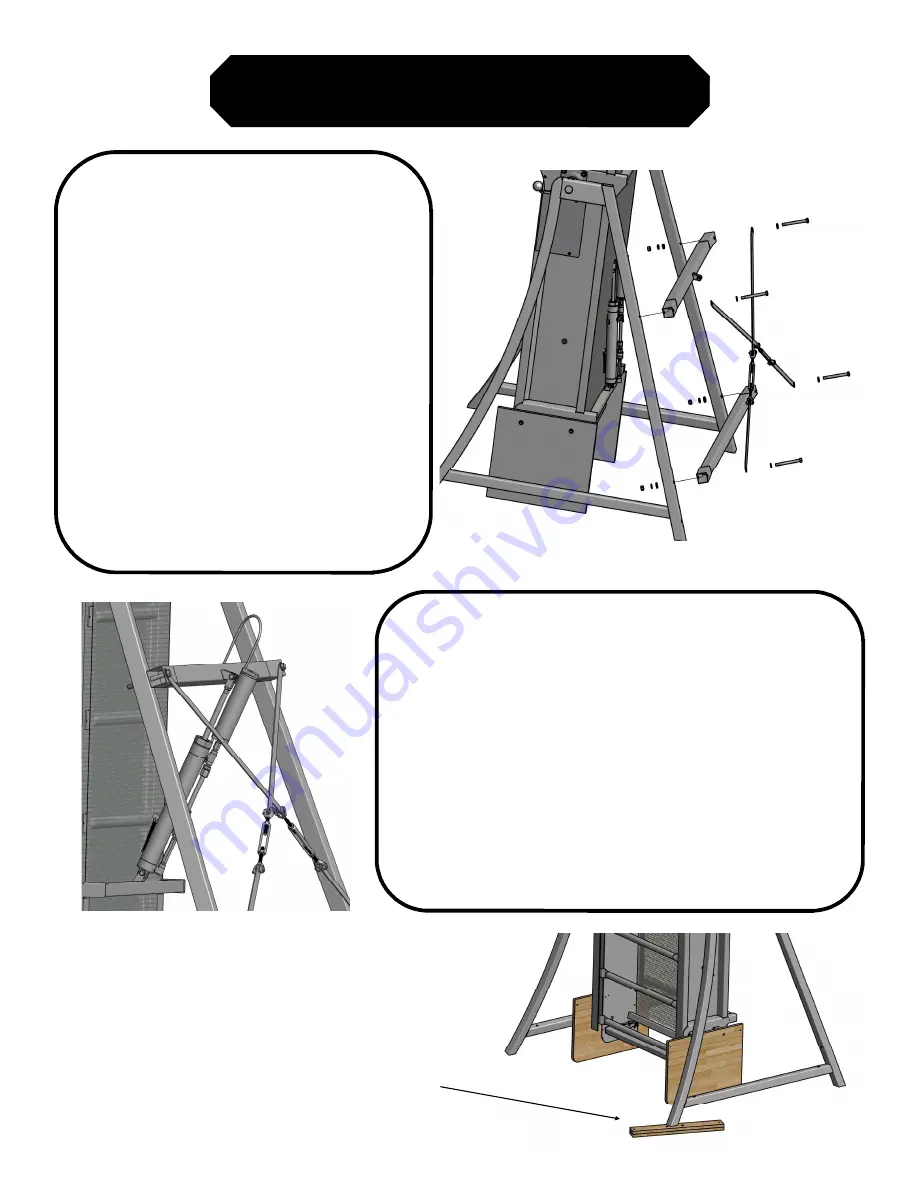
At the back of the A-frame, install the two
horizontals and the x-braces as shown with
the hardware in bag LM-1
Tighten the bolts enough to compress the
lockwashers. Do not over ghten - if they are
too ght, it will distort the metal tubing.
Tighten the two turnbuckles on the x-
braces. Adjust them so that they are the
same length and ghten them firmly. Once
the turnbuckles are ght, the frame will be
very rigid.
A ach the hydraulic adjustment cylinder to the a-frame and
channel. The bolts are in bag LM-3. A er this cylinder is
installed the Laddermill will be stable and safe.
The legs of the A-frame will be slightly raised from the floor.
You will need to remove the plywood plates - one side at a
me. Li the front leg of the A-frame slightly and support it
with the two wood plates removed from the middle of the
wall, remove the plywood plate, and lower the A-frame to
the floor. Repeat on the opposite side.
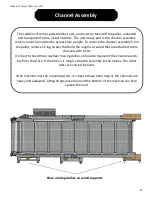
These plates will take the weight off
of the main channel
Summary of Contents for Laddermill Ascender
Page 2: ......
Page 4: ...ii Laddermill Owner s Manual 2017 ...

