39
Treadwall M6 Pro Owner’s Manual—2017
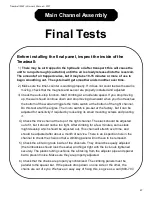
Main Channel Assembly
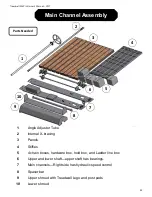
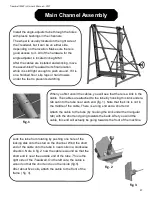
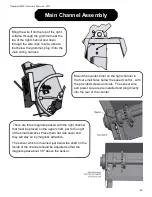
Before raising the shroud into position, make sure
that the front two flange-bolts on each square bearing
are quite loose. There should be a 1/4" gap between
the head of each flange-bolt and the bearing.
Each square bearing should have only 3 bolts at this
point. The top rear bolt will be installed once you get
the shroud in place. Have these two bolts ready as
you lift the shroud.
Use the ladders to raise the shroud and slip the
curved slots under the two front bolts.
Line up the rear top holes in the square bearings and
shroud then slip in the flange-bolts.
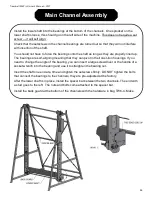
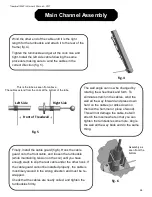
The internal x-braces cross on either side of the spacer bar and
angle tube - one in front and one in back. The X-bracing slots are
located just above the lower rectangular holes and below the
square bearings at the top of each channel.
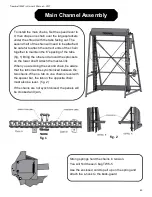
Adjust the turnbuckles to almost their full length before installing
them.
The round eyes at the ends of each x-brace fit into special slots in
the channels. You slip them in vertically and then turn them to lock
in place. Insert and rotate the top welded eye first and then the
eye on the turnbuckle into the lower slot on the opposite channel.
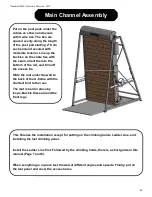
Once they are installed, make the turnbuckles equal length and
finger tight. Do not over-tighten, you can squeeze the channels
together preventing the panels from sliding smoothly through the
channels.
There are lock-nuts on the turnbuckles which should be tightened
very firmly to prevent them from loosening up.
Summary of Contents for Treadwall M6 Pro
Page 2: ......
Page 4: ...ii Treadwall M6 Pro Owner s Manual 2017...
Page 6: ...2 Treadwall M6 Pro Owner s Manual 2017...
Page 8: ...4 Treadwall M6 Pro Owner s Manual 2017...
Page 14: ...10 Treadwall M6 Pro Owner s Manual 2017...
Page 16: ...12 Treadwall M6 Pro Owner s Manual 2017...
Page 50: ...46 Treadwall M6 Pro Owner s Manual 2017...

