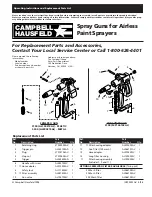
DAILY CLEAN-UP
NOTE
●
Local codes may require specific cleaning methods and
equipments. Follow local codes and manufacturer's
recommendations for the use of disposal of spray paints
and solvent.
●
Clean the spray gun
IMMEDIATELY
after use. Paint and
other materials dry quickly in the small passages inside
the spray gun.
1. Remove and empty paint cup. Rinse with a solvent
recommended for the paint.
3. Remove and check the fluid needle for excessive wear at
the tip and straightness.
NOTE
If the fluid needle tip is worn more on one side than
the other, either the needle is bent or the gun body has been
dropped or knocked out-of-line. There are no adjustments
that can be made to a bent gun body. Test the needle by
rolling on a flat surface. Replace if necessary.
4. Check and replace any damaged gaskets and/or packing
nuts.
5. Unscrew the needle packing seat and replace the needle
packing only if a leak will not stop when the needle
packing seat is tightened. DO NOT overtighten the needle
packing seat because this will restrict movement of the
fluid needle.
6. Reassemble in verse order of the above and use a
non-silicone oil on the moving parts. Apply Vaseline or
light grease on all threaded connections.
2. Refill the paint cup with clean solvent and attach the cup
to the gun body. Spray solvent through the gun into a
container while shaking the spray gun. Once the paint cup
is empty, repeat the process until the solvent comes out
clean. Wipe the gun exterior with a solvent-soaked rag.
3.
Disconnect the spray gun from air supply.
After discon-
necting, point the spray gun into the spent solvent
container and squeeze the trigger again to make sure that
no air remains.
4. Remove the air nozzle and soak in solvent until clean. Use
a small brush for stubborn stains if necessary. Toothpicks
or small brushes may be used to clean air passages.
6. After using water to clean out the spray gun, spray mineral
spirits through the gun to prevent corrosion.
7. Clean and flush gun thoroughly to neutralize any contami-
nants corrosive to the spray gun.
8. Use a non-silicone oil or a light lubricant on all moving
parts when reassembling. Use Vaseline or light grease on
all threaded connections before storage.
PERIODIC CLEAN-UP
NOTE
Due to improper cleaning and/or paint, it may be
necessary to inspect and clean the internal parts and the gun
body.
1. Examine the openings of the air nozzle tip and fluid nozzle
tip. If clogged, remove and soak them in solvent.
2. A brush, toothpick or something similar may be used to
dislodge the dried paint from holes and passages.
5. Clean gaskets with a solvent-soaked rag.
WARNING
Never use metal objects to clean
precisely drilled passages. Damaged passages will
cause improper spraying.
WARNING
Never use metal objects to clean
precisely drilled passages. Damaged passages will
cause improper spraying.
WARNING
Never immerse gaskets or spray gun
body in solvents to prevent damage.
Care and Maintenance
6
BRIGGSandSTRATTON.COM
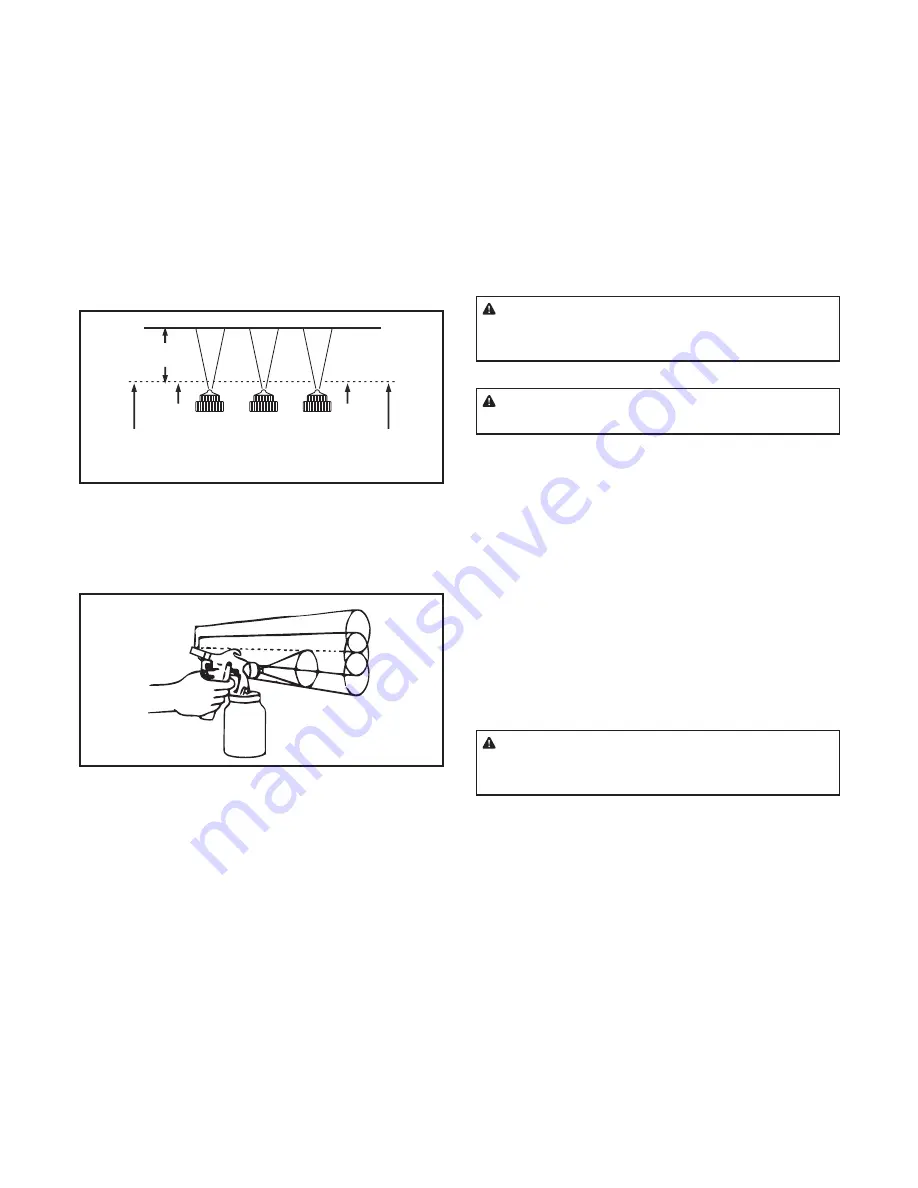
6-12 in.
Pull
Trigger
Start Stroke
Release
Trigger
End Stroke
Figure 9
Figure 10
NOTE
The amount of paint being applied can be varied by
the speed of stroke, distance from the workpiece and
adjustment of the fluid adjustment knob (G). If speed of
stroke is too slow, paint will be wet on workpiece and may
run. If speed of stroke is too fast, paint will be dry and
uneven on workpiece.
6. Trigger the gun properly. Start the gun moving at the
beginning of the stroke before squeezing the trigger (J)
and release the trigger (J) before stopping gun movement
at the end of stroke. This procedure will feather/blend each
stroke with the next without showing overlap or uneven-
ness. (See Figure 9)
NOTE
Two thin coats of paint will yield better spraying
results and have less chance of runs than one heavy layer.
7. Overlap strokes just enough to obtain an even and fine
coat. (See Figure 10)
8. Use a piece of cardboard as a shield to catch overspray at
the edges of workpiece and protect other surfaces. Use
masking tape (not included) to cover other areas if needed.
Not
for
Reproduction


